
Quick links: All Decals • Holographic • Funny
# How to Safely Apply Vinyl Decals on Car Windows
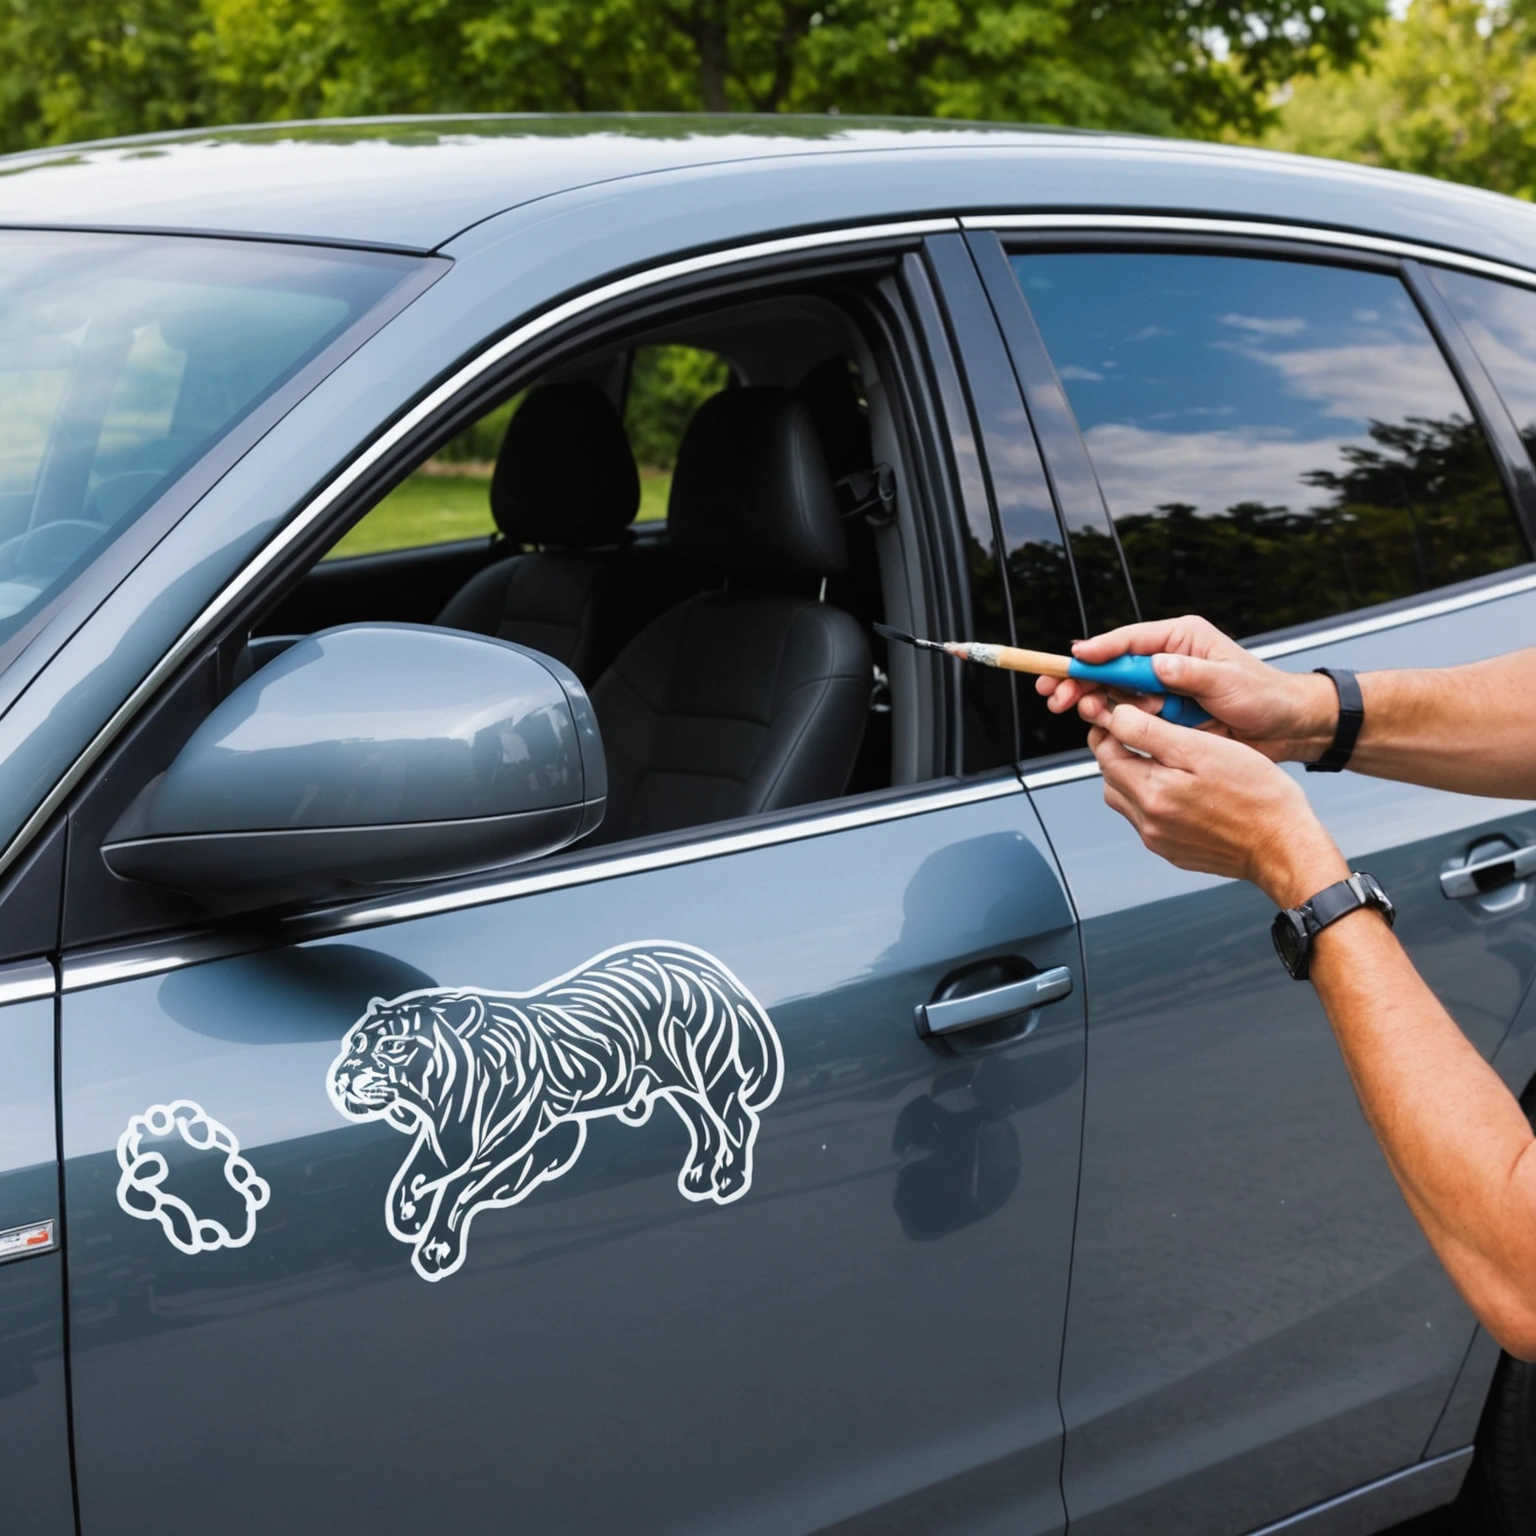
Applying vinyl decals on car windows is straightforward when you follow proper preparation, sizing, and installation techniques. This guide ensures your decals look professional, last long, and come off cleanly when needed.
## Preparation
### Check Compatibility
– Use Oracal 651 vinyl, designed for outdoor durability and easy removal.
– Confirm your window surface is clean, dry, and free of wax or grease.

– Avoid applying decals in direct sunlight or on hot surfaces to prevent bubbling.
### Tools Needed
– Isopropyl alcohol and lint-free cloth
– Squeegee or credit card
– Masking tape
– Utility knife (for trimming)
– Spray bottle with water and a few drops of dish soap (for positioning)
## Sizing & Placement
### Measure & Plan
– Determine decal size relative to window space; avoid covering vents or sensors.
– Use masking tape to mark placement and visualize the final look.
### Pro Tip:
– Keep the decal at least 1-2 inches away from edges to prevent peeling.
## Application Steps
### Step 1: Clean the Surface
– Wipe the window thoroughly with isopropyl alcohol.
– Let dry completely.
### Step 2: Position the Decal
– Peel backing paper slightly and tape the decal on the window.
– Use water with a few drops of dish soap to slide and reposition if needed.
### Step 3: Remove Transfer Tape & Apply
– Once positioned, peel off the backing paper.
– Use a squeegee or credit card to smooth the decal from the center outward, removing air bubbles.
– For stubborn bubbles, puncture with a pin and smooth out.
### Step 4: Final Inspection
– Ensure edges are securely adhered.
– Wipe any residual water or soap from the surface.
## Removal & Care
### Removal Tips
– Gently peel from a corner, pulling back slowly.
– Use a heat gun or hairdryer to soften adhesive if needed.
– Clean residual adhesive with isopropyl alcohol.
### Pro Tip:
– Remove decals within 2-3 years for easiest removal and best appearance.
## Compatibility & Tips
– Oracal 651 vinyl is compatible with most automotive glass but avoid applying on tinted or laminated windows without testing.
– Do not apply decals on hot or frosty days.
## Recommended Decals
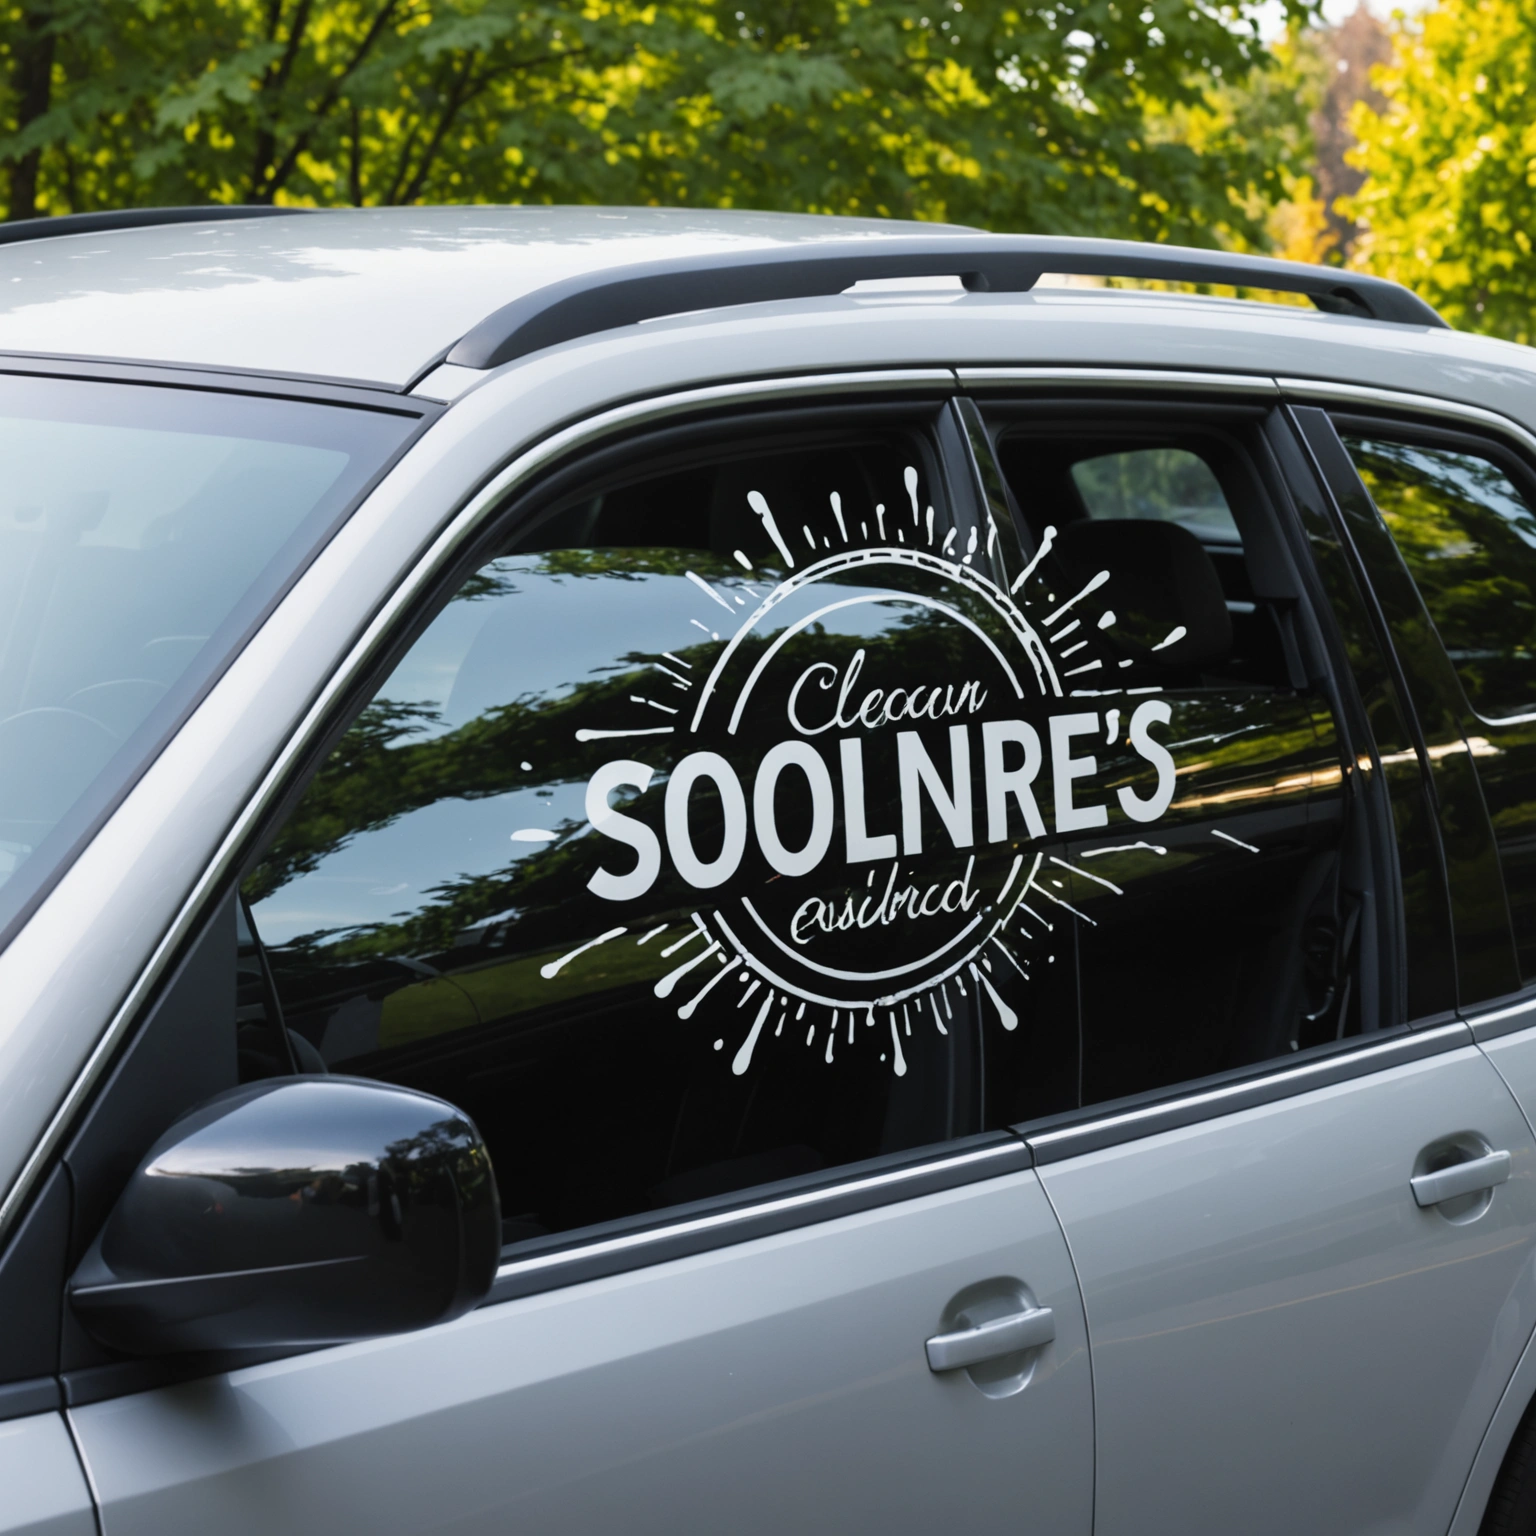
– Custom text or logos
– Sports team logos
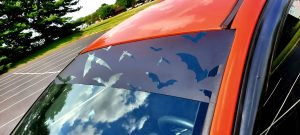
– Fun patterns or decals for personalization
## Conclusion
With proper preparation and careful application, vinyl decals on car windows can enhance your vehicle’s look and express your style. Follow these steps for a smooth installation and easy removal when needed.
**Ready to personalize your ride? Shop our selection of high-quality vinyl decals today!**
Shop this look

FAQs
**Q1:** Can I apply Oracal 651 vinyl decals over window tint?
**A1:** Yes, but ensure the tint is fully cured and not textured. Use a smooth, clean surface for best adhesion, and avoid applying over freshly installed tint to prevent damage or peeling.
**Q2:** How do I prevent damage to glass or paint during decal removal?
**A2:** Warm the decal with a heat gun or blow dryer to soften adhesive, then gently peel from edges. Use a plastic scraper and adhesive remover if needed, avoiding sharp tools to prevent scratches.
**Q3:** What are best practices for applying decals on car windows?
**A3:** Clean with glass cleaner, dry thoroughly, and use application tape for precise placement. Apply smoothly from the center outward, and avoid applying in extreme temperatures or direct sunlight for optimal adhesion.
{“@context”:”https://schema.org”,”@type”:”FAQPage”,”mainEntity”:[{“@type”:”Question”,”name”:”**Q1:** Can I apply Oracal 651 vinyl decals over window tint?”,”acceptedAnswer”:{“@type”:”Answer”,”text”:”**A1:** Yes, but ensure the tint is fully cured and not textured. Use a smooth, clean surface for best adhesion, and avoid applying over freshly installed tint to prevent damage or peeling.”}},{“@type”:”Question”,”name”:”**Q2:** How do I prevent damage to glass or paint during decal removal?”,”acceptedAnswer”:{“@type”:”Answer”,”text”:”**A2:** Warm the decal with a heat gun or blow dryer to soften adhesive, then gently peel from edges. Use a plastic scraper and adhesive remover if needed, avoiding sharp tools to prevent scratches.”}},{“@type”:”Question”,”name”:”**Q3:** What are best practices for applying decals on car windows?”,”acceptedAnswer”:{“@type”:”Answer”,”text”:”**A3:** Clean with glass cleaner, dry thoroughly, and use application tape for precise placement. Apply smoothly from the center outward, and avoid applying in extreme temperatures or direct sunlight for optimal adhesion.”}}]}