
Quick links: All Decals • Holographic • Funny
# How to Customize Your Car with Durable Oracal 651 Decals
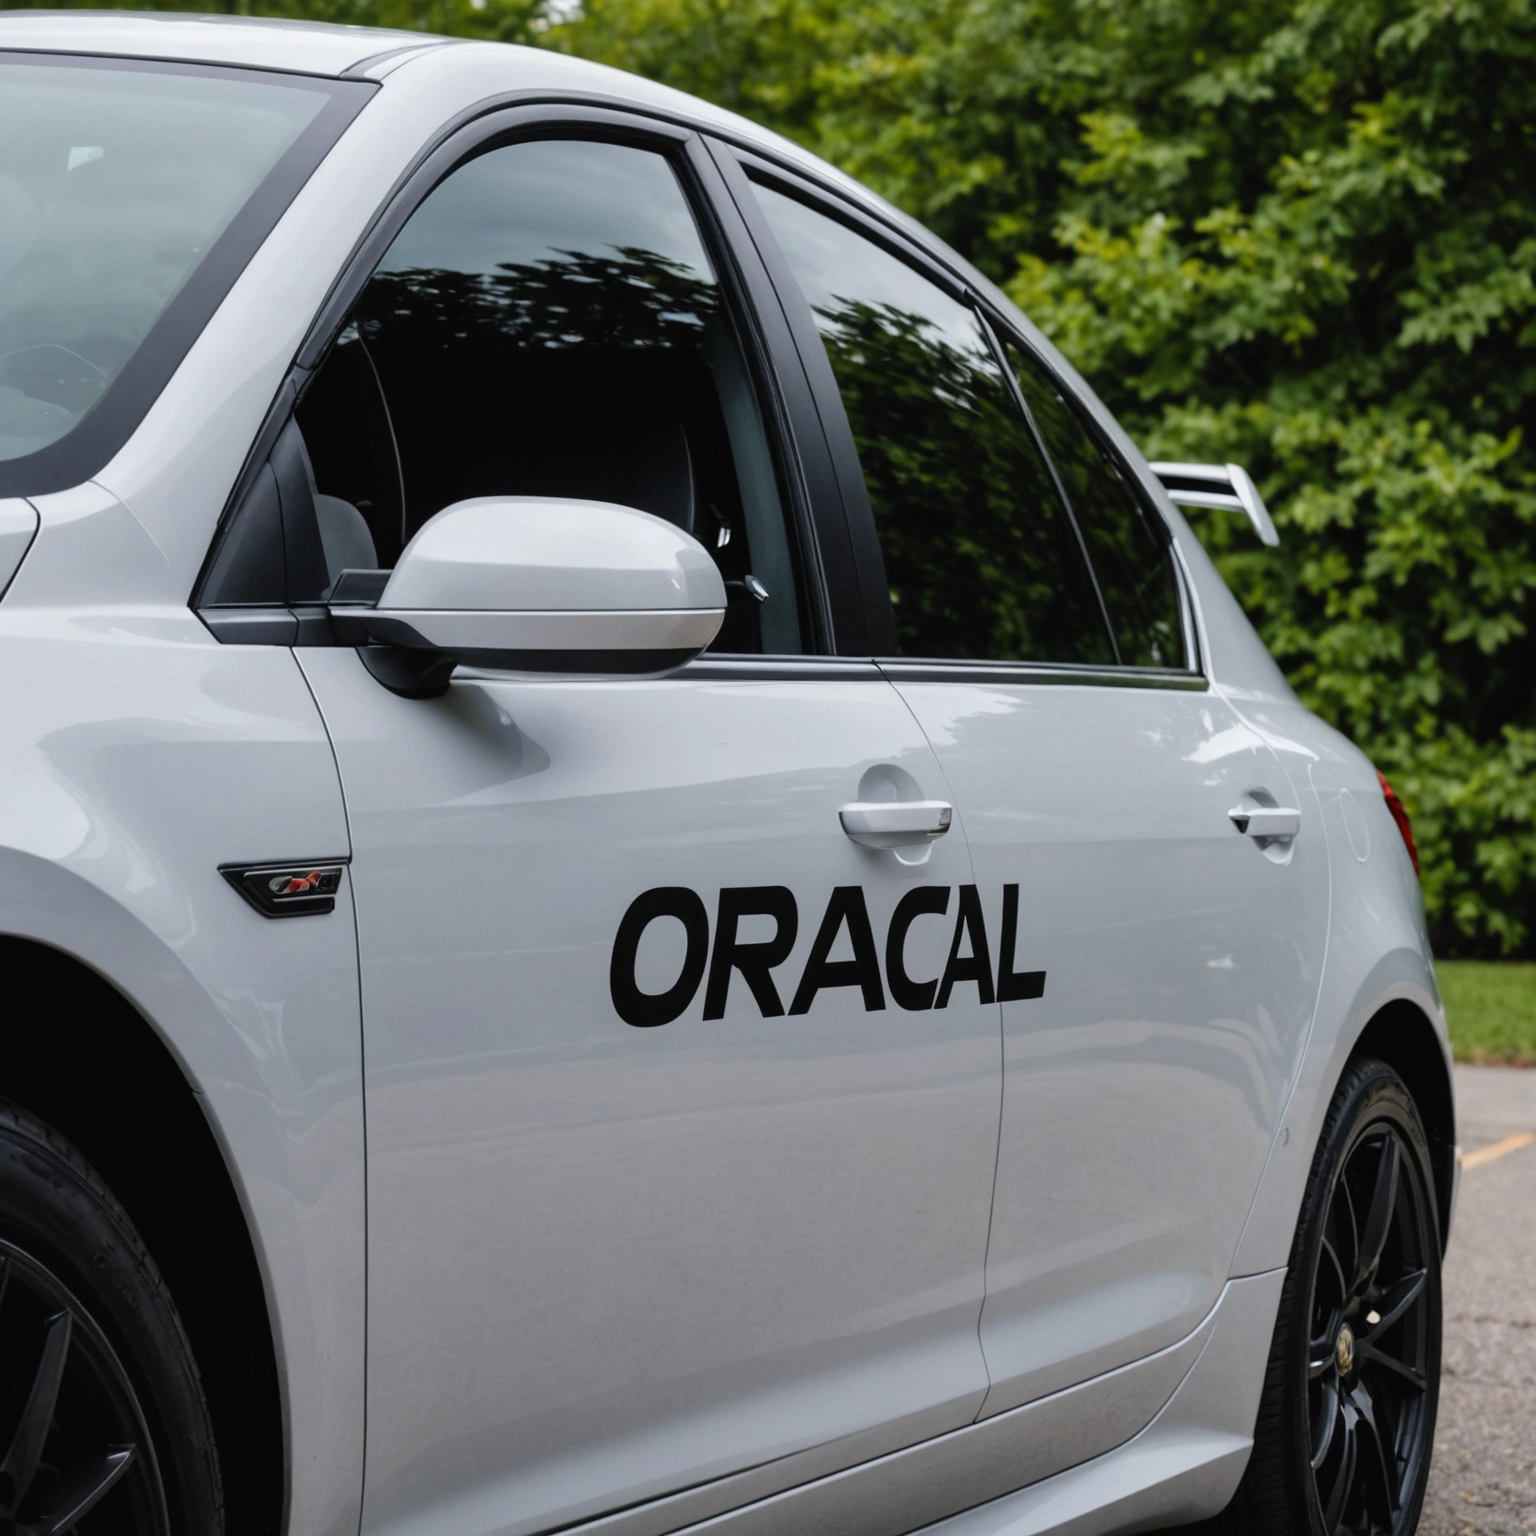
Oracal 651 vinyl decals are a fantastic way to personalize your vehicle with vibrant, durable designs. Follow these simple steps to ensure a professional look and easy removal when you’re ready for a change.
## Choosing the Right Decal for Your Vehicle
### Compatibility and Surface Preparation
– **Use on smooth, clean surfaces:** Oracal 651 adheres best to painted surfaces and glass.
– **Avoid textured or rough areas:** Textured paint or damaged surfaces can hinder adhesion.
– **Check for compatibility:** Oracal 651 is not suitable for outdoor use on vehicles with matte or textured finishes.
### Sizing and Design Tips
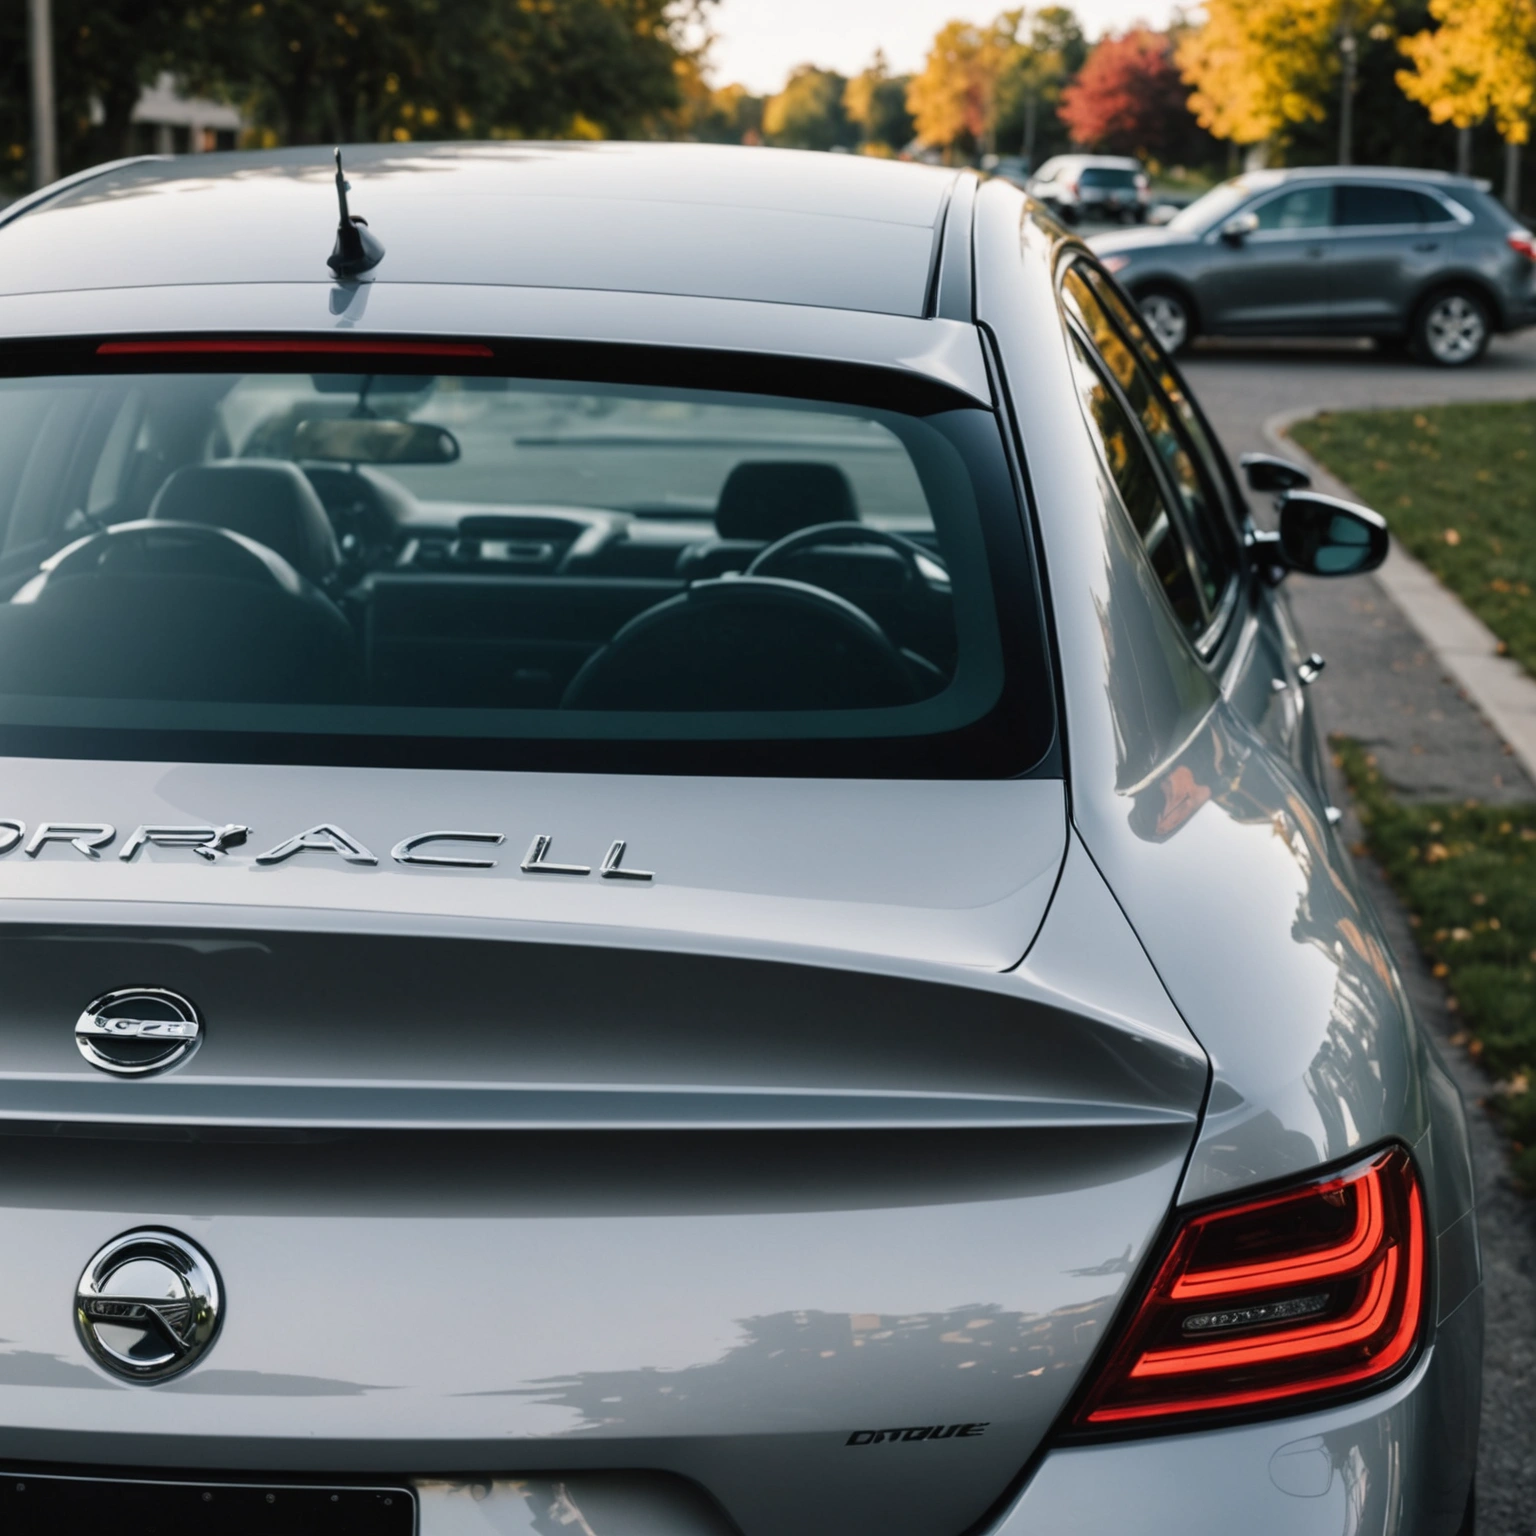
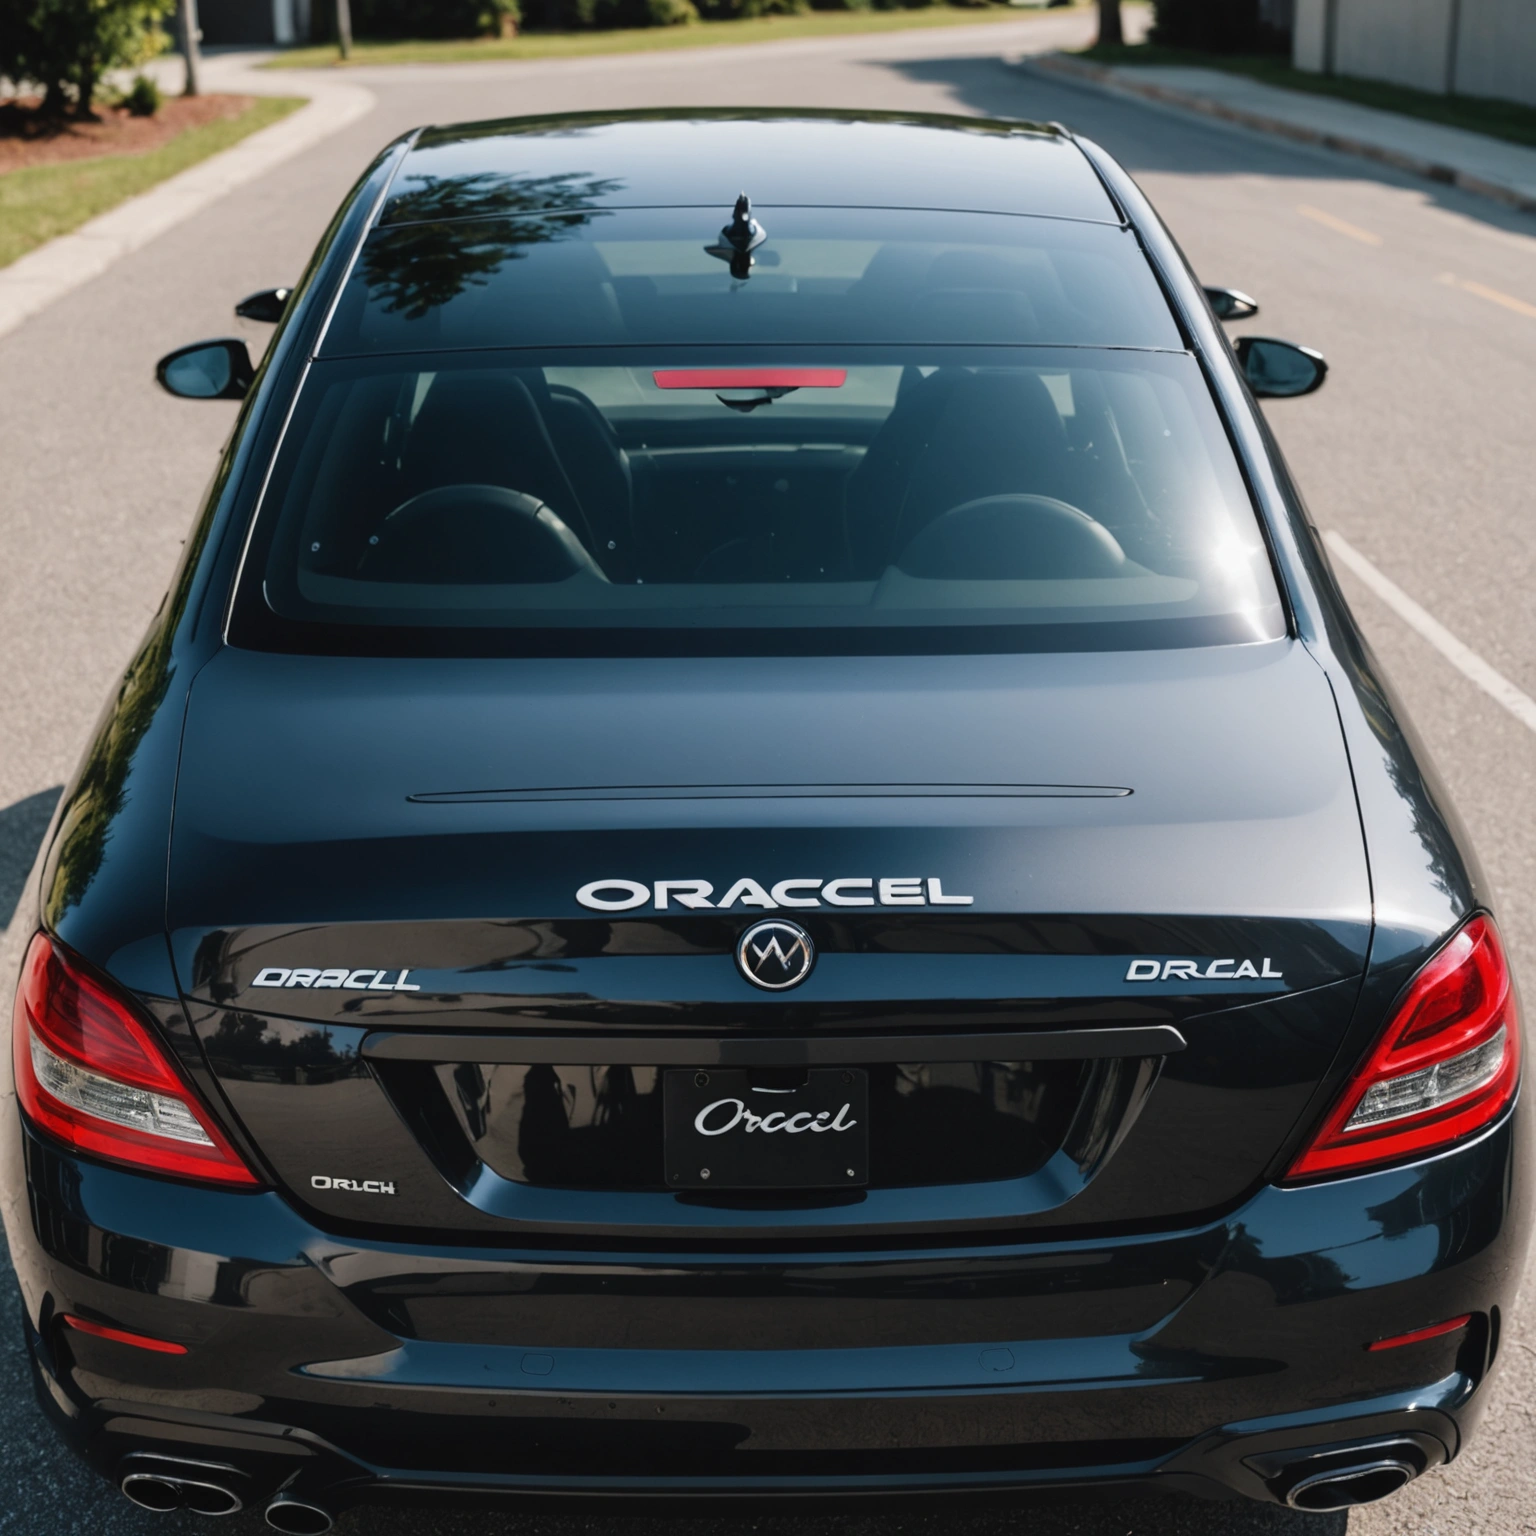
– **Measure your space:** Ensure decals fit well without obstructing windows or vehicle features.
– **Opt for bold, simple designs:** They’re easier to install and remove cleanly.
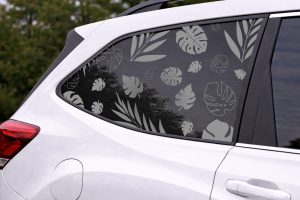
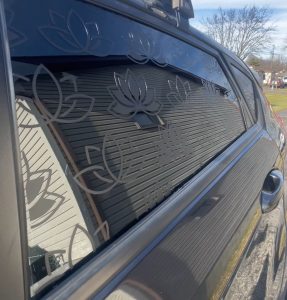
– **Consider transparency:** For window decals, use clear backing to maintain visibility.
## Installing Your Oracal 651 Decal
### Materials Needed
– Squeegee or credit card
– Masking tape
– Isopropyl alcohol and lint-free cloth
– Sharp craft knife (for trimming)
– Spray bottle with water and a few drops of dish soap (for wet application)
### Step-by-Step Installation
1. **Clean the surface:** Wipe with isopropyl alcohol to remove dirt and wax.
2. **Position the decal:** Use masking tape to hold it in place and check the placement.
3. **Apply the decal:** For precise positioning, use the wet application method—spray water with a drop of dish soap.
4. **Smooth out bubbles:** Use a squeegee or credit card from center outward.
5. **Remove transfer tape:** Carefully peel back the tape, ensuring the decal stays adhered.
6. **Final smoothing:** Press again with the squeegee to secure edges.
### Pro Tip:
– **Work in a dust-free environment** to prevent particles from sticking under the decal.
## Removing or Replacing Decals
### Best Practices
– **Warm up the decal:** Use a heat gun or hairdryer to soften adhesive.
– **Peel gently:** Slowly lift from one corner, pulling at a low angle.
– **Clean residue:** Use adhesive remover or rubbing alcohol if any adhesive remains.
### Tips for Reuse
– Oracal 651 decals are designed for one-time application; reuse may compromise adhesion and appearance.
## Recommended Decals
– Custom text or logos
– Sports team logos
– Fun shapes or icons
– Personalized monograms
## Conclusion
Durable and versatile, Oracal 651 decals are perfect for customizing your vehicle with professional-grade vinyl. Proper surface prep, precise installation, and careful removal will keep your car looking sharp and allow easy updates whenever you wish.
**Ready to personalize your ride?** Shop our selection of high-quality Oracal 651 decals today!
Shop this look


FAQs
**Q1:** Can I apply Oracal 651 decals on tinted windows?
**A1:** Yes, Oracal 651 vinyl adheres well to glass surfaces, including tinted windows. Ensure the surface is clean and dry before application for best adhesion. Avoid applying on freshly tinted windows to prevent damage.
**Q2:** How do I remove Oracal 651 decals without damaging my paint or tint?
**A2:** Gently heat the decal with a heat gun or hairdryer to soften the adhesive. Peel slowly, using a plastic scraper if needed. For stubborn residue, apply a vinyl-safe adhesive remover and clean with alcohol or soap and water.
**Q3:** Will Oracal 651 decals damage my car’s paint or tint during application or removal?
**A3:** No, Oracal 651 is designed for temporary to semi-permanent use and typically won't damage paint or tint if applied and removed properly. Always test on a small area first and follow manufacturer instructions for safe removal.
{“@context”:”https://schema.org”,”@type”:”FAQPage”,”mainEntity”:[{“@type”:”Question”,”name”:”**Q1:** Can I apply Oracal 651 decals on tinted windows?”,”acceptedAnswer”:{“@type”:”Answer”,”text”:”**A1:** Yes, Oracal 651 vinyl adheres well to glass surfaces, including tinted windows. Ensure the surface is clean and dry before application for best adhesion. Avoid applying on freshly tinted windows to prevent damage.”}},{“@type”:”Question”,”name”:”**Q2:** How do I remove Oracal 651 decals without damaging my paint or tint?”,”acceptedAnswer”:{“@type”:”Answer”,”text”:”**A2:** Gently heat the decal with a heat gun or hairdryer to soften the adhesive. Peel slowly, using a plastic scraper if needed. For stubborn residue, apply a vinyl-safe adhesive remover and clean with alcohol or soap and water.”}},{“@type”:”Question”,”name”:”**Q3:** Will Oracal 651 decals damage my caru2019s paint or tint during application or removal?”,”acceptedAnswer”:{“@type”:”Answer”,”text”:”**A3:** No, Oracal 651 is designed for temporary to semi-permanent use and typically won’t damage paint or tint if applied and removed properly. Always test on a small area first and follow manufacturer instructions for safe removal.”}}]}