
Quick links: All Decals • Holographic • Funny
# How to Choose Durable Vinyl Decals for Car Windows
Selecting the right vinyl decals for your car windows ensures longevity, easy removal, and a professional look. Focus on vinyl type, compatibility with your vehicle’s surface, proper sizing, and installation techniques for best results.
## Understanding Vinyl Types and Compatibility
### Why Oracal 651 Vinyl Is Ideal
– **Durability:** Designed for outdoor use, resistant to weather, UV, and washing.
– **Adhesion:** Strong enough to stay on windows but removable without residue.
– **Compatibility:** Works well on glass and painted surfaces; avoid applying directly on tinted windows unless specified.
### Compatibility Tips
– **Check your surface:** Oracal 651 adheres best on clean, smooth glass or painted surfaces.
– **Avoid non-compatible surfaces:** Untreated plastics or textured surfaces may not hold well.
## Sizing Your Decal
### Considerations for Sizing
– **Visibility:** Larger decals are more eye-catching but ensure they don’t obstruct visibility.
– **Proportion:** Match decal size to window dimensions for balanced aesthetics.
– **Legal restrictions:** Avoid obstructing driver’s view or violating local laws.
### Pro Tip
– Use masking tape to outline your decal placement before peeling and applying to visualize size.
## Installation Best Practices
### Preparation
– Clean the window thoroughly with isopropyl alcohol.
– Dry surface completely to prevent bubbles.
### Application Steps
– Use a squeegee or credit card to smooth out air bubbles.
– Apply in a dust-free environment.
– Peel backing slowly at a 45-degree angle to avoid curling.
### Pro Tip
– For larger decals, use application tape to transfer and position accurately.
## Removal and Maintenance
### Removing Vinyl Decals
– Heat the decal with a heat gun or hairdryer to soften adhesive.
– Peel slowly at a 45-degree angle.
– Use adhesive remover for any residue.
### Maintenance
– Wash with mild soap and water.
– Avoid abrasive tools or harsh chemicals on decals.
## Recommended Decals
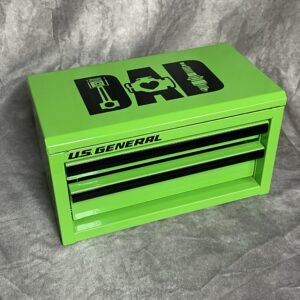
– Custom logo or name decals
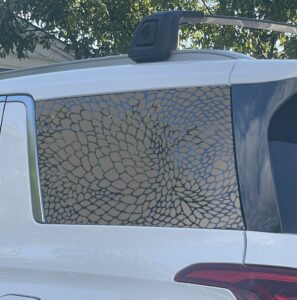
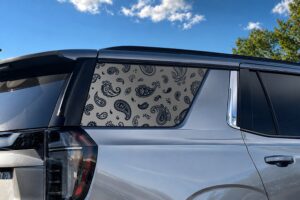
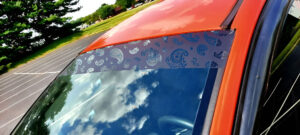
– Decorative window patterns
– Personal or promotional graphics
## Conclusion
Choosing the right vinyl decal involves selecting durable Oracal 651, ensuring compatibility with your window surface, sizing appropriately, and following proper installation and removal techniques. Well-chosen decals enhance your vehicle’s look and last through the elements.
**Ready to customize your car? Shop our selection of high-quality vinyl decals today!**
Shop this look
FAQs
**Q1:** What type of vinyl is best for durable car window decals?
**A1:** Oracal 651 is ideal for durability and weather resistance on car windows, lasting up to 6 years outdoors. Avoid low-quality vinyl which may peel or fade quickly.
**Q2:** Can I apply vinyl decals over window tint or painted surfaces?
**A2:** Yes, but ensure the surface is clean and dry. Avoid applying over existing tint or paint that may peel or bubble; test a small area first.
**Q3:** How do I remove vinyl decals without damaging glass or paint?
**A3:** Gently heat the decal with a heat gun or hairdryer, then peel slowly. Use adhesive remover if needed, and clean the surface thoroughly afterward.
{“@context”:”https://schema.org”,”@type”:”FAQPage”,”mainEntity”:[{“@type”:”Question”,”name”:”**Q1:** What type of vinyl is best for durable car window decals?”,”acceptedAnswer”:{“@type”:”Answer”,”text”:”**A1:** Oracal 651 is ideal for durability and weather resistance on car windows, lasting up to 6 years outdoors. Avoid low-quality vinyl which may peel or fade quickly.”}},{“@type”:”Question”,”name”:”**Q2:** Can I apply vinyl decals over window tint or painted surfaces?”,”acceptedAnswer”:{“@type”:”Answer”,”text”:”**A2:** Yes, but ensure the surface is clean and dry. Avoid applying over existing tint or paint that may peel or bubble; test a small area first.”}},{“@type”:”Question”,”name”:”**Q3:** How do I remove vinyl decals without damaging glass or paint?”,”acceptedAnswer”:{“@type”:”Answer”,”text”:”**A3:** Gently heat the decal with a heat gun or hairdryer, then peel slowly. Use adhesive remover if needed, and clean the surface thoroughly afterward.”}}]}