
Quick links: All Decals • Holographic • Funny
## How to Choose and Apply Cheetah Print Vinyl Car Decals
Selecting the right cheetah print vinyl decal involves understanding vinyl types, compatibility with your vehicle’s surface, and proper application techniques. Follow these steps for a professional look and easy installation/removal.

## Choosing the Right Vinyl: Oracal 651
### Why Oracal 651?
– Durable, outdoor-rated adhesive vinyl
– Ideal for car windows and painted surfaces
– Available in vibrant cheetah print designs
### Compatibility Tips
– Use on smooth, clean surfaces (windows, painted areas)
– Avoid textured or damaged areas to prevent peeling
## Sizing Your Decal
### Measure Your Space
– Determine the area where you want the decal
– Keep proportions balanced for visual impact
### Consider Visibility
– Larger decals make a bold statement
– Smaller decals work as accents
### Pro Tip:
Leave a margin (1-2 inches) around the decal for easier installation and a cleaner look.
## Preparing for Application
### Surface Preparation
– Wash with soap and water; dry thoroughly
– For windows, clean with alcohol to remove residues
– Avoid applying in direct sunlight or on hot surfaces
### Cutting & Positioning
– Cut vinyl to desired size, leaving a slight border
– Use painter’s tape to position and visualize placement
## Applying the Vinyl Decal
### Step-by-Step
1. Peel backing paper carefully
2. Use a squeegee or credit card to smooth from center outward
3. Remove transfer tape slowly at a 45° angle
4. Press down edges to prevent lift
### Pro Tips:
– Work in a dust-free environment
– Use a heat gun or hairdryer to soften vinyl for curves
## Removal & Maintenance
### Removing the Decal
– Gently peel from one corner
– Use heat to loosen adhesive if stubborn
– Clean residual adhesive with rubbing alcohol
### Maintenance Tips
– Wash gently; avoid abrasive tools
– Refrain from high-pressure washing directly on decal edges
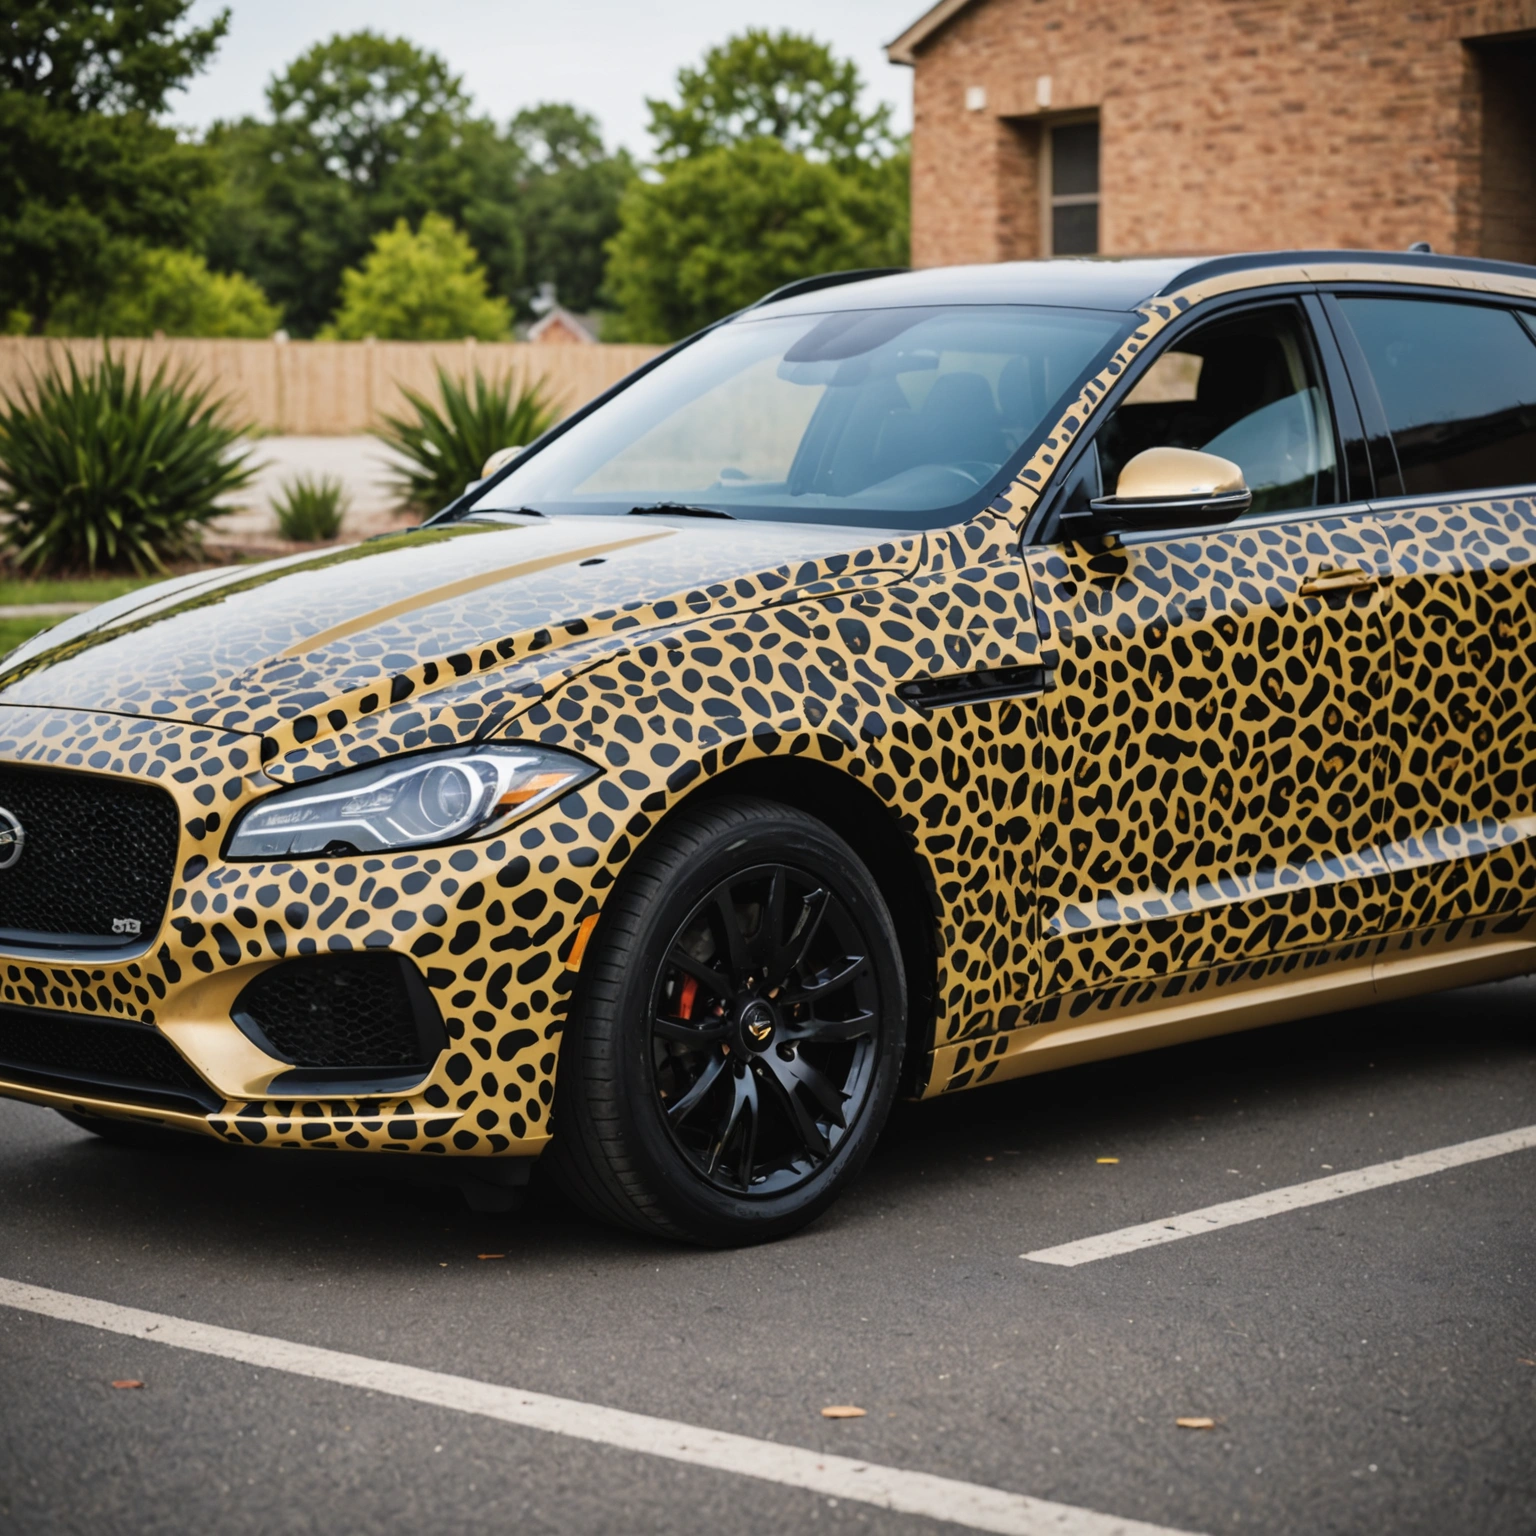
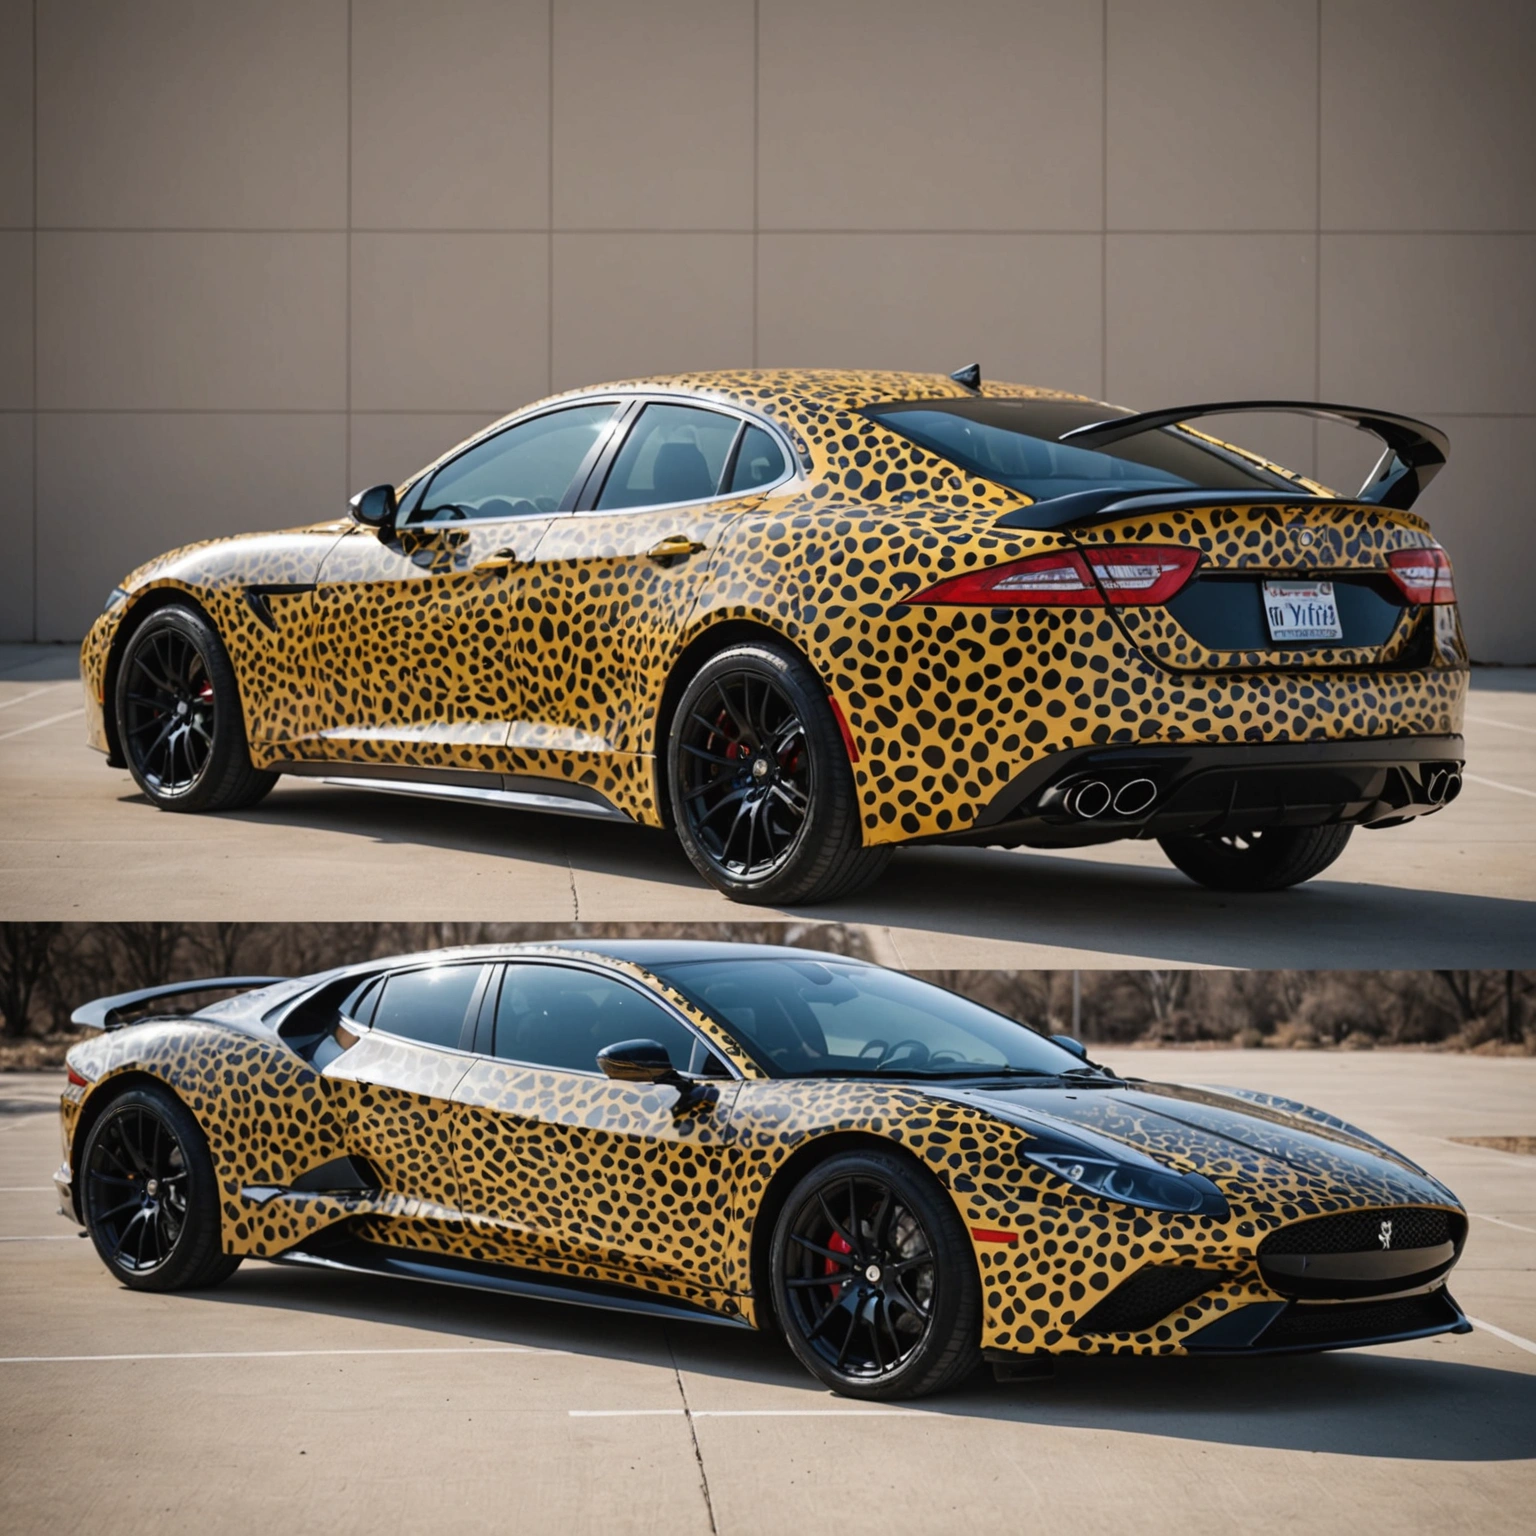
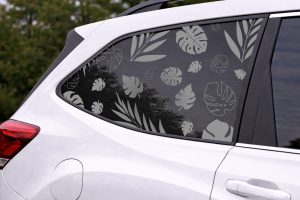
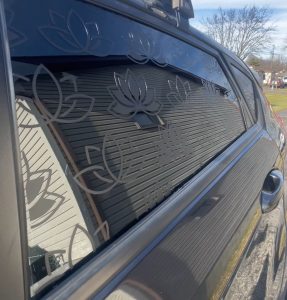
## Recommended Decals
– Classic cheetah print with bold outlines
– Subtle cheetah accents for a minimalist look
– Custom sizes tailored to your vehicle
## Conclusion
Choosing the right cheetah print vinyl decal and applying it properly enhances your vehicle’s style effortlessly. Follow these guidelines for a clean, professional finish. Ready to transform your ride? Shop our exclusive collection of high-quality Oracal 651 cheetah print decals today!
Shop this look


FAQs
**Q1: How do I choose the right cheetah print vinyl decal for my car?**
Select Oracal 651 for durability and vibrant colors. Ensure the decal size fits your vehicle’s surface and consider the design’s complexity. Match the decal’s color palette with your car’s paint or tint for cohesive aesthetics.
**Q2: How do I properly apply cheetah print vinyl decals on my car?**
Clean the surface thoroughly with alcohol, dry well. Peel the backing, position the decal, and use a squeegee to smooth out air bubbles. Apply with moderate pressure, then carefully remove the transfer tape for a flawless finish.
**Q3: Can I remove or reposition the vinyl decal without damaging my car?**
Yes, gently heat the decal with a heat gun or hairdryer to soften adhesive, then peel slowly. For glass, use a 50/50 vinegar-water solution to assist removal. Always test a small area first to prevent paint or tint damage.
{“@context”:”https://schema.org”,”@type”:”FAQPage”,”mainEntity”:[{“@type”:”Question”,”name”:”**Q1: How do I choose the right cheetah print vinyl decal for my car?**”,”acceptedAnswer”:{“@type”:”Answer”,”text”:”Select Oracal 651 for durability and vibrant colors. Ensure the decal size fits your vehicleu2019s surface and consider the designu2019s complexity. Match the decalu2019s color palette with your caru2019s paint or tint for cohesive aesthetics.”}},{“@type”:”Question”,”name”:”**Q2: How do I properly apply cheetah print vinyl decals on my car?**”,”acceptedAnswer”:{“@type”:”Answer”,”text”:”Clean the surface thoroughly with alcohol, dry well. Peel the backing, position the decal, and use a squeegee to smooth out air bubbles. Apply with moderate pressure, then carefully remove the transfer tape for a flawless finish.”}},{“@type”:”Question”,”name”:”**Q3: Can I remove or reposition the vinyl decal without damaging my car?**”,”acceptedAnswer”:{“@type”:”Answer”,”text”:”Yes, gently heat the decal with a heat gun or hairdryer to soften adhesive, then peel slowly. For glass, use a 50/50 vinegar-water solution to assist removal. Always test a small area first to prevent paint or tint damage.”}}]}