
Quick links: All Decals • Holographic • Funny
# How to Safely Apply Vinyl Decals to Your Car Windows
Applying vinyl decals to your car windows requires careful preparation and technique to ensure a smooth, long-lasting finish. Follow these steps to achieve professional results, focusing on vinyl (Oracal 651), window compatibility, sizing, and safe removal.
## 1. Ensure Compatibility and Prepare Your Surface
### Check Vinyl and Window Compatibility
– Oracal 651 is suitable for exterior use, including car windows.
– Avoid applying decals on tinted or freshly cleaned windows; wait at least 24 hours after cleaning or tinting.
### Prepare the Surface
– Clean the window thoroughly with isopropyl alcohol and a lint-free cloth.
– Remove any dirt, grease, or residue to promote adhesion.
– Dry completely to avoid bubbles.
## 2. Measure, Cut, and Position Your Decal
### Sizing and Placement
– Measure the window area to determine decal size; leave a small margin around edges.
– Use painter’s tape to position and visualize placement.
– Mark lightly with a washable marker or transfer tape.
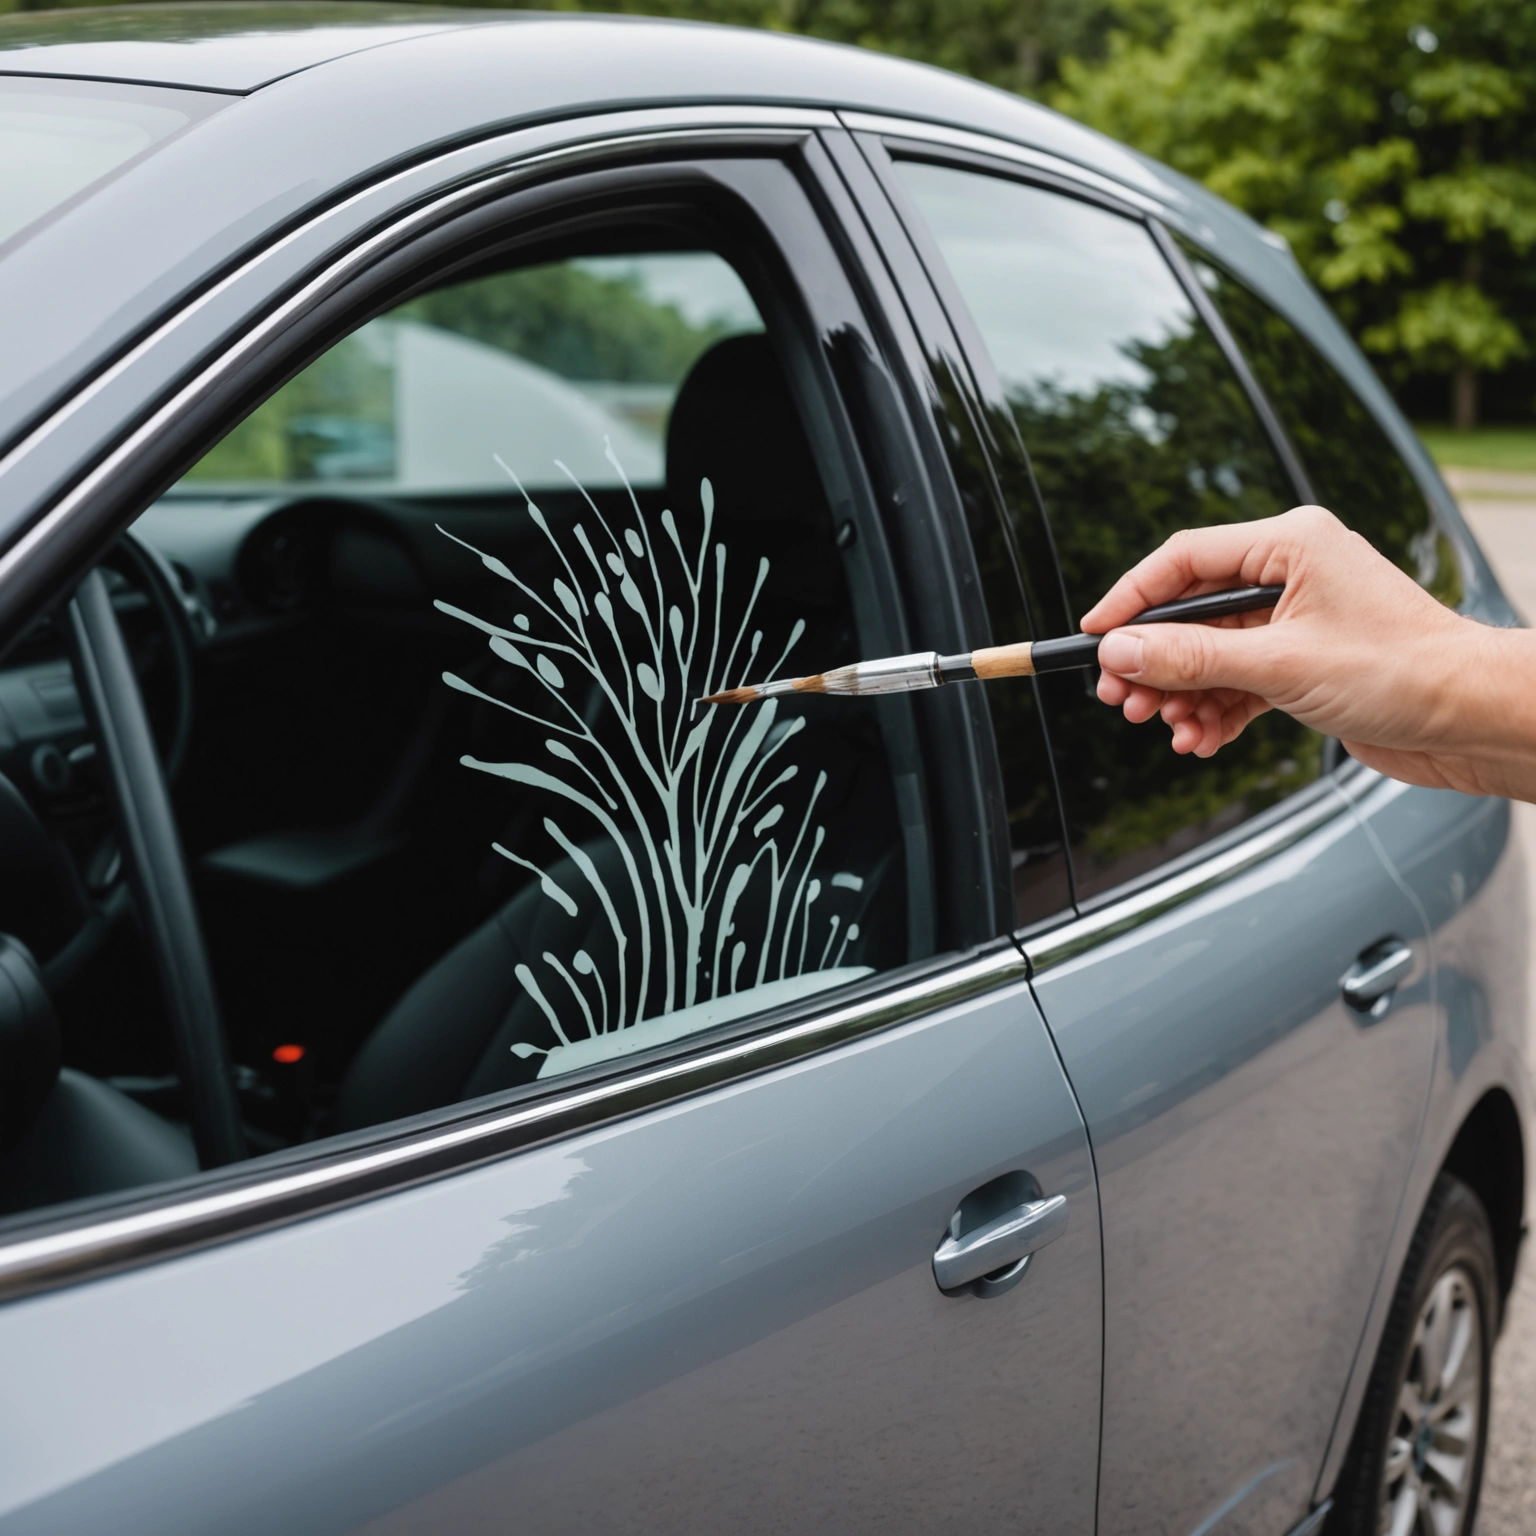
### Cut and Prepare the Decal
– Cut the decal to the desired size.
– Use a craft knife or scissors for precise edges.
– Apply transfer tape over the decal for easy handling.
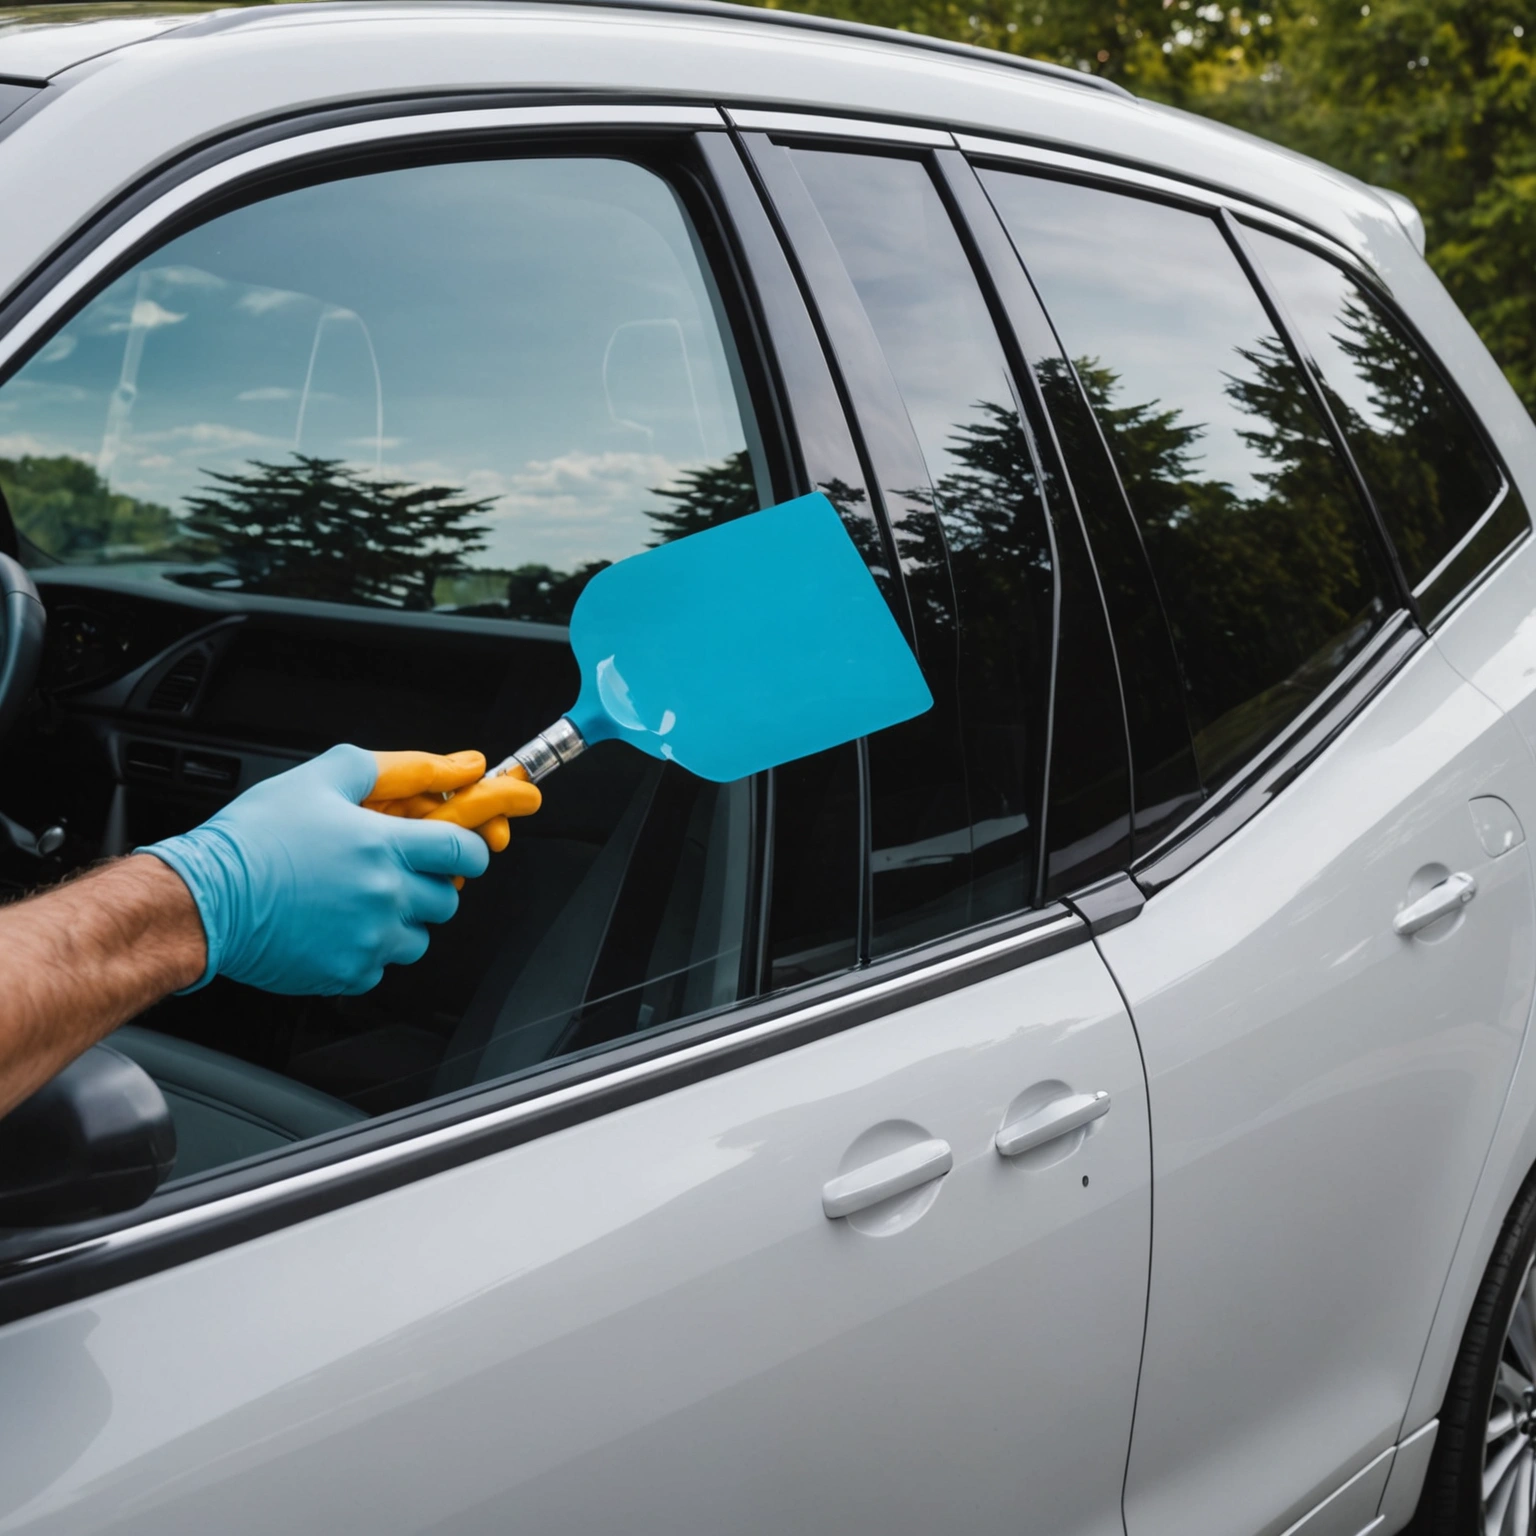
## 3. Application Process
### Apply the Decal
– Peel off the backing paper from the decal, keeping the transfer tape in place.
– Use a squeegee or credit card to press the decal onto the window, starting from the center outward.
– Work out air bubbles; poke small bubbles with a pin and smooth again.
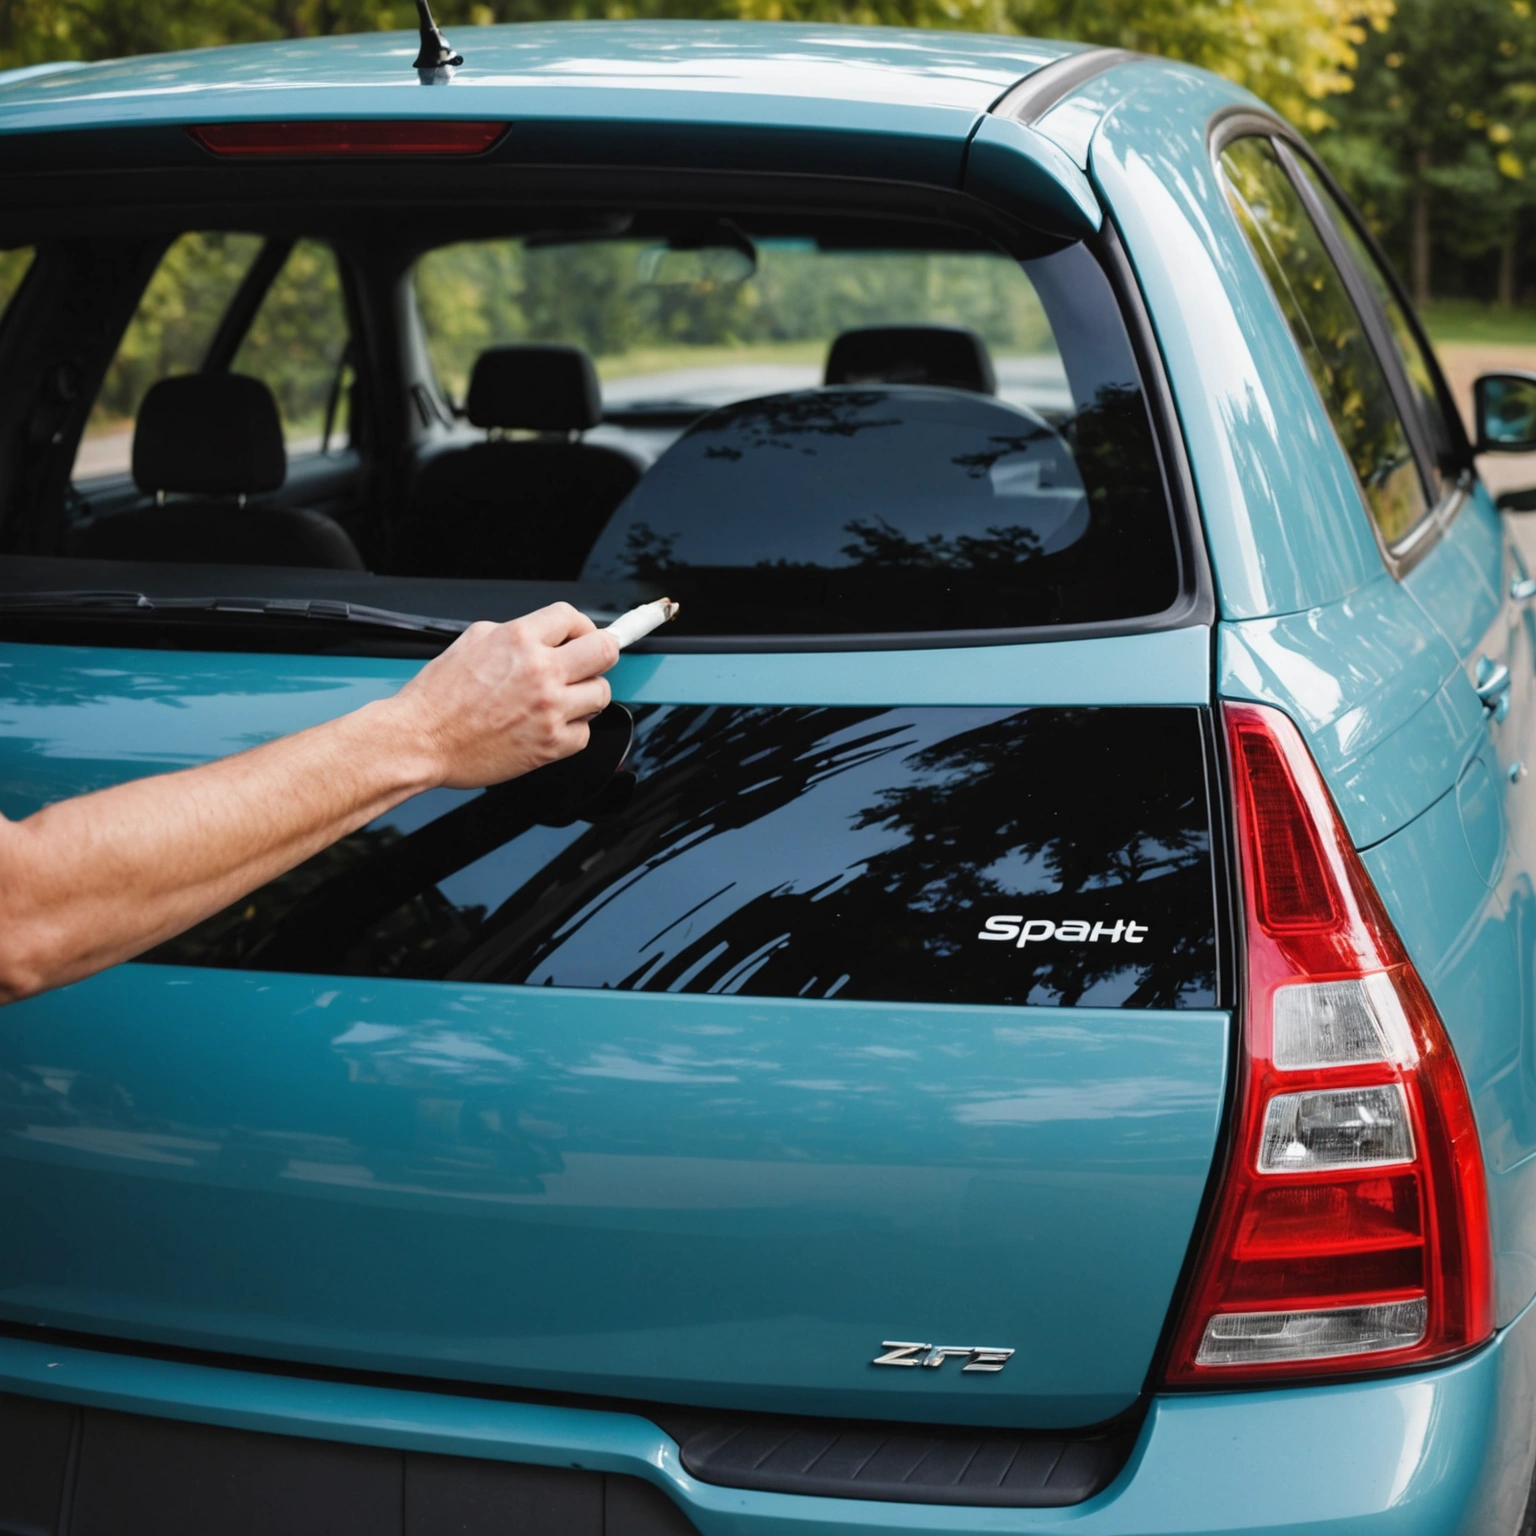
### Final Checks
– Carefully peel the transfer tape off at a sharp angle.
– Ensure the decal is fully adhered and free of bubbles or wrinkles.
## 4. Removal and Maintenance Tips
### Safe Removal
– Gently peel the decal from a corner using a plastic scraper or fingernail.
– For stubborn areas, warm with a heat gun or hairdryer before removal.
– Clean the window afterward with alcohol to remove adhesive residue.
### Maintenance
– Wash windows gently; avoid abrasive scrubbers on decals.
– For longevity, park in the shade and avoid high-pressure washing directly on decals.
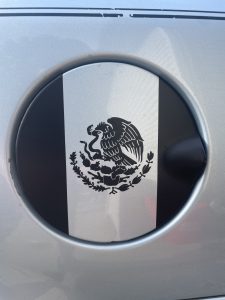
## Recommended Decals
– Custom text or logos
– Sports team logos
– Personal monograms
– Themed graphics or patterns
## Pro Tips
– Always apply decals in a dust-free environment.
– Use a squeegee for even pressure and bubble-free application.
– Test a small decal first to ensure compatibility and adhesion.
## Conclusion
Applying vinyl decals to your car windows is straightforward with proper preparation and technique. For best results, choose high-quality vinyl like Oracal 651, measure carefully, and follow these steps. Ready to personalize your ride? Shop our selection of durable, vibrant decals today!
Shop this look


FAQs
**Q1: Can I apply Oracal 651 vinyl decals over tinted windows?**
A1: Yes, Oracal 651 can be applied over tinted windows. Ensure the surface is clean and dry. Avoid applying over freshly tinted film, as adhesives may damage the tint or cause bubbling. Test a small area first to check compatibility.
**Q2: How do I remove vinyl decals without damaging my car’s paint or tint?**
A2: Use a heat gun or hairdryer to soften the adhesive, then peel slowly at a 45° angle. For stubborn residue, apply a gentle adhesive remover or soapy water. Avoid scraping or using harsh chemicals that could damage paint or tint.
**Q3: What are best practices for applying vinyl decals to glass surfaces?**
A3: Clean the glass thoroughly with alcohol or a glass cleaner. Use a squeegee to eliminate air bubbles and ensure adhesion. Work in a dust-free environment and apply slowly, starting from one edge. Avoid applying in direct sunlight to prevent premature curing.
{“@context”:”https://schema.org”,”@type”:”FAQPage”,”mainEntity”:[{“@type”:”Question”,”name”:”**Q1: Can I apply Oracal 651 vinyl decals over tinted windows?**”,”acceptedAnswer”:{“@type”:”Answer”,”text”:”A1: Yes, Oracal 651 can be applied over tinted windows. Ensure the surface is clean and dry. Avoid applying over freshly tinted film, as adhesives may damage the tint or cause bubbling. Test a small area first to check compatibility.”}},{“@type”:”Question”,”name”:”**Q2: How do I remove vinyl decals without damaging my caru2019s paint or tint?**”,”acceptedAnswer”:{“@type”:”Answer”,”text”:”A2: Use a heat gun or hairdryer to soften the adhesive, then peel slowly at a 45u00b0 angle. For stubborn residue, apply a gentle adhesive remover or soapy water. Avoid scraping or using harsh chemicals that could damage paint or tint.”}},{“@type”:”Question”,”name”:”**Q3: What are best practices for applying vinyl decals to glass surfaces?**”,”acceptedAnswer”:{“@type”:”Answer”,”text”:”A3: Clean the glass thoroughly with alcohol or a glass cleaner. Use a squeegee to eliminate air bubbles and ensure adhesion. Work in a dust-free environment and apply slowly, starting from one edge. Avoid applying in direct sunlight to prevent premature curing.”}}]}
