
Quick links: All Decals • Holographic • Funny
## How to Safely Apply Vinyl Decals to Tinted Car Windows
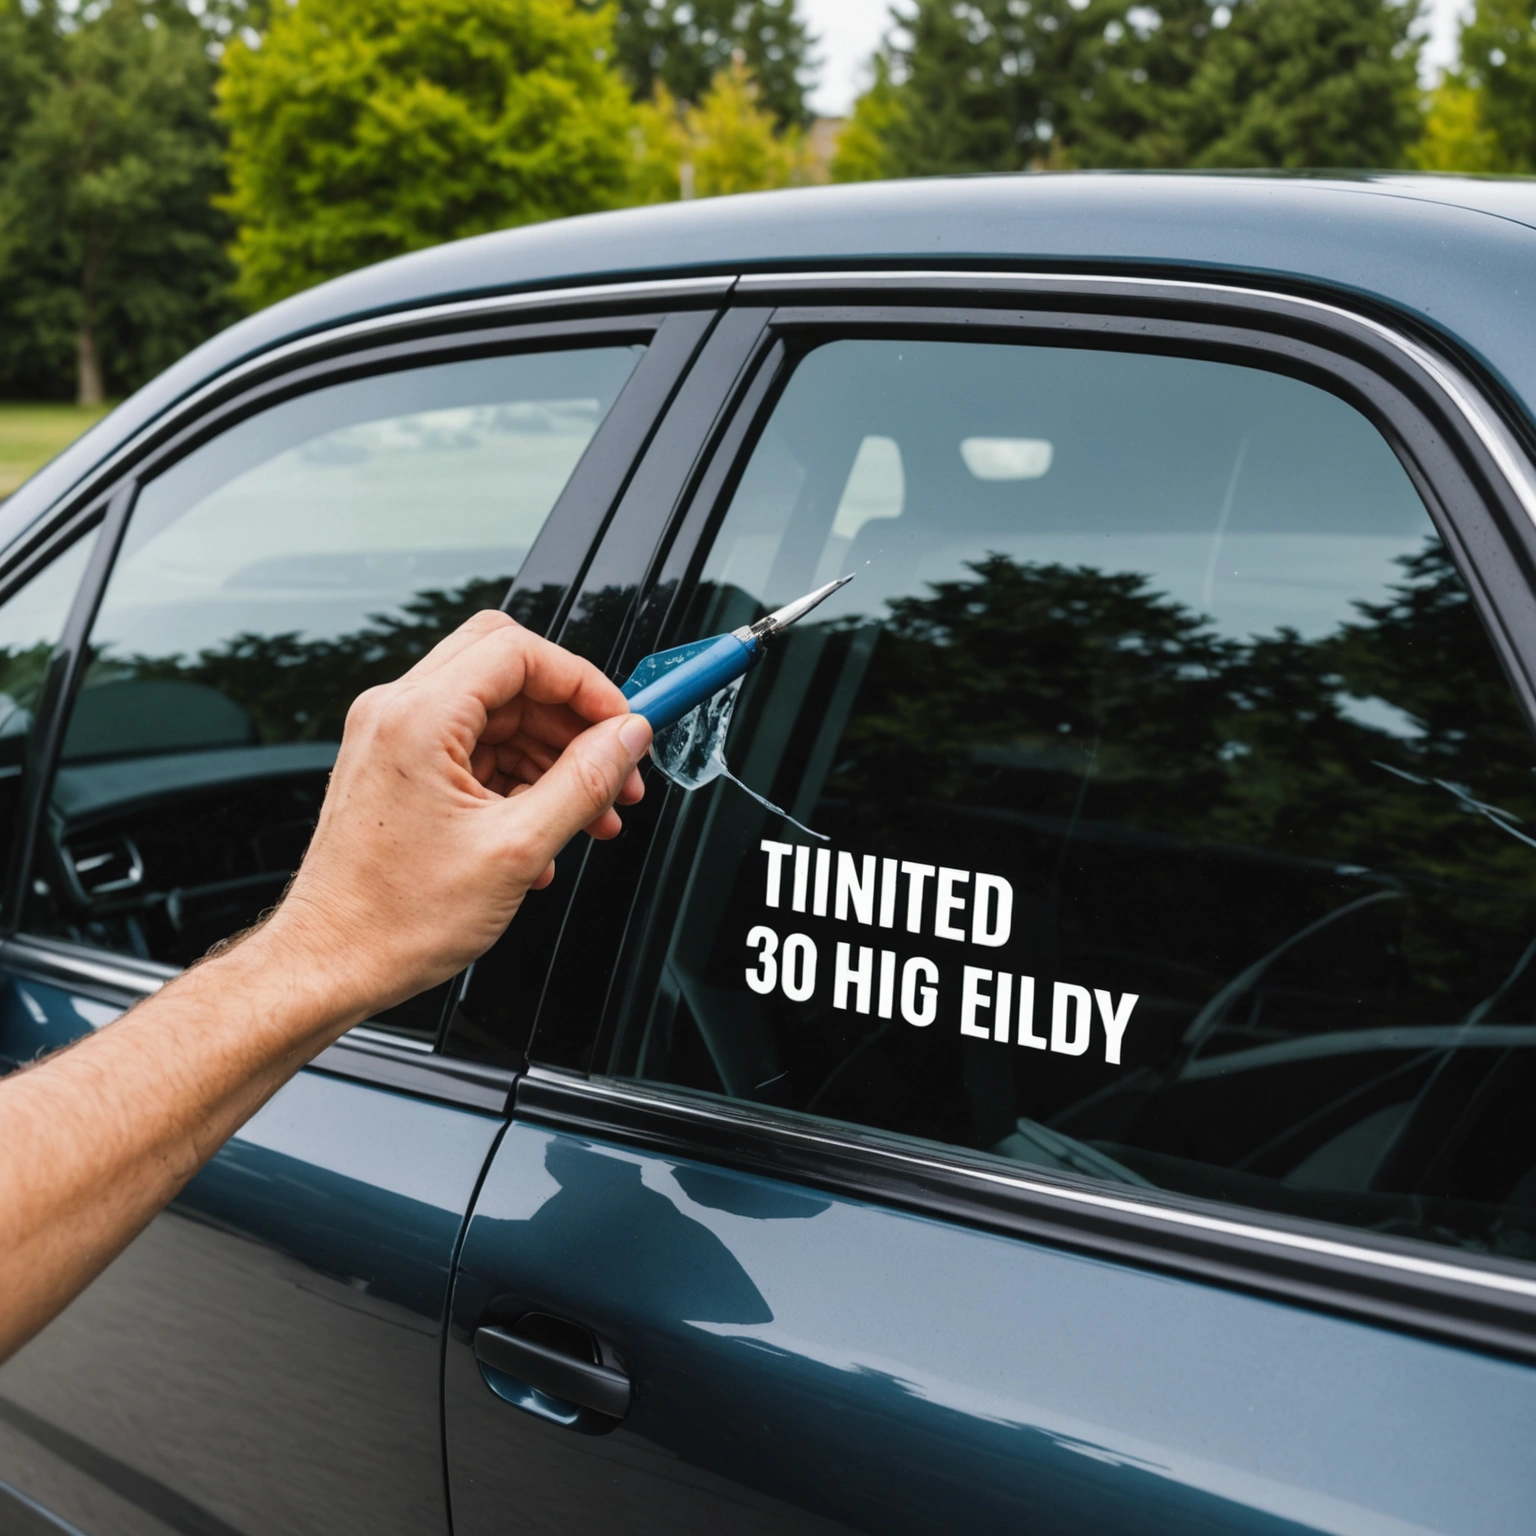
Applying vinyl decals like Oracal 651 to tinted windows requires careful preparation to prevent damage and ensure a clean, long-lasting adhesion. Follow these steps to achieve professional results while protecting your window tint and vehicle surface.
## Preparation
### Check Compatibility
– **Vinyl Type:** Use Oracal 651 or similar permanent vinyl.
– **Tint Compatibility:** Ensure window tint is in good condition; avoid applying over damaged or peeling tint.
– **Surface:** Clean windows thoroughly before application.
### Gather Supplies
– Isopropyl alcohol and lint-free cloth
– Squeegee or application tool
– Masking tape
– Utility knife or cutting tool
– Transfer tape
## Application Process
### Step 1: Clean the Surface
– Wipe the window with isopropyl alcohol to remove dirt, grease, and oils.
– Dry completely with a lint-free cloth.
### Step 2: Measure and Position
– Cut decal to desired size.
– Use masking tape to temporarily position the decal and check placement.
– Adjust until satisfied with alignment.
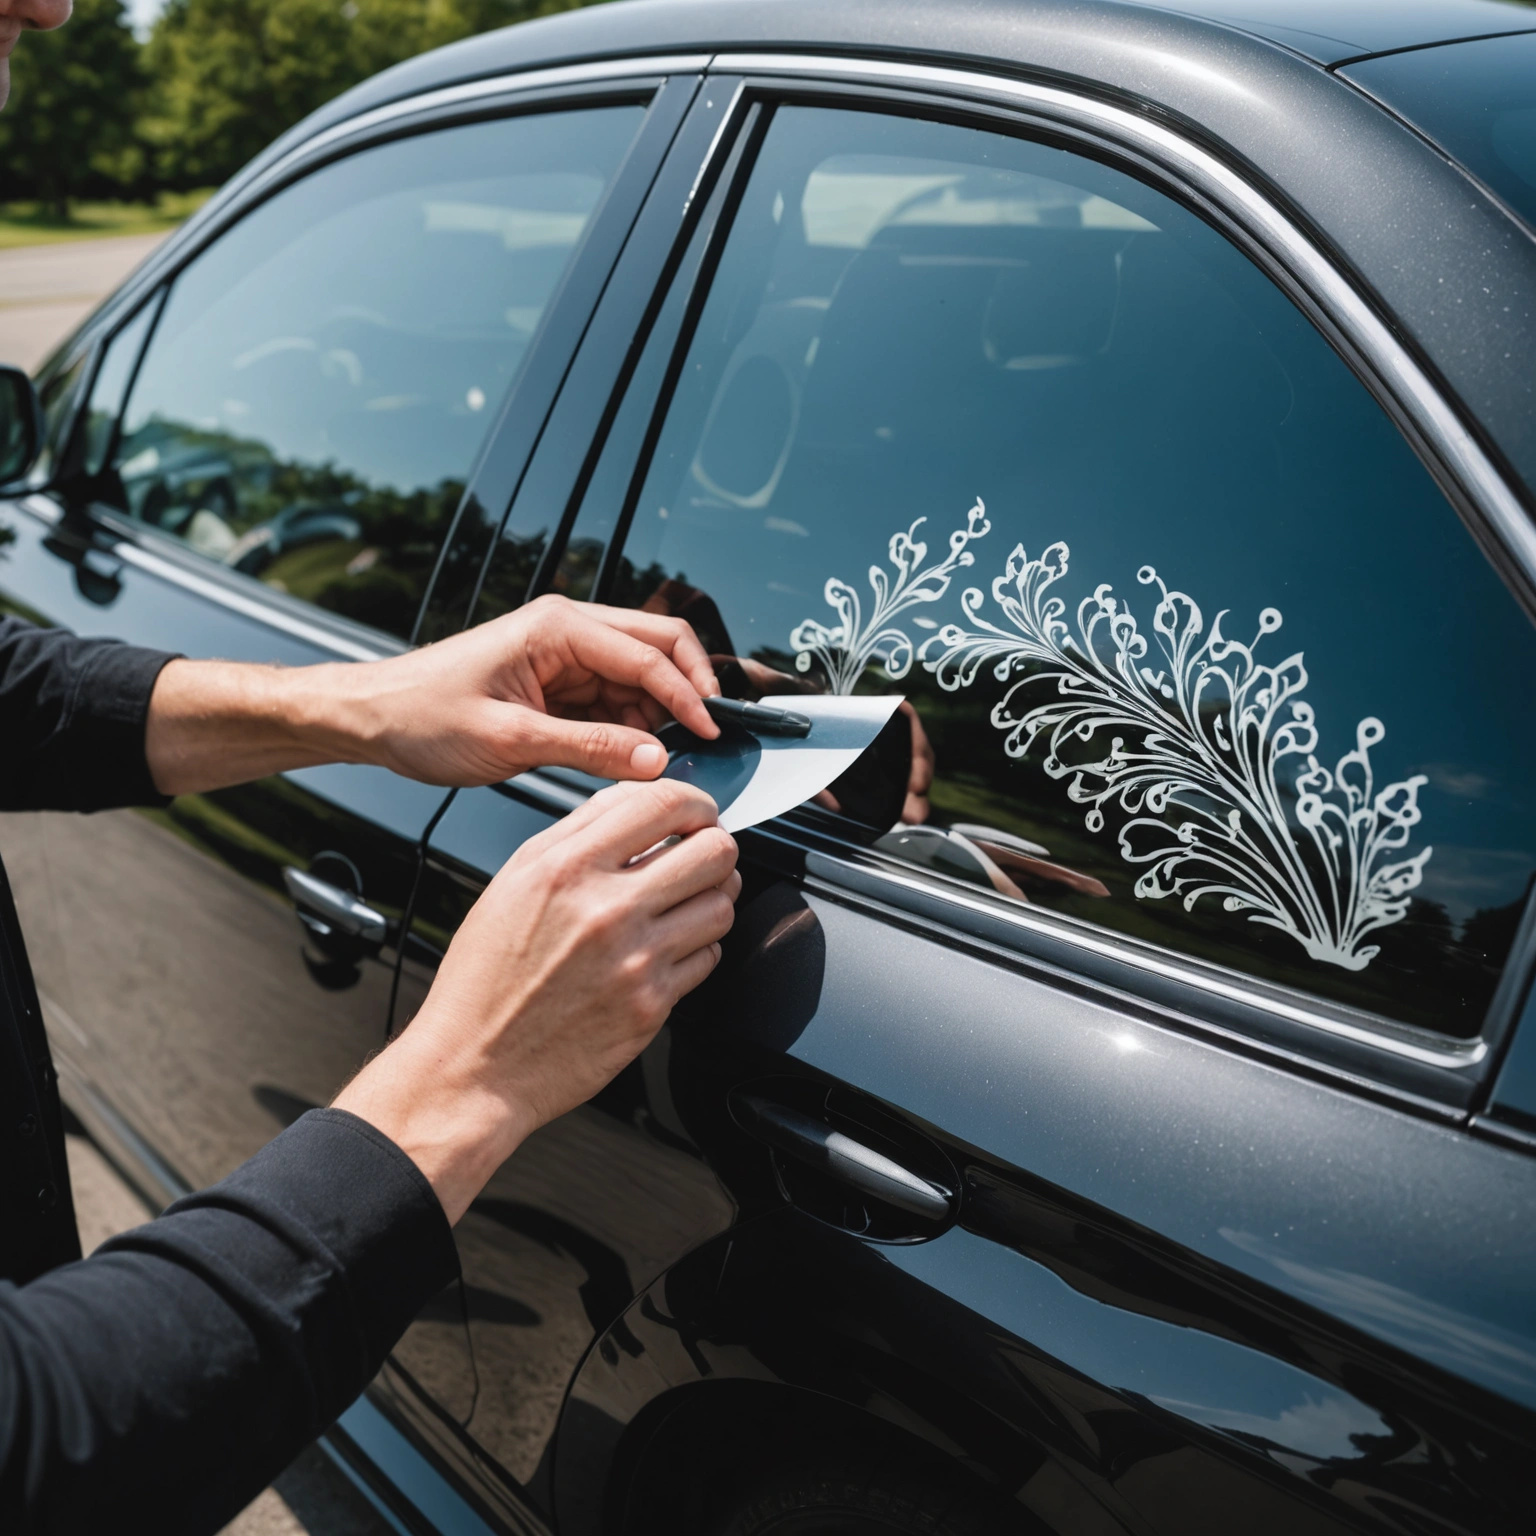
### Step 3: Apply the Decal
– Peel backing paper from the decal.
– Use transfer tape to lift the decal.
– Position the decal on the window, using masking tape as a hinge.
– Squeegee from the center outward to remove air bubbles.
– Carefully peel away transfer tape, ensuring the decal adheres smoothly.
## Removal and Maintenance
### Removing Decals
– Warm the decal with a heat gun or hairdryer to soften adhesive.
– Peel slowly at a shallow angle.
– Clean residual adhesive with isopropyl alcohol.
### Tips for Longevity
– Avoid applying decals in direct sunlight or extreme temperatures.
– Do not scrub or use abrasive cleaners on decals.
– Refrain from rolling down tinted windows for at least 24-48 hours post-application.
## Pro Tips
– Test a small decal first to ensure compatibility.
– Use a steady hand for precise placement.
– For best results, apply decals in moderate temperatures (60-80°F).
## Recommended Decals
– Custom vinyl lettering for personalization
– Logos or branding decals
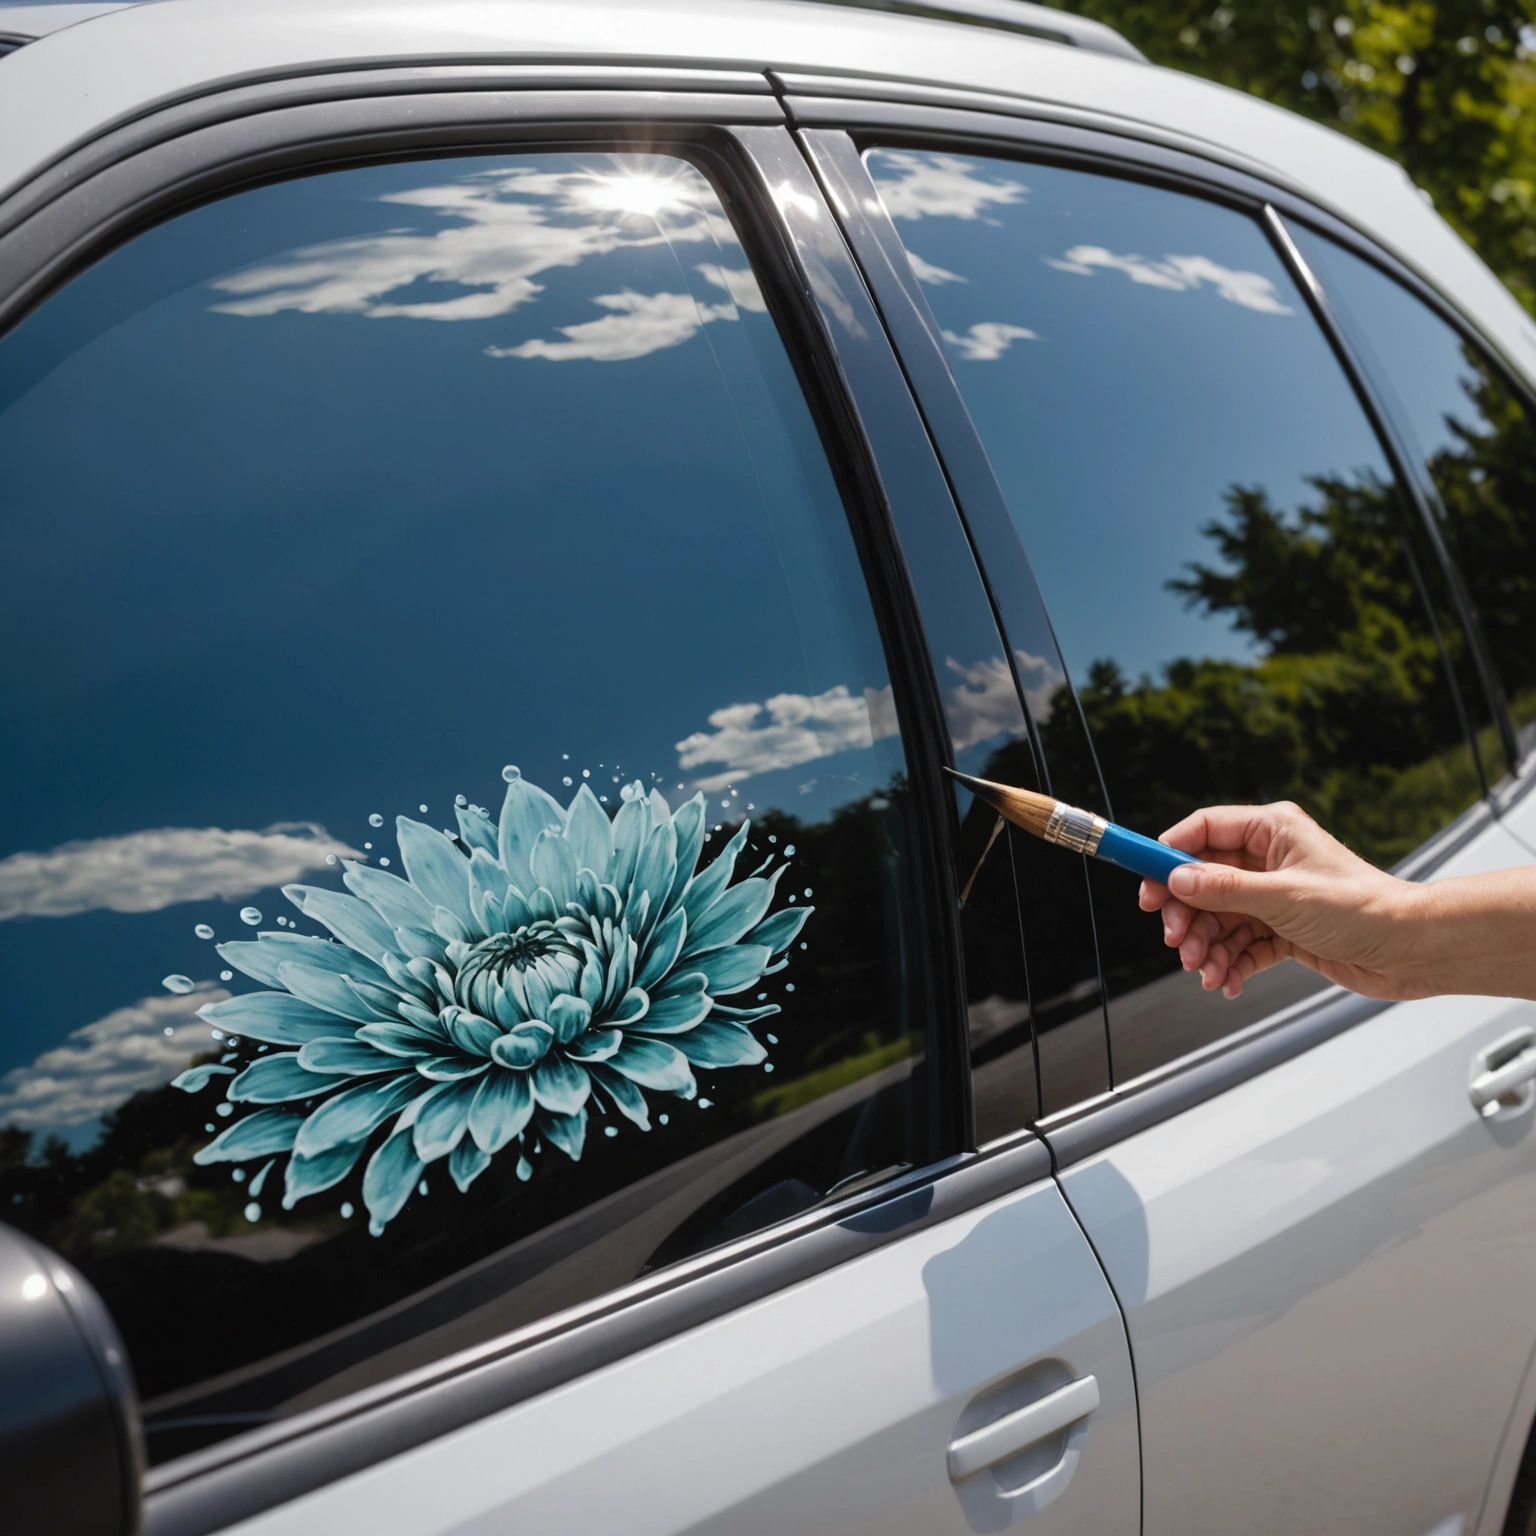
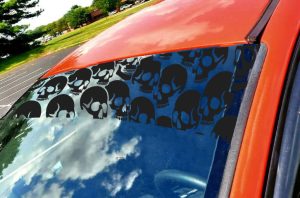
– Decorative or themed window decals
## Conclusion
Applying vinyl decals to tinted windows is straightforward with proper preparation and technique, protecting your tint while achieving a sharp look. For high-quality decals and accessories, shop our selection today!
Shop this look
FAQs
1: Can I apply Oracal 651 vinyl decals on tinted windows?
1: Yes, Oracal 651 vinyl is suitable for glass surfaces, including tinted windows. Ensure the surface is clean and dry before application to prevent damage or peeling.
2: How do I prevent damage to tint when applying or removing vinyl decals?
2: Use a plastic scraper and apply gentle pressure. For removal, warm the decal with a heat gun or hairdryer to soften adhesive, reducing tint damage.
3: Is it safe to remove vinyl decals without damaging tinted windows?
3: Yes, carefully heat the decal to loosen adhesive, then peel slowly. Use adhesive remover if needed, avoiding harsh chemicals that may harm tint or glass.
{“@context”:”https://schema.org”,”@type”:”FAQPage”,”mainEntity”:[{“@type”:”Question”,”name”:”1: Can I apply Oracal 651 vinyl decals on tinted windows?”,”acceptedAnswer”:{“@type”:”Answer”,”text”:”1: Yes, Oracal 651 vinyl is suitable for glass surfaces, including tinted windows. Ensure the surface is clean and dry before application to prevent damage or peeling.”}},{“@type”:”Question”,”name”:”2: How do I prevent damage to tint when applying or removing vinyl decals?”,”acceptedAnswer”:{“@type”:”Answer”,”text”:”2: Use a plastic scraper and apply gentle pressure. For removal, warm the decal with a heat gun or hairdryer to soften adhesive, reducing tint damage.”}},{“@type”:”Question”,”name”:”3: Is it safe to remove vinyl decals without damaging tinted windows?”,”acceptedAnswer”:{“@type”:”Answer”,”text”:”3: Yes, carefully heat the decal to loosen adhesive, then peel slowly. Use adhesive remover if needed, avoiding harsh chemicals that may harm tint or glass.”}}]}
