
Quick links: All Decals • Holographic • Funny
## How to Prevent Gaps When Installing Vinyl Car Decals
To prevent gaps, carefully measure and size your decal before installation, ensuring it matches the surface precisely. Proper surface prep, alignment, and technique are key to a seamless, professional-looking result.
## Preparation
### Choose the Right Vinyl and Surface
– Use Oracal 651 for durable, outdoor-ready decals.
– Ensure the surface (window or painted area) is clean, dry, and free of dirt, wax, or grease.
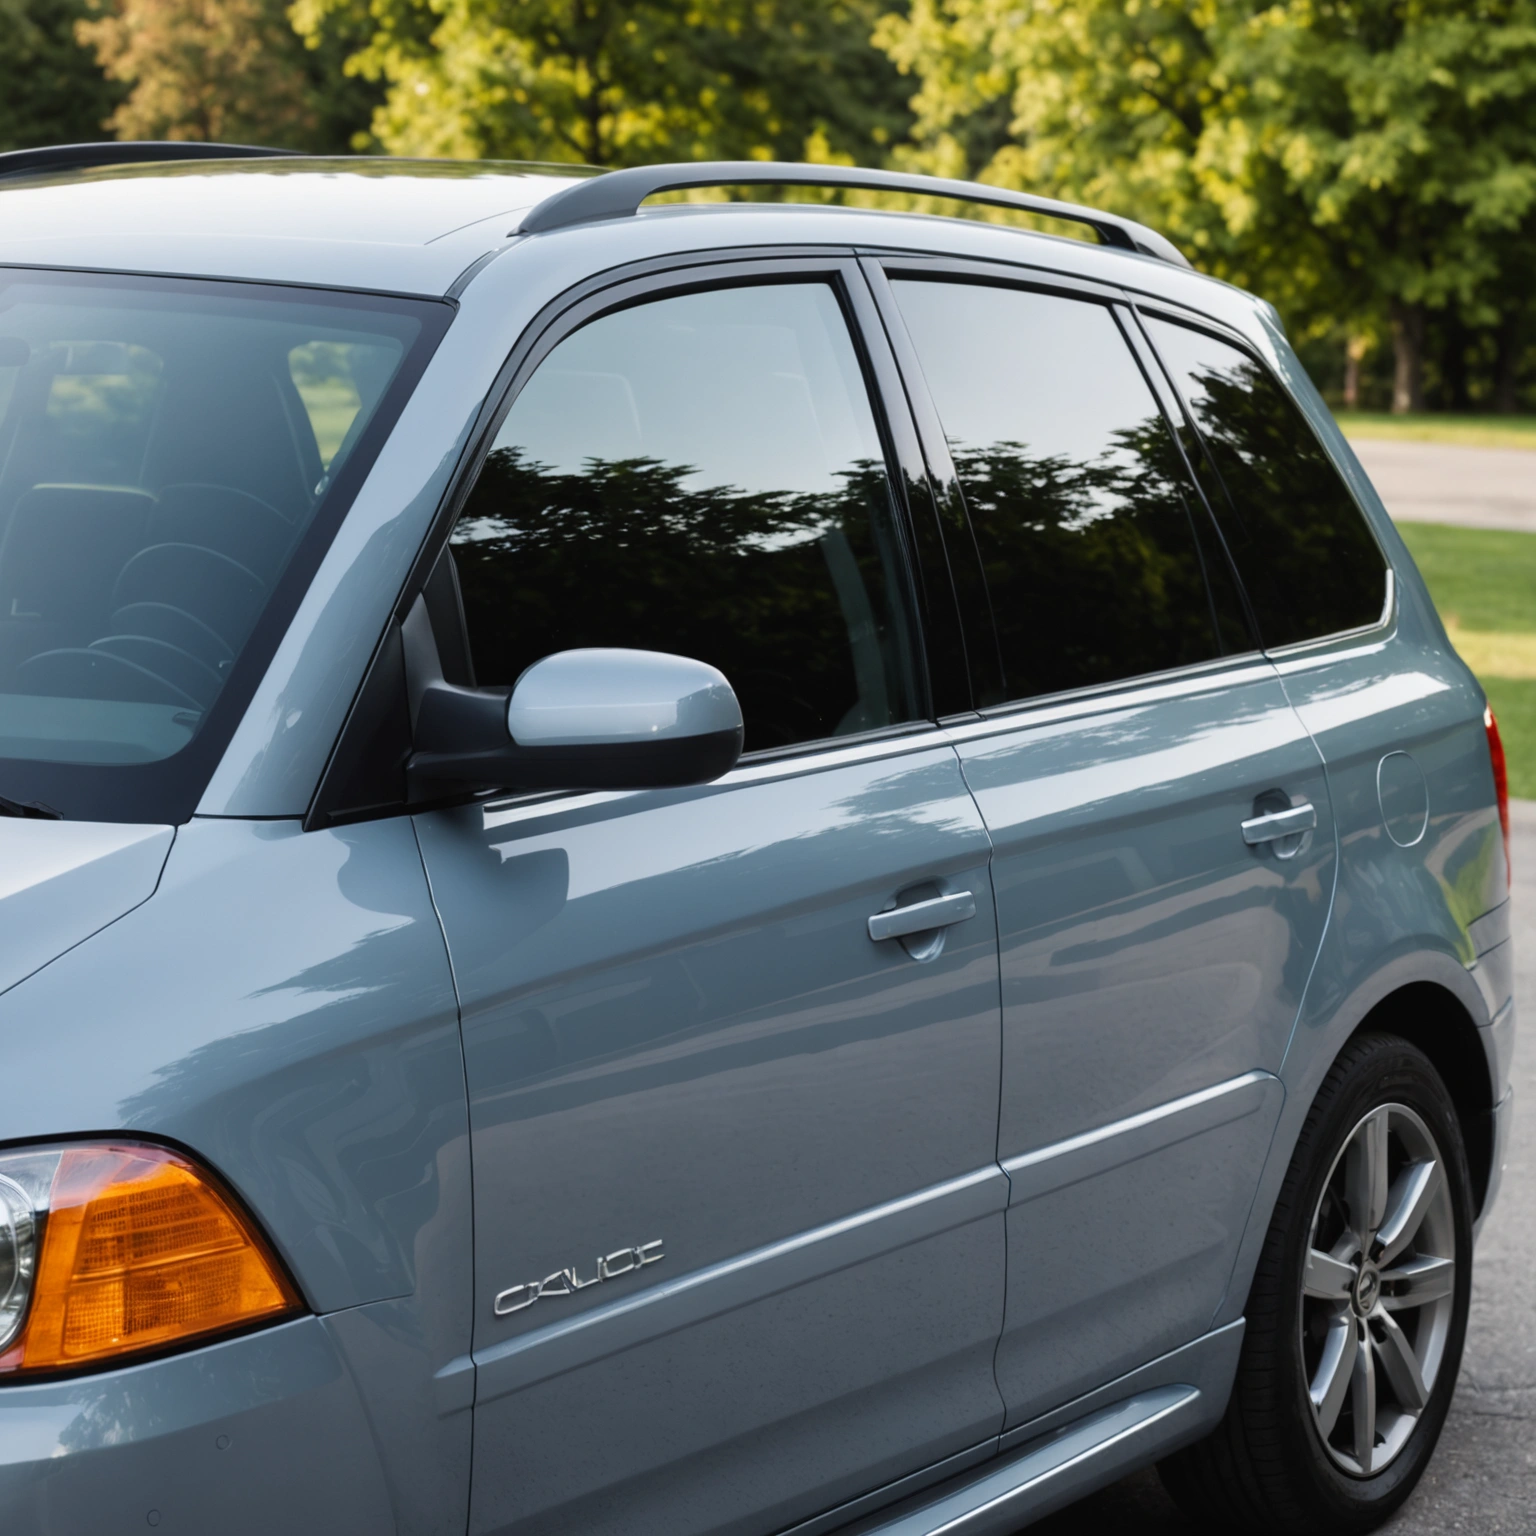
– For windows, avoid tint film or damaged areas that may affect adhesion.
### Measure and Size
– Use a measuring tape or ruler to determine decal placement.
– Create paper templates if necessary to visualize positioning.
– Confirm decal dimensions match the intended surface area to prevent gaps.
### Surface Compatibility
– Oracal 651 adheres well to smooth, flat surfaces.
– For textured or uneven surfaces, consider alternative vinyl types or additional prep.
## Installation Techniques
### Proper Tools
– Squeegee or application tool
– Transfer tape
– Masking tape for alignment
– Isopropyl alcohol and lint-free cloth
### Step-by-Step
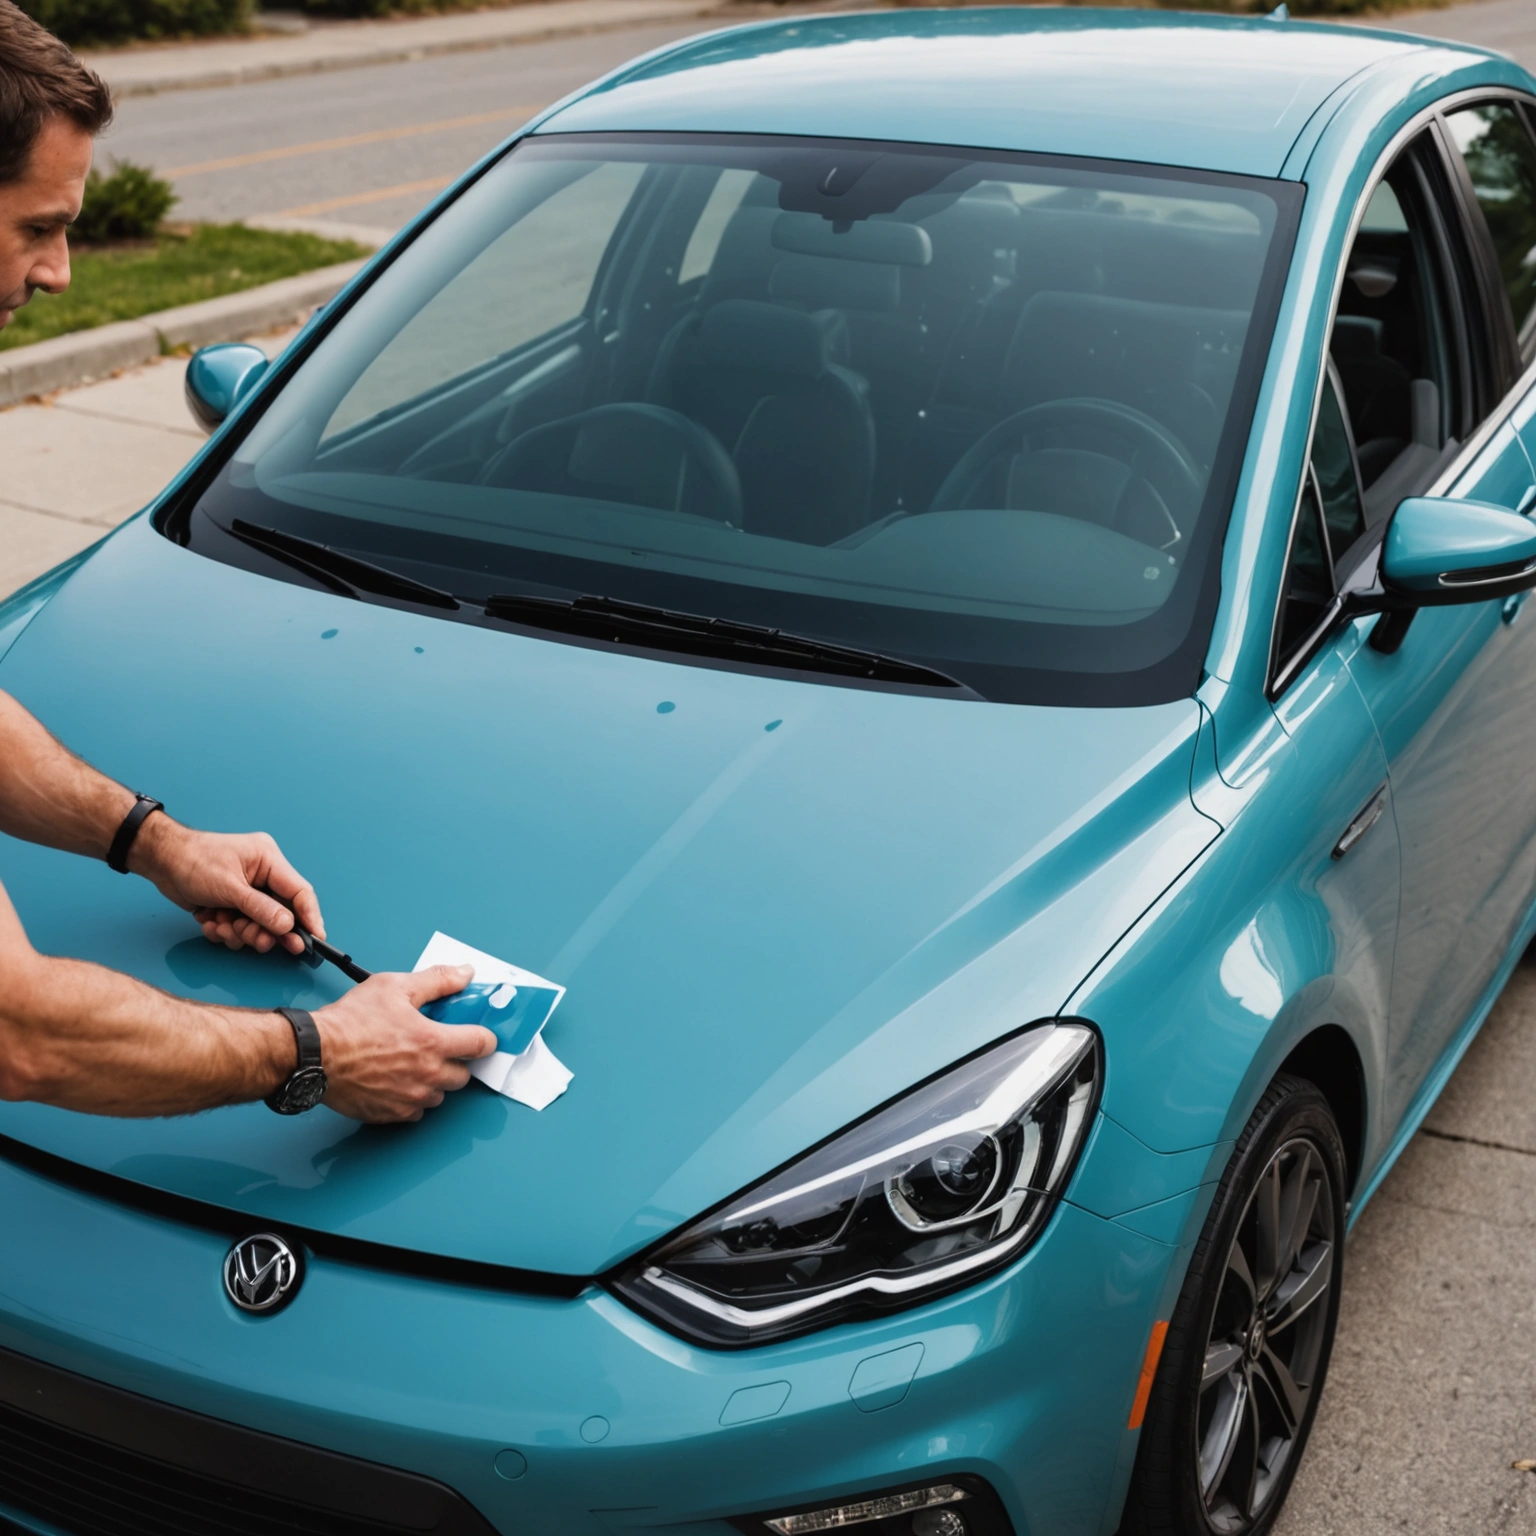
1. **Clean Surface**: Wipe with alcohol and let dry.
2. **Position Decal**: Use masking tape to mark placement.
3. **Align Carefully**: Check positioning multiple times before final placement.
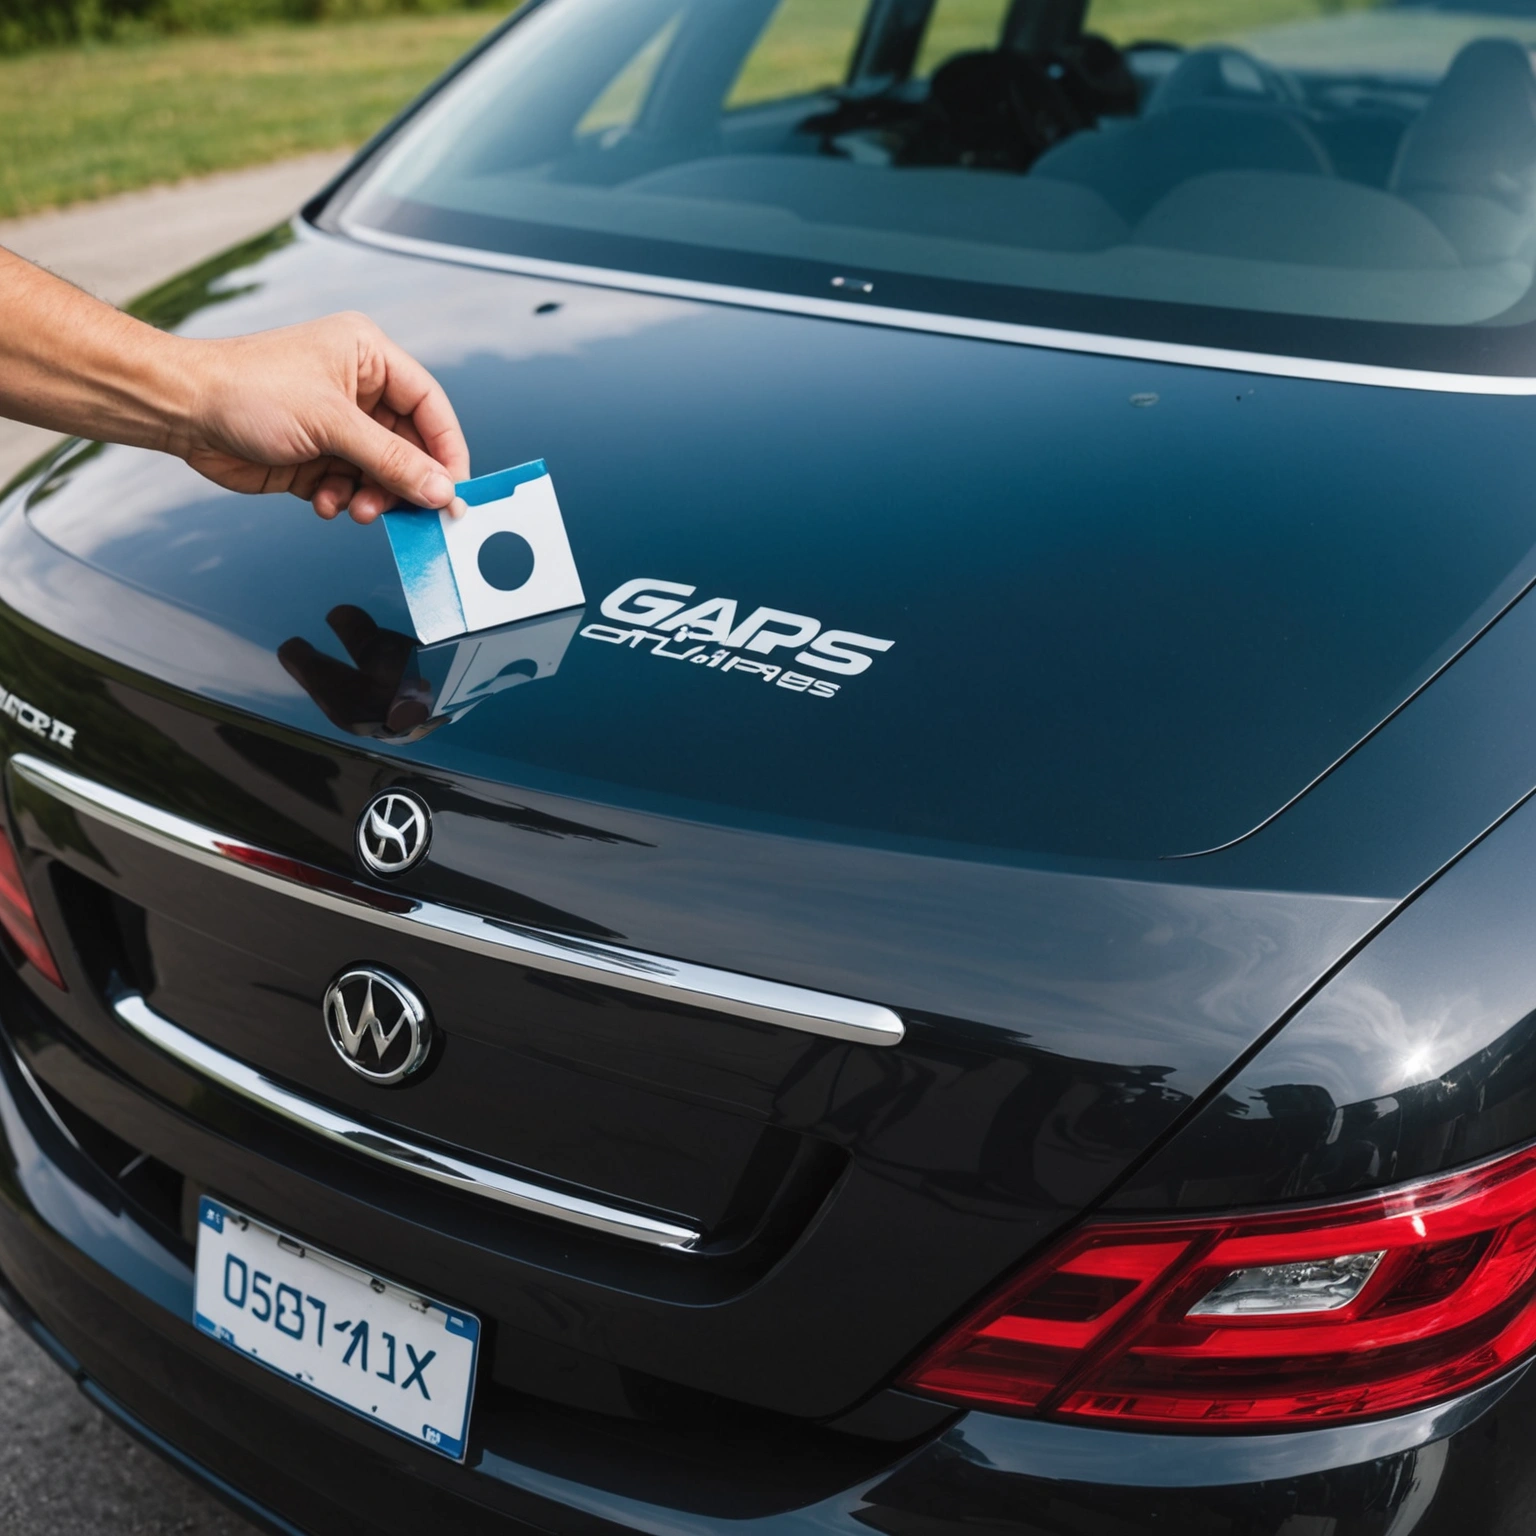
4. **Apply Transfer Tape**: Over the decal, then peel backing.
5. **Position and Stick**: Place decal on surface, starting from one edge.
6. **Smooth Out Bubbles**: Use squeegee from the center outward.
7. **Remove Transfer Tape**: Carefully peel back at a sharp angle.
### Pro Tips
– Work slowly and methodically to prevent shifting.
– Use a heat gun or hairdryer for stubborn decals to improve adhesion.
– Avoid installing in direct sunlight or extreme temperatures.
## Removal and Reapplication
– To prevent gaps during reapplication, clean the surface thoroughly.
– Use a heat gun to soften the decal if needed.
– Peel slowly at a sharp angle to minimize adhesive residue.
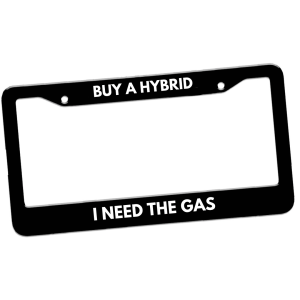
## Recommended Decals
– Custom text or logos
– Sports team decals
– Decorative patterns and graphics
## Conclusion
Preventing gaps when installing vinyl decals involves precise measurement, surface prep, and careful application. Master these steps for a clean, gap-free look that lasts.
**Shop our selection of high-quality Oracal 651 decals today and achieve flawless results!**
Shop this look


FAQs
**Q1:** How can I prevent gaps when applying vinyl decals?
**A:** Ensure the surface is thoroughly cleaned and dry. Use a squeegee to apply firm, even pressure from the center outward, removing air bubbles and preventing gaps. Pre-cut decals to fit precisely and avoid stretching during application.
**Q2:** Can I use Oracal 651 vinyl over tinted windows without gaps?
**A:** Yes, Oracal 651 adheres well to tinted glass if the surface is clean and smooth. Avoid applying over textured or uneven areas, and use a squeegee to eliminate air pockets, ensuring a seamless look.
**Q3:** How do I remove vinyl decals without damaging paint or tint?
**A3:** Gently heat the decal with a heat gun or hair dryer to loosen adhesive. Peel slowly at a low angle, and use adhesive remover if needed. Always test on a small area first to prevent damage to paint or tint.
{“@context”:”https://schema.org”,”@type”:”FAQPage”,”mainEntity”:[{“@type”:”Question”,”name”:”**Q1:** How can I prevent gaps when applying vinyl decals?”,”acceptedAnswer”:{“@type”:”Answer”,”text”:”**A:** Ensure the surface is thoroughly cleaned and dry. Use a squeegee to apply firm, even pressure from the center outward, removing air bubbles and preventing gaps. Pre-cut decals to fit precisely and avoid stretching during application.”}},{“@type”:”Question”,”name”:”**Q2:** Can I use Oracal 651 vinyl over tinted windows without gaps?”,”acceptedAnswer”:{“@type”:”Answer”,”text”:”**A:** Yes, Oracal 651 adheres well to tinted glass if the surface is clean and smooth. Avoid applying over textured or uneven areas, and use a squeegee to eliminate air pockets, ensuring a seamless look.”}},{“@type”:”Question”,”name”:”**Q3:** How do I remove vinyl decals without damaging paint or tint?”,”acceptedAnswer”:{“@type”:”Answer”,”text”:”**A3:** Gently heat the decal with a heat gun or hair dryer to loosen adhesive. Peel slowly at a low angle, and use adhesive remover if needed. Always test on a small area first to prevent damage to paint or tint.”}}]}
