
Quick links: All Decals • Holographic • Funny
**How to Make Custom Car Decals with Oracal 651 Vinyl**
Creating custom car decals with Oracal 651 vinyl is a straightforward process that produces durable, professional-looking results. Focus on proper sizing, surface prep, and installation techniques for the best outcome.
## Choosing the Right Vinyl and Surface
### Vinyl Compatibility

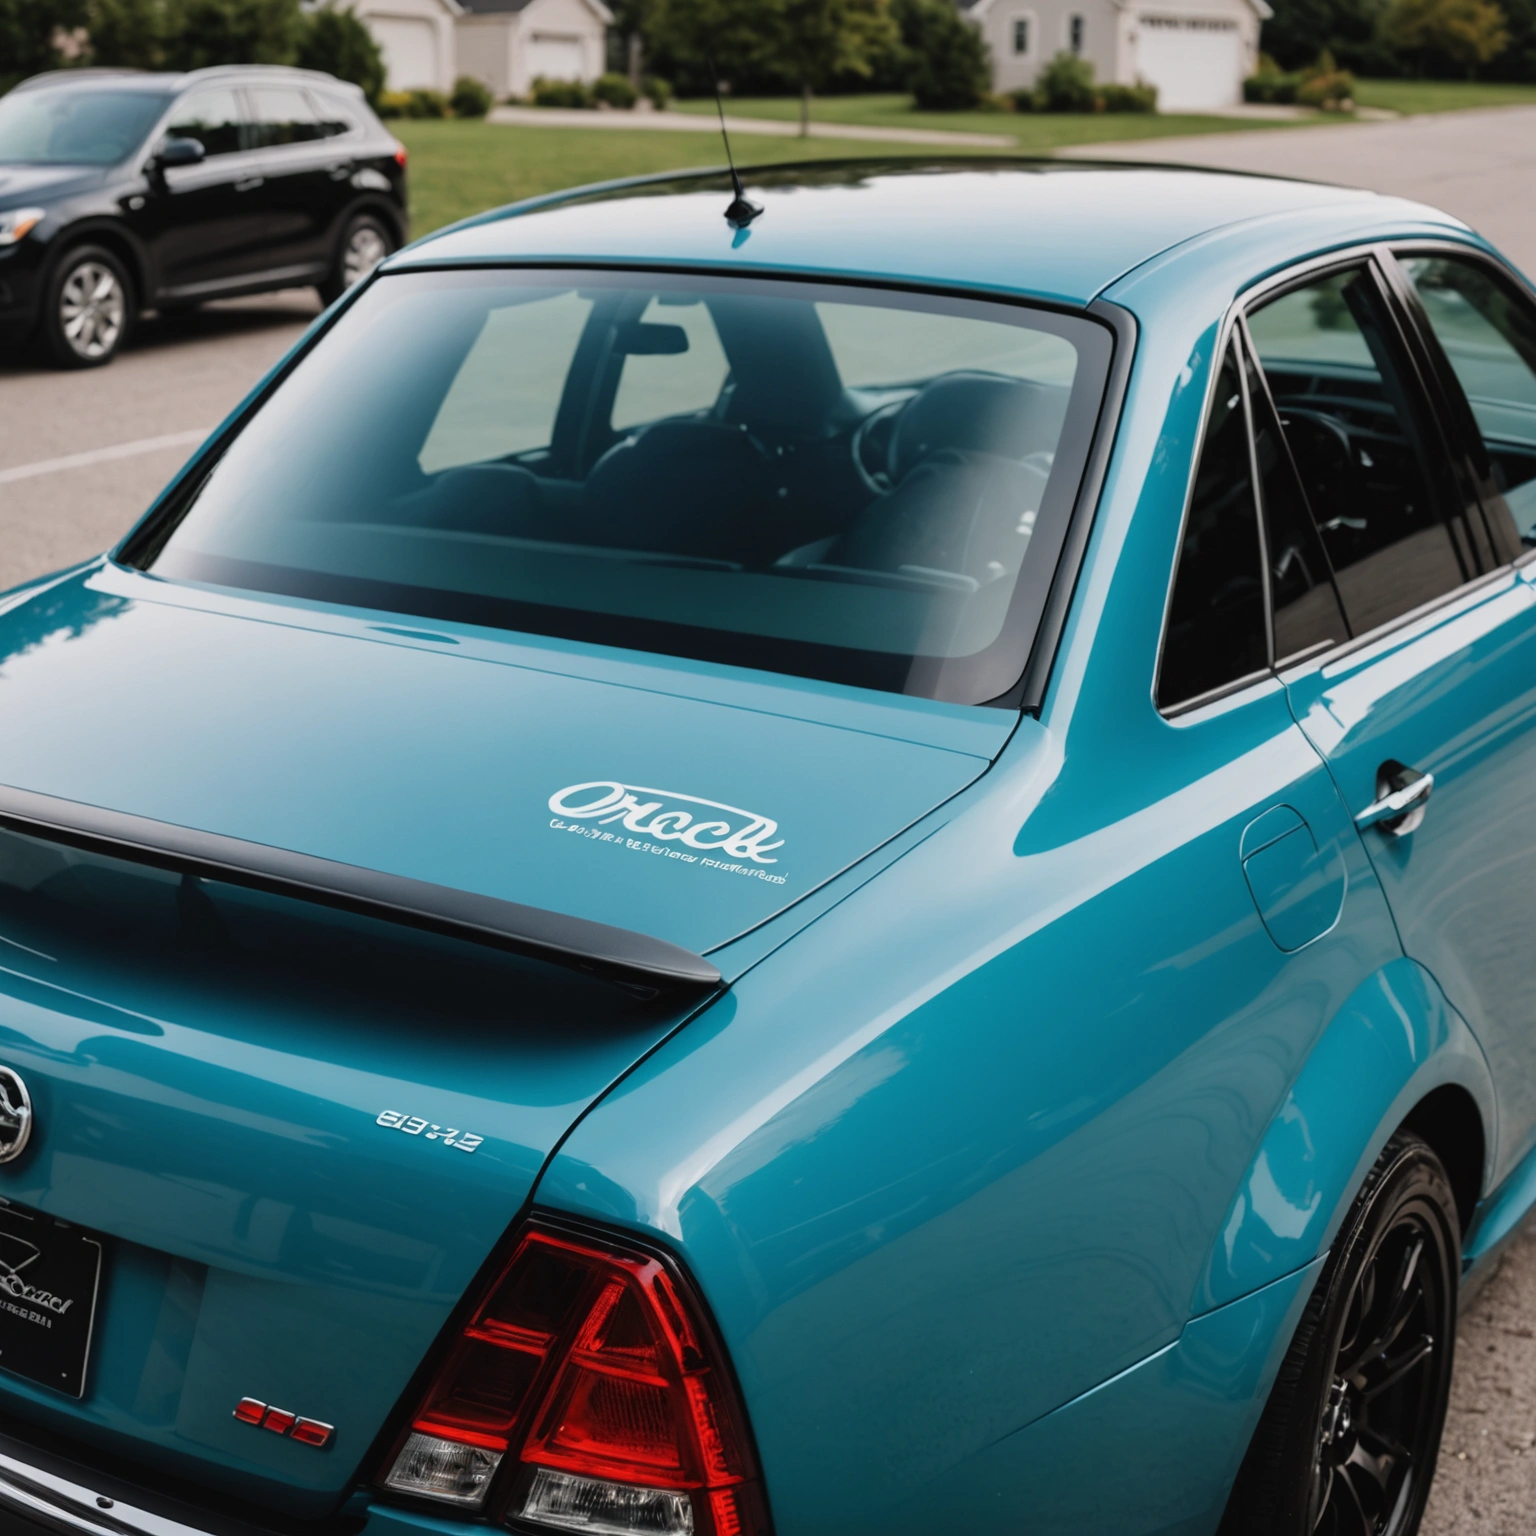
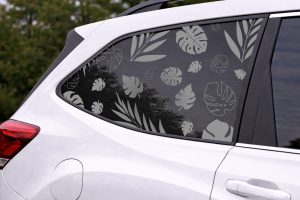
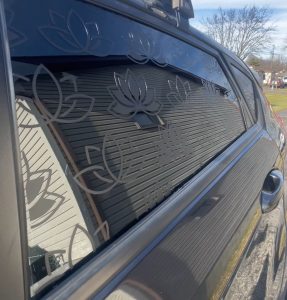
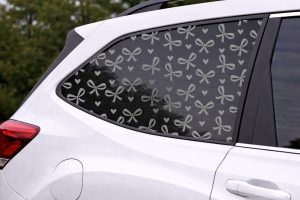
– Oracal 651 is a permanent, outdoor-rated vinyl ideal for car decals.
– Suitable for smooth, clean surfaces like painted metal, glass, and plastic.
– Avoid rough or textured surfaces that hinder adhesion.
### Surface Preparation
– Clean the area thoroughly with isopropyl alcohol to remove dirt, wax, and oil.
– Ensure the surface is dry before applying the decal.
## Designing and Sizing Your Decal
### Design Tips
– Use vector graphics for crisp edges.
– Keep text or intricate details within 2-3 inches for clarity.
### Sizing
– Measure the area where the decal will go.
– Leave a margin around the design for a clean look.
– For large decals, consider dividing into sections for easier installation.
## Cutting and Weeding
### Cutting
– Use a vinyl cutter with a blade set to the correct depth.
– Set the cutter to a slow speed for precise cuts.
### Weeding
– Remove excess vinyl carefully, leaving only your design.
– Use weeding tools for small or intricate areas.
## Applying the Decal
### Transfer Tape
– Apply a clear transfer tape over the weeded decal.
– Use a squeegee to eliminate air bubbles and ensure adhesion.
### Installation
– Position the decal on the clean surface.
– Use masking tape to hold it in place temporarily.
– Peel back the transfer tape at a 45° angle while applying firm, even pressure with a squeegee.
## Removal and Maintenance
### Removal
– Gently peel from a corner, pulling slowly.
– Use heat (a heat gun or hairdryer) for stubborn decals.
### Maintenance
– Wash with mild soap and water.
– Avoid abrasive cleaners or scrubbing directly on the decal.
## Pro Tips
– Always test a small decal first.
– For curved surfaces, use a squeegee with a flexible edge.
– Store unused vinyl in a cool, dark place to prolong shelf life.
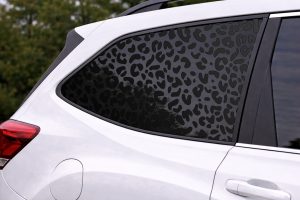
## Recommended Decals
– Custom text or logos
– Sports team decals
– Personal monograms
– Brand logos
## Conclusion
Making custom car decals with Oracal 651 vinyl is accessible and customizable with proper prep and application. For professional results, follow these steps carefully and choose the right design for your vehicle.
**Shop our selection of Oracal 651 vinyl and tools today to start creating your own custom decals!**
Shop this look
FAQs
**Q1: Can I use Oracal 651 for custom car decals?**
A1: Yes, Oracal 651 is a popular 2-mil, glossy, permanent vinyl ideal for detailed, durable car decals. It adheres well to painted surfaces and glass, making it suitable for outdoor use.
**Q2: How do I prevent damage when removing Oracal 651 decals?**
A2: Use heat from a heat gun or hairdryer to soften the adhesive, then gently peel from a corner. Apply adhesive remover or isopropyl alcohol if residue remains. Avoid scraping to prevent paint or tint damage.
**Q3: Can Oracal 651 be applied over window tint?**
A3: Yes, Oracal 651 can be applied over tint, but ensure the surface is clean and dry. Be cautious during removal, as pulling decals off tint may lift or damage the film. Use heat for easier removal.
{“@context”:”https://schema.org”,”@type”:”FAQPage”,”mainEntity”:[{“@type”:”Question”,”name”:”**Q1: Can I use Oracal 651 for custom car decals?**”,”acceptedAnswer”:{“@type”:”Answer”,”text”:”A1: Yes, Oracal 651 is a popular 2-mil, glossy, permanent vinyl ideal for detailed, durable car decals. It adheres well to painted surfaces and glass, making it suitable for outdoor use.”}},{“@type”:”Question”,”name”:”**Q2: How do I prevent damage when removing Oracal 651 decals?**”,”acceptedAnswer”:{“@type”:”Answer”,”text”:”A2: Use heat from a heat gun or hairdryer to soften the adhesive, then gently peel from a corner. Apply adhesive remover or isopropyl alcohol if residue remains. Avoid scraping to prevent paint or tint damage.”}},{“@type”:”Question”,”name”:”**Q3: Can Oracal 651 be applied over window tint?**”,”acceptedAnswer”:{“@type”:”Answer”,”text”:”A3: Yes, Oracal 651 can be applied over tint, but ensure the surface is clean and dry. Be cautious during removal, as pulling decals off tint may lift or damage the film. Use heat for easier removal.”}}]}
