
**How to Install XM Radio in Your Car: A Step-by-Step Guide**
Upgrading your vehicle’s audio system with XM Radio is a great way to enjoy a wide variety of music, news, sports, and talk shows on the go. Installing XM Radio can be straightforward if you have the right equipment and follow the proper steps. Here’s a comprehensive guide to help you install XM Radio in your car.
—
### What You’ll Need:
– **XM Radio receiver (also called a tuner)**
– **XM Radio antenna (usually a magnetic or adhesive mount)**
– **FM transmitter or auxiliary input (if your car stereo doesn’t have an AUX or Bluetooth input)**
– **Power adapter or harness (often included with the receiver)**
– **Basic tools:** Screwdrivers, wire cutters/strippers, and possibly a panel removal tool
– **Optional:** FM modulator or FM transmitter (if you can’t connect via aux)
—
### Step 1: Choose Your XM Radio Setup
There are two main options:
– **Plug-and-play radios:** These are standalone units that connect directly to your car’s power and audio system.
– **Aftermarket or factory integration:** These systems integrate with your existing stereo, often requiring professional installation.
For most DIYers, a plug-and-play kit is easiest.
—
### Step 2: Prepare Your Vehicle
– Park your car in a safe, well-lit area.
– Turn off the ignition and remove the key.
– If necessary, disconnect the negative terminal of the battery to avoid any electrical issues.
—
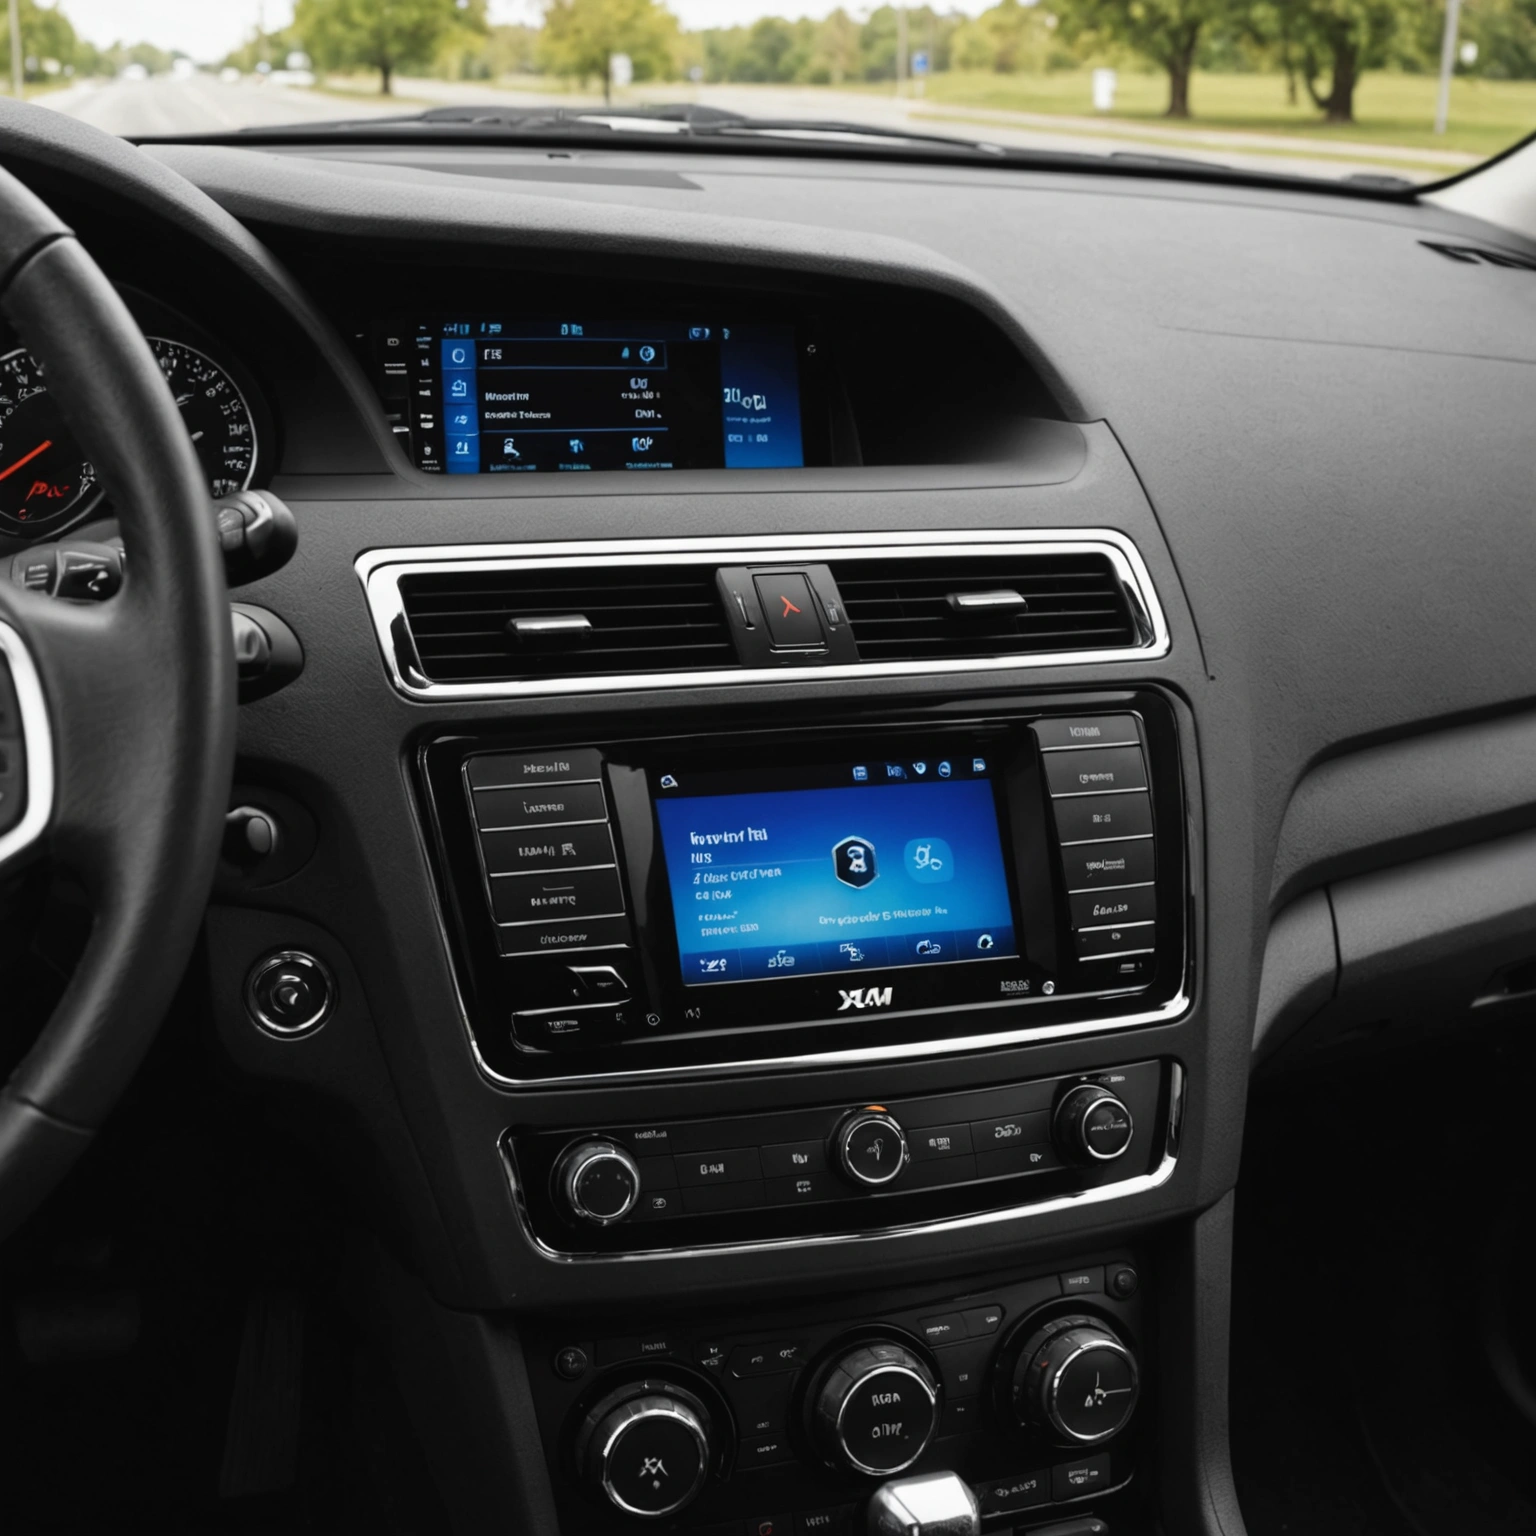
### Step 3: Mount the XM Radio Receiver
– Find a suitable location for the receiver, such as the dashboard, center console, or under the seat.
– Use the provided mounting bracket or adhesive pad.
– Ensure the receiver is accessible for controls and visible for display.
—
### Step 4: Install the Antenna
– Place the antenna on a metal surface like the roof or trunk for optimal reception.
– Use the magnetic mount or adhesive pad included.
– Run the antenna cable through a door seal or along the headliner to hide it and prevent damage.
—
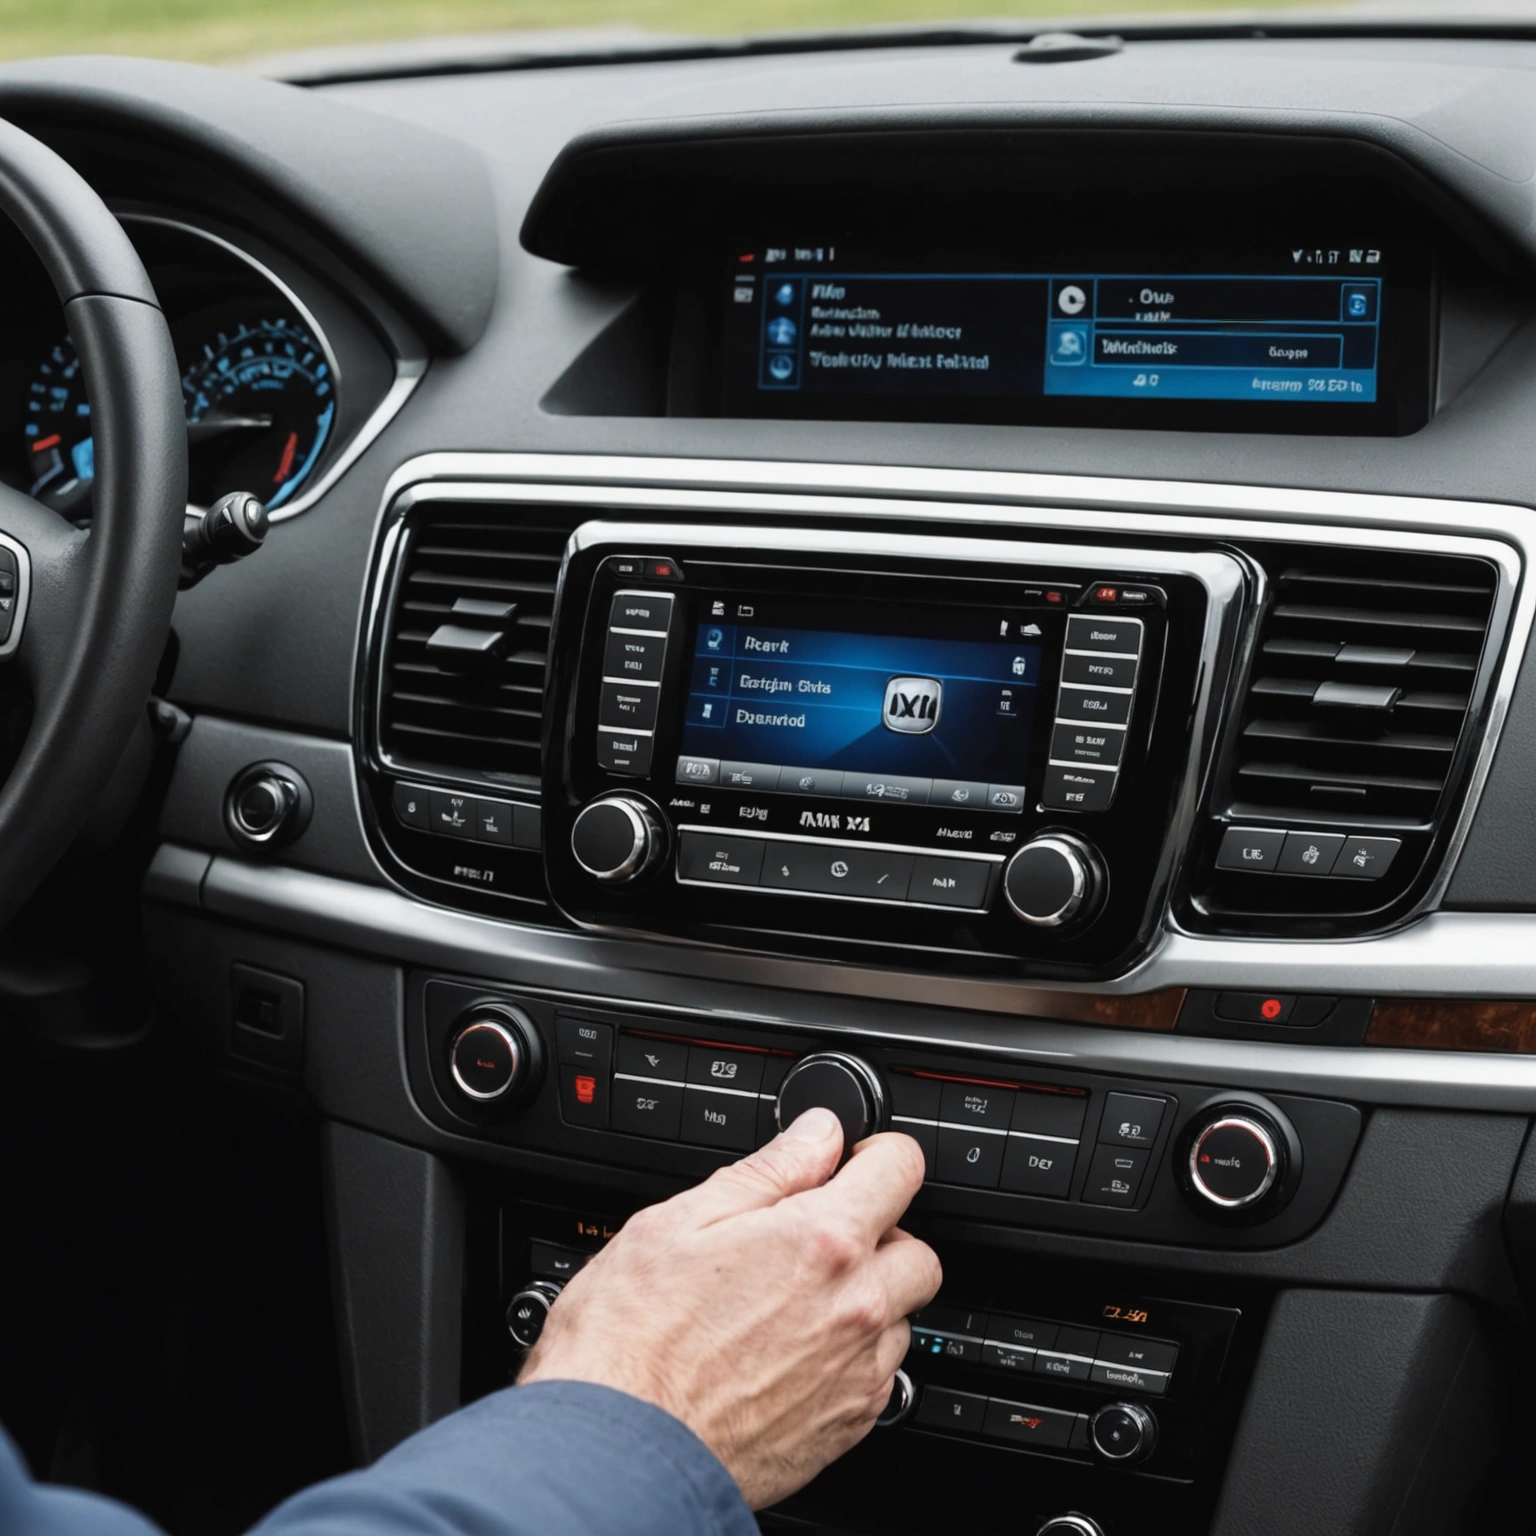
### Step 5: Connect Power and Audio
– **Power connection:** Connect the receiver’s power cord to a 12V accessory power source, typically by plugging into the cigarette lighter socket or wiring directly to the fuse box using a fuse tap.
– **Audio connection:**
– If your stereo has an AUX input, connect the receiver’s audio output (3.5mm jack or RCA) to it.
– If not, consider using an FM transmitter to broadcast the audio to an unused FM frequency on your radio.
—
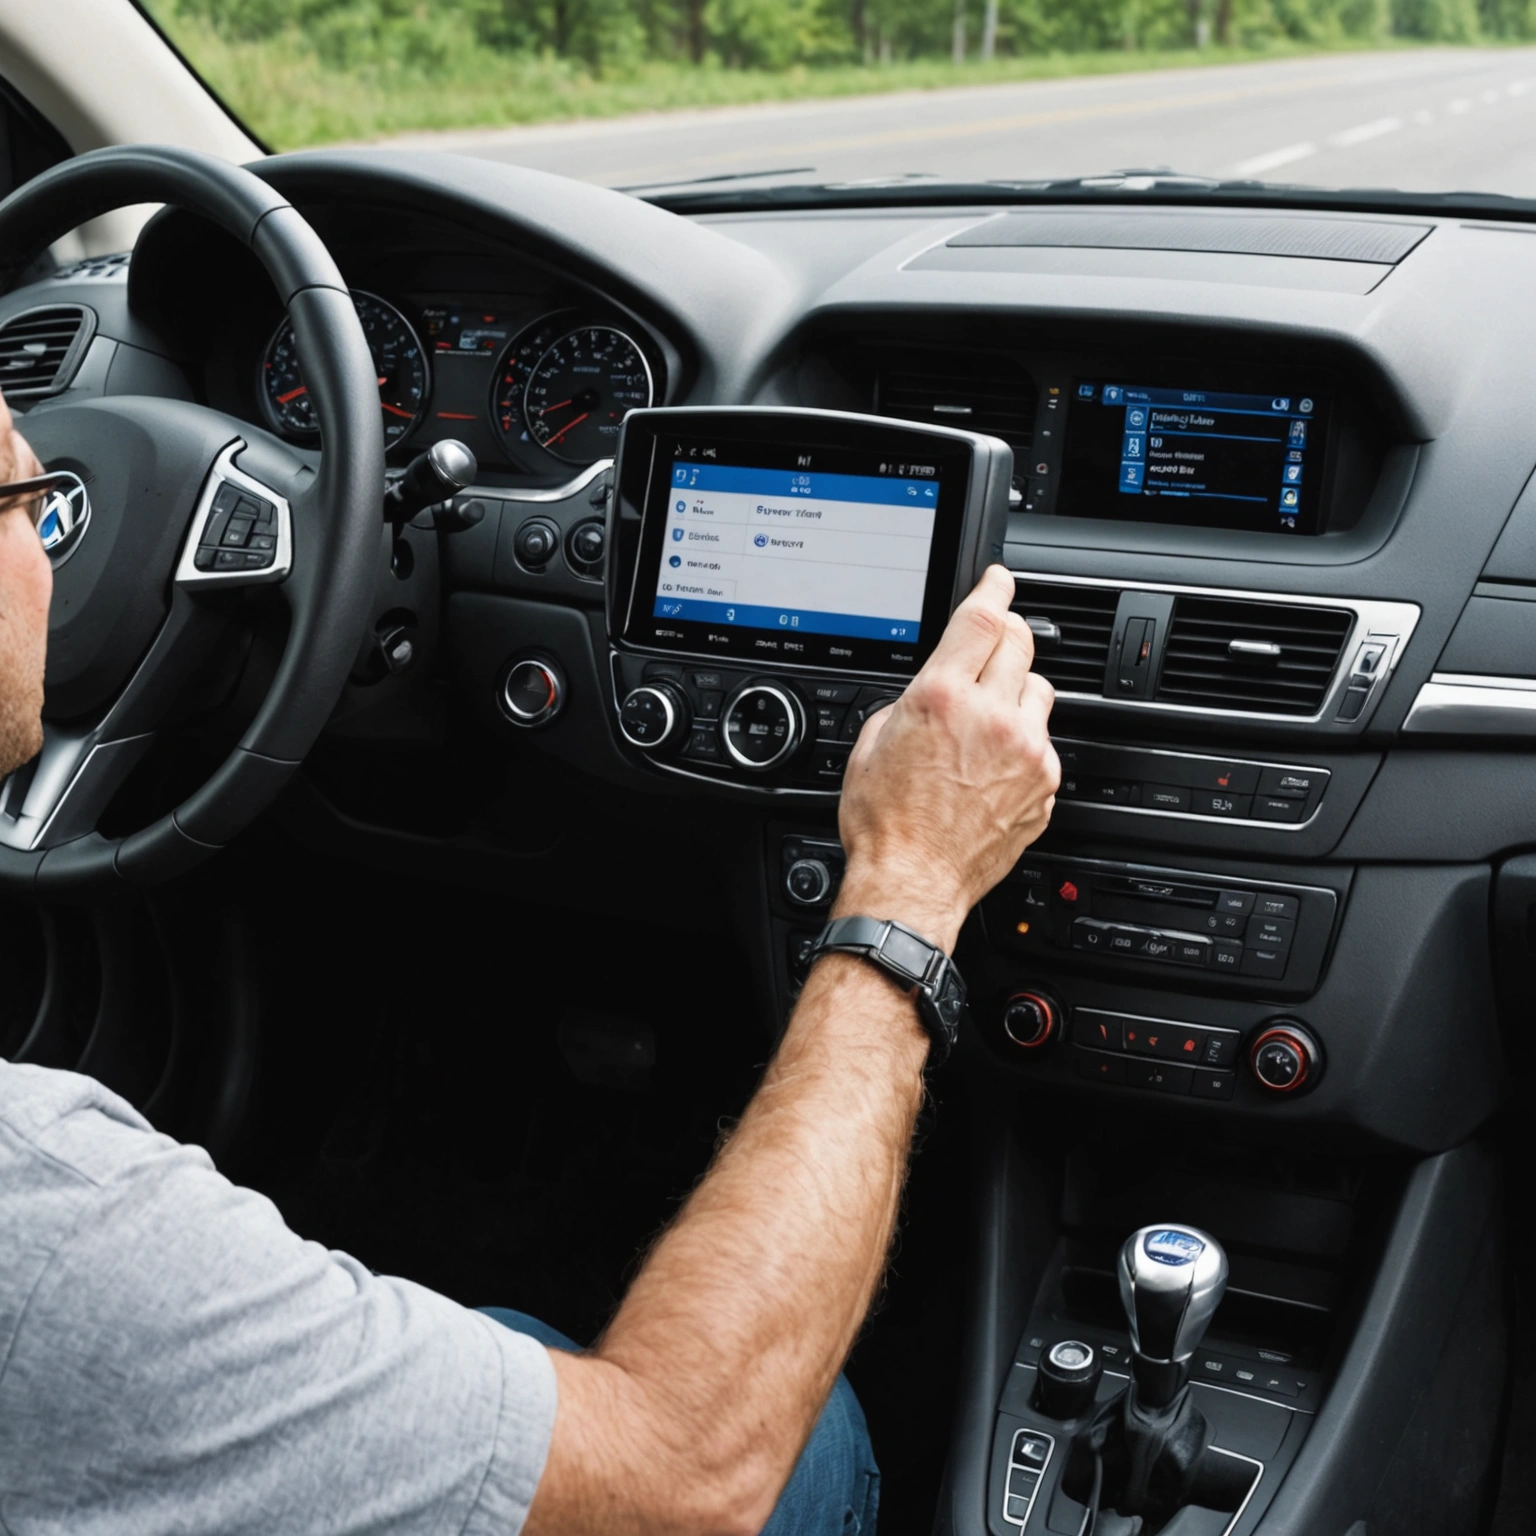
### Step 6: Tune and Activate
– Turn on your vehicle.
– Power on the XM Radio receiver.
– Use your car’s stereo to tune to the appropriate input (AUX or FM frequency).
– Follow the instructions provided with your XM Radio to activate the service:
– Visit the XM activation website or call customer service.
– Enter your radio ID (found on the receiver or in the setup menu).
—
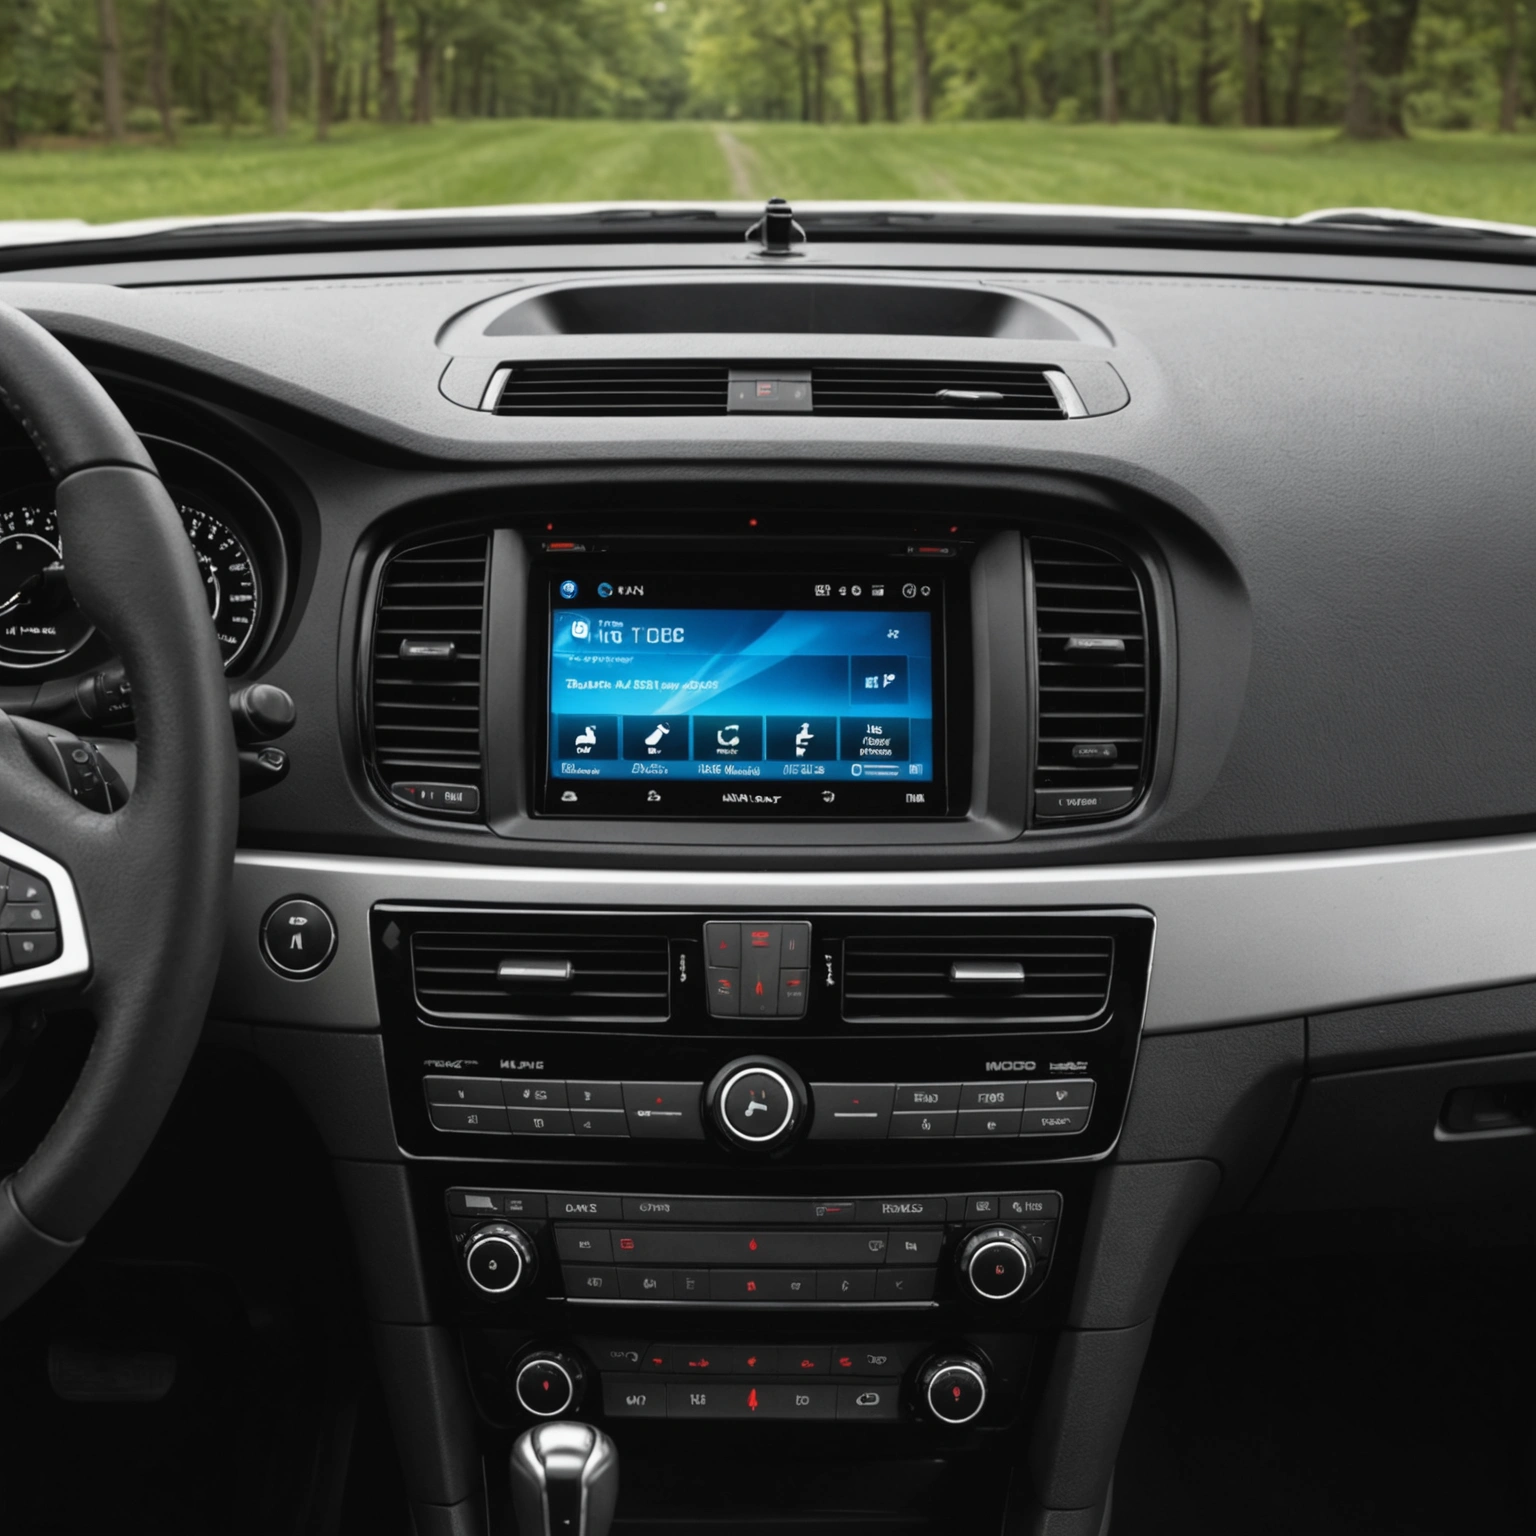
### Step 7: Final Checks
– Confirm that you can hear sound through your speakers.
– Adjust the antenna position for the best reception.
– Secure all cables and ensure nothing is loose or dangling.
—
### Tips for a Successful Installation:
– Consult your vehicle’s manual for specific wiring and mounting options.
– Use cable clips or zip ties to organize and secure wiring.
– Avoid placing the antenna where it could be obstructed or damaged.
– If you’re uncomfortable with wiring or vehicle electronics, consider professional installation.
—
### Conclusion
Installing XM Radio in your car can be a rewarding DIY project that enhances your driving experience. By following these steps carefully, you’ll enjoy a wide array of entertainment options right from your vehicle’s sound system. Happy listening!
—
**Need more help?** Check your XM Radio’s user manual or contact customer support for model-specific instructions.
