
Quick links: All Decals • Holographic • Funny
## How to Choose Durable Vinyl Decals for Your License Plate Frame
Selecting the right vinyl decal ensures your design stays vibrant and intact despite weather and car washes. Focus on Oracal 651 vinyl, size, compatibility with your surface, and proper installation for best results.
## Understanding Vinyl Types and Compatibility
### Why Oracal 651?
– **Durability:** 651 is a high-quality, outdoor-rated calendared vinyl with excellent conformability and longevity.
– **Weather Resistance:** It withstands UV exposure, rain, and car washes for up to 6 years.
### Surface Compatibility
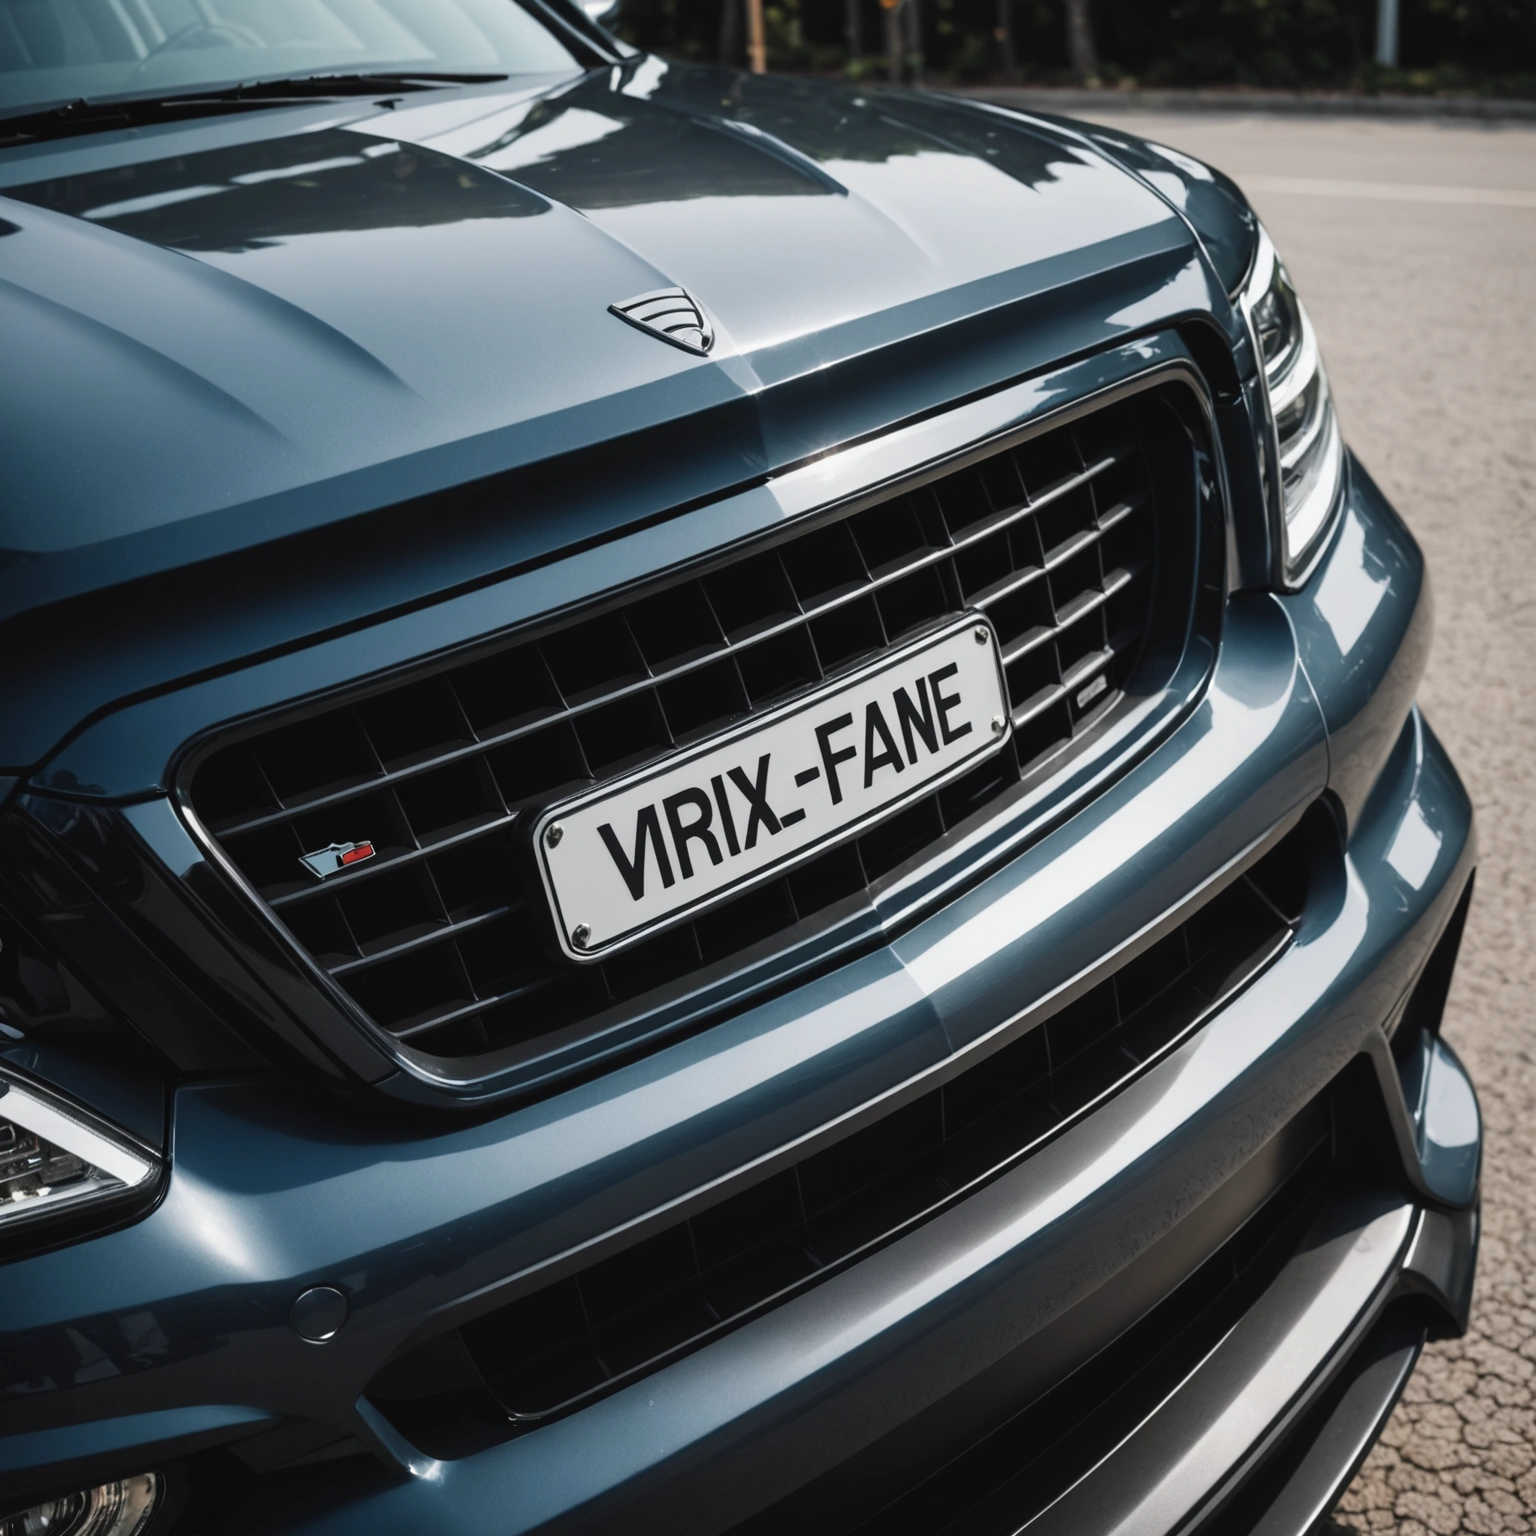
– **Painted surfaces:** Oracal 651 adheres well to smooth, clean painted license plate frames.
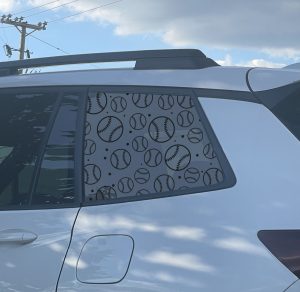
– **Windows:** Use only on flat, non-textured glass surfaces; avoid tint films or textured glass.
– **Preparation:** Clean thoroughly with isopropyl alcohol to remove dirt, wax, or grease.
## Choosing the Right Size and Design
### Sizing Tips
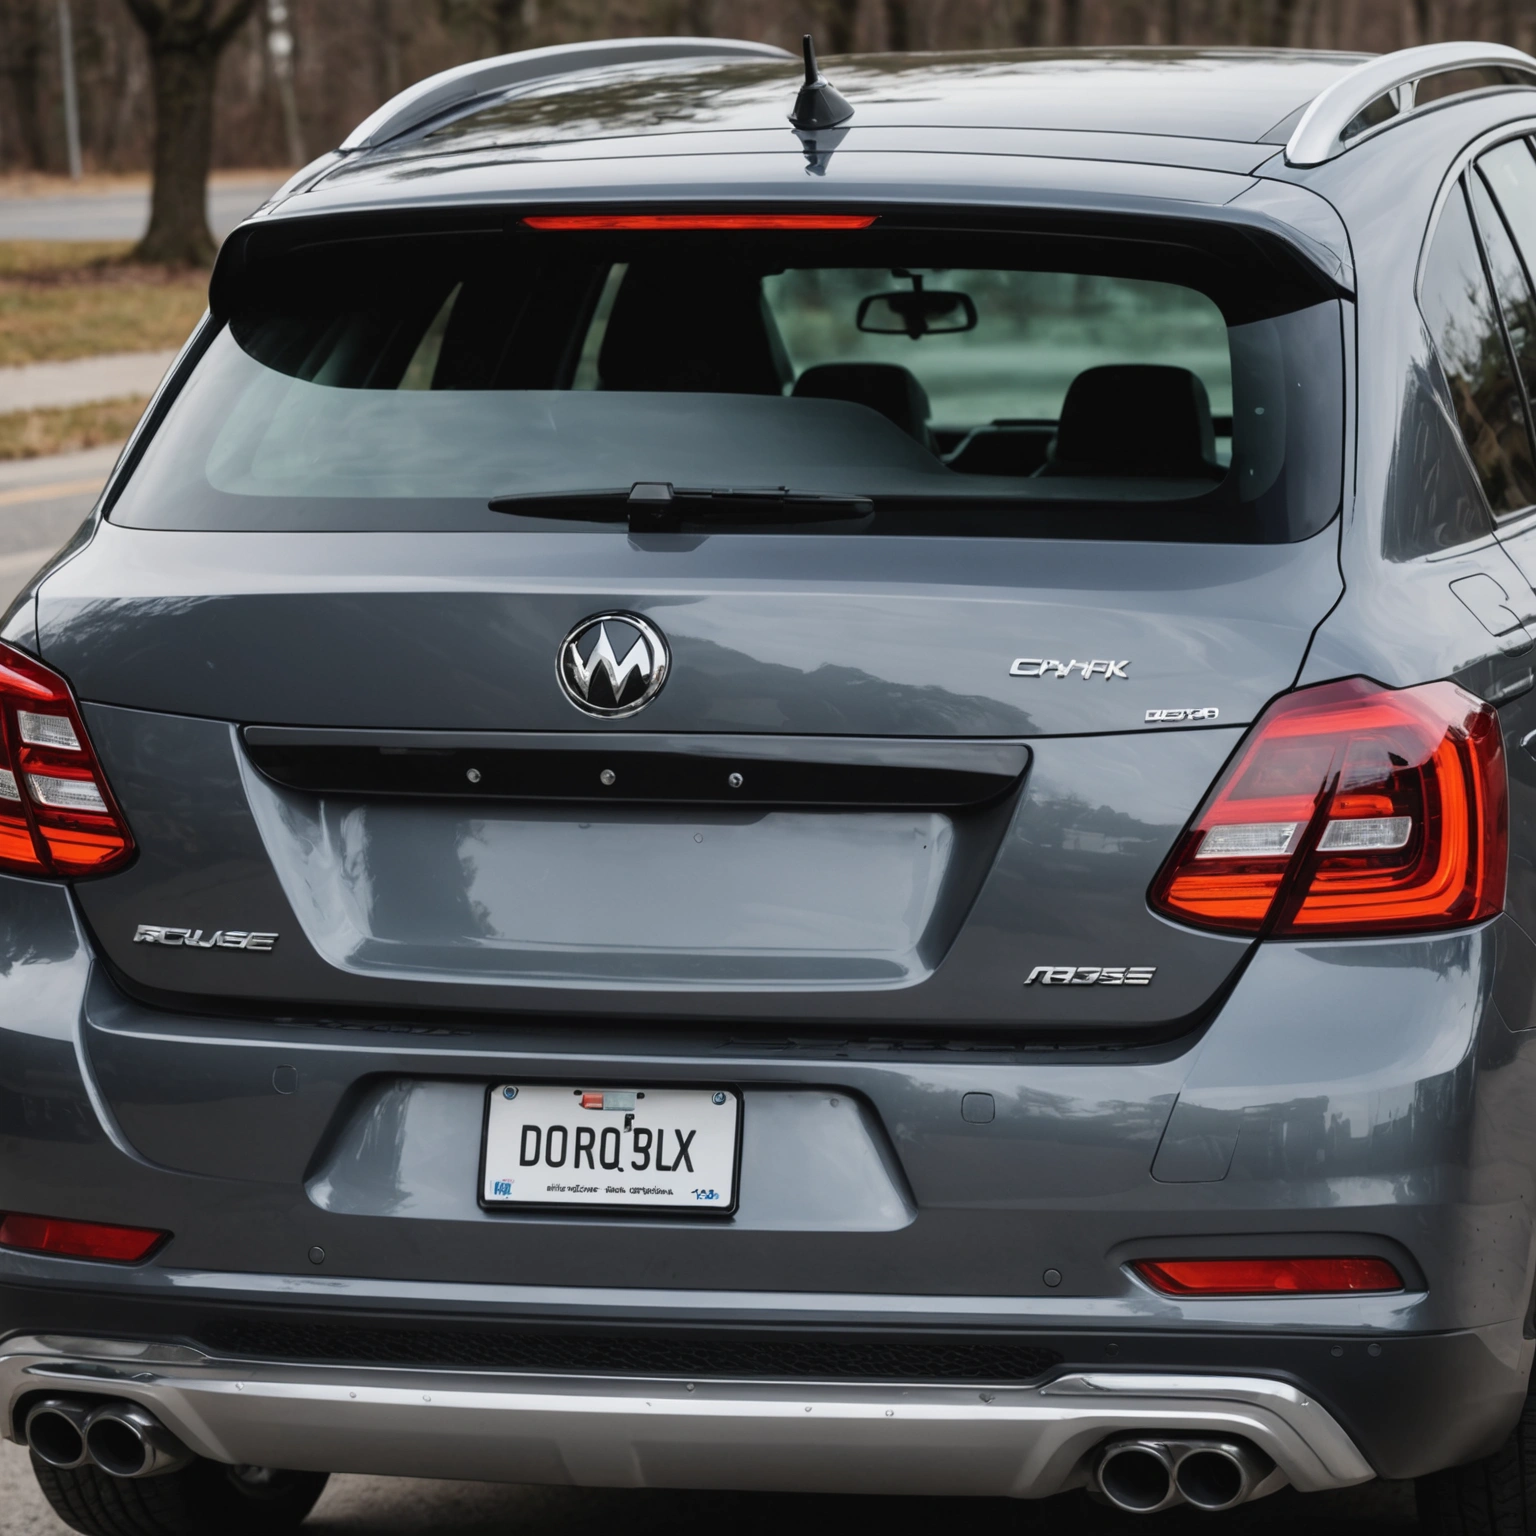
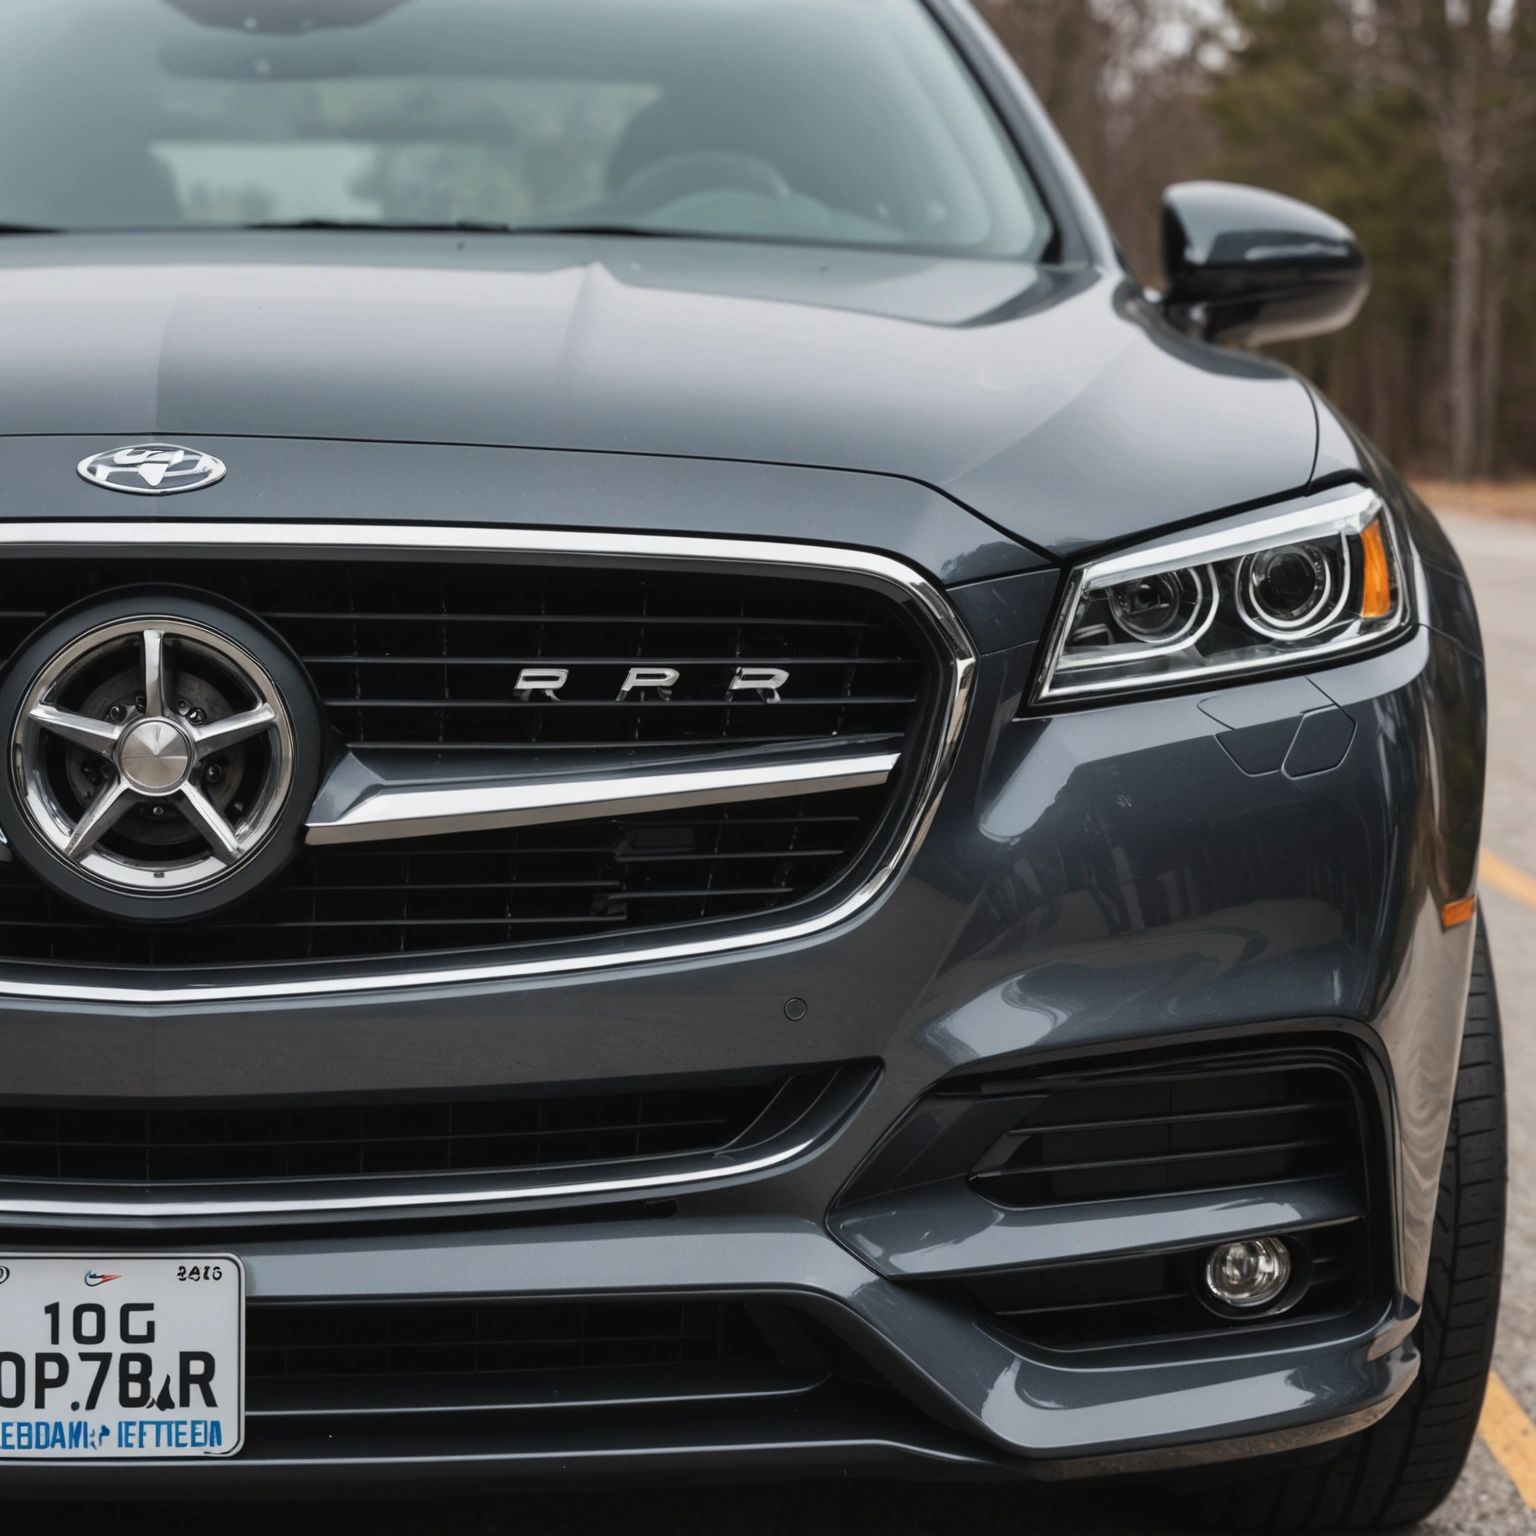
– Match decal size to your license plate frame dimensions; typically 3-5 inches wide.
– Avoid overly large designs that may peel or catch wind.
### Design Considerations
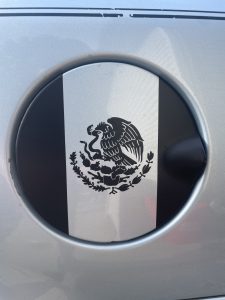
– Keep designs simple for longevity.
– Use bold, contrasting colors for visibility.
## Installation Best Practices
### Preparation
– Clean the surface thoroughly.
– Use a squeegee or credit card to remove air bubbles.
### Application
– Position carefully before peeling backing.
– Apply from center outward in smooth strokes.
### Pro Tips
– Work in a dust-free environment.
– Use transfer tape for complex designs.
## Removal and Maintenance
### Removal Tips
– Heat the decal with a heat gun or blow dryer for easier removal.
– Peel slowly to prevent paint damage.
### Maintenance
– Wash gently; avoid abrasive brushes.
– Inspect periodically for lifting or cracking.
## Recommended Decals
– Simple text-based decals with bold fonts.
– Logos or symbols with high contrast.
– Custom designs with minimal intricate details.
## Conclusion
Choosing a durable vinyl decal involves selecting high-quality Oracal 651 vinyl, ensuring proper size and surface compatibility, and following best installation and removal practices. Proper care will keep your decal looking sharp for years.
**Ready to personalize your license plate frame? Shop our selection of durable vinyl decals today!**
Shop this look


FAQs
**Q1:** What type of vinyl is best for license plate frame decals?
**A1:** Oracal 651 is ideal due to its durability, weather resistance, and adhesive strength, making it perfect for outdoor use on license plates.
**Q2:** Can I apply vinyl decals over tinted or painted surfaces?
**A2:** Yes, but ensure surfaces are clean and dry. For tinted windows, use a vinyl compatible with glass, like Oracal 651, and avoid applying over fresh paint or tint.
**Q3:** How do I remove vinyl decals from my license plate frame without damage?
**A3:** Gently heat the decal with a heat gun or hairdryer, then peel slowly. Use adhesive remover if needed, and clean the surface thoroughly afterward.
{“@context”:”https://schema.org”,”@type”:”FAQPage”,”mainEntity”:[{“@type”:”Question”,”name”:”**Q1:** What type of vinyl is best for license plate frame decals?”,”acceptedAnswer”:{“@type”:”Answer”,”text”:”**A1:** Oracal 651 is ideal due to its durability, weather resistance, and adhesive strength, making it perfect for outdoor use on license plates.”}},{“@type”:”Question”,”name”:”**Q2:** Can I apply vinyl decals over tinted or painted surfaces?”,”acceptedAnswer”:{“@type”:”Answer”,”text”:”**A2:** Yes, but ensure surfaces are clean and dry. For tinted windows, use a vinyl compatible with glass, like Oracal 651, and avoid applying over fresh paint or tint.”}},{“@type”:”Question”,”name”:”**Q3:** How do I remove vinyl decals from my license plate frame without damage?”,”acceptedAnswer”:{“@type”:”Answer”,”text”:”**A3:** Gently heat the decal with a heat gun or hairdryer, then peel slowly. Use adhesive remover if needed, and clean the surface thoroughly afterward.”}}]}
