
Quick links: All Decals • Holographic • Funny
**How to Choose Durable Vinyl Decals for Offroad Vehicles**
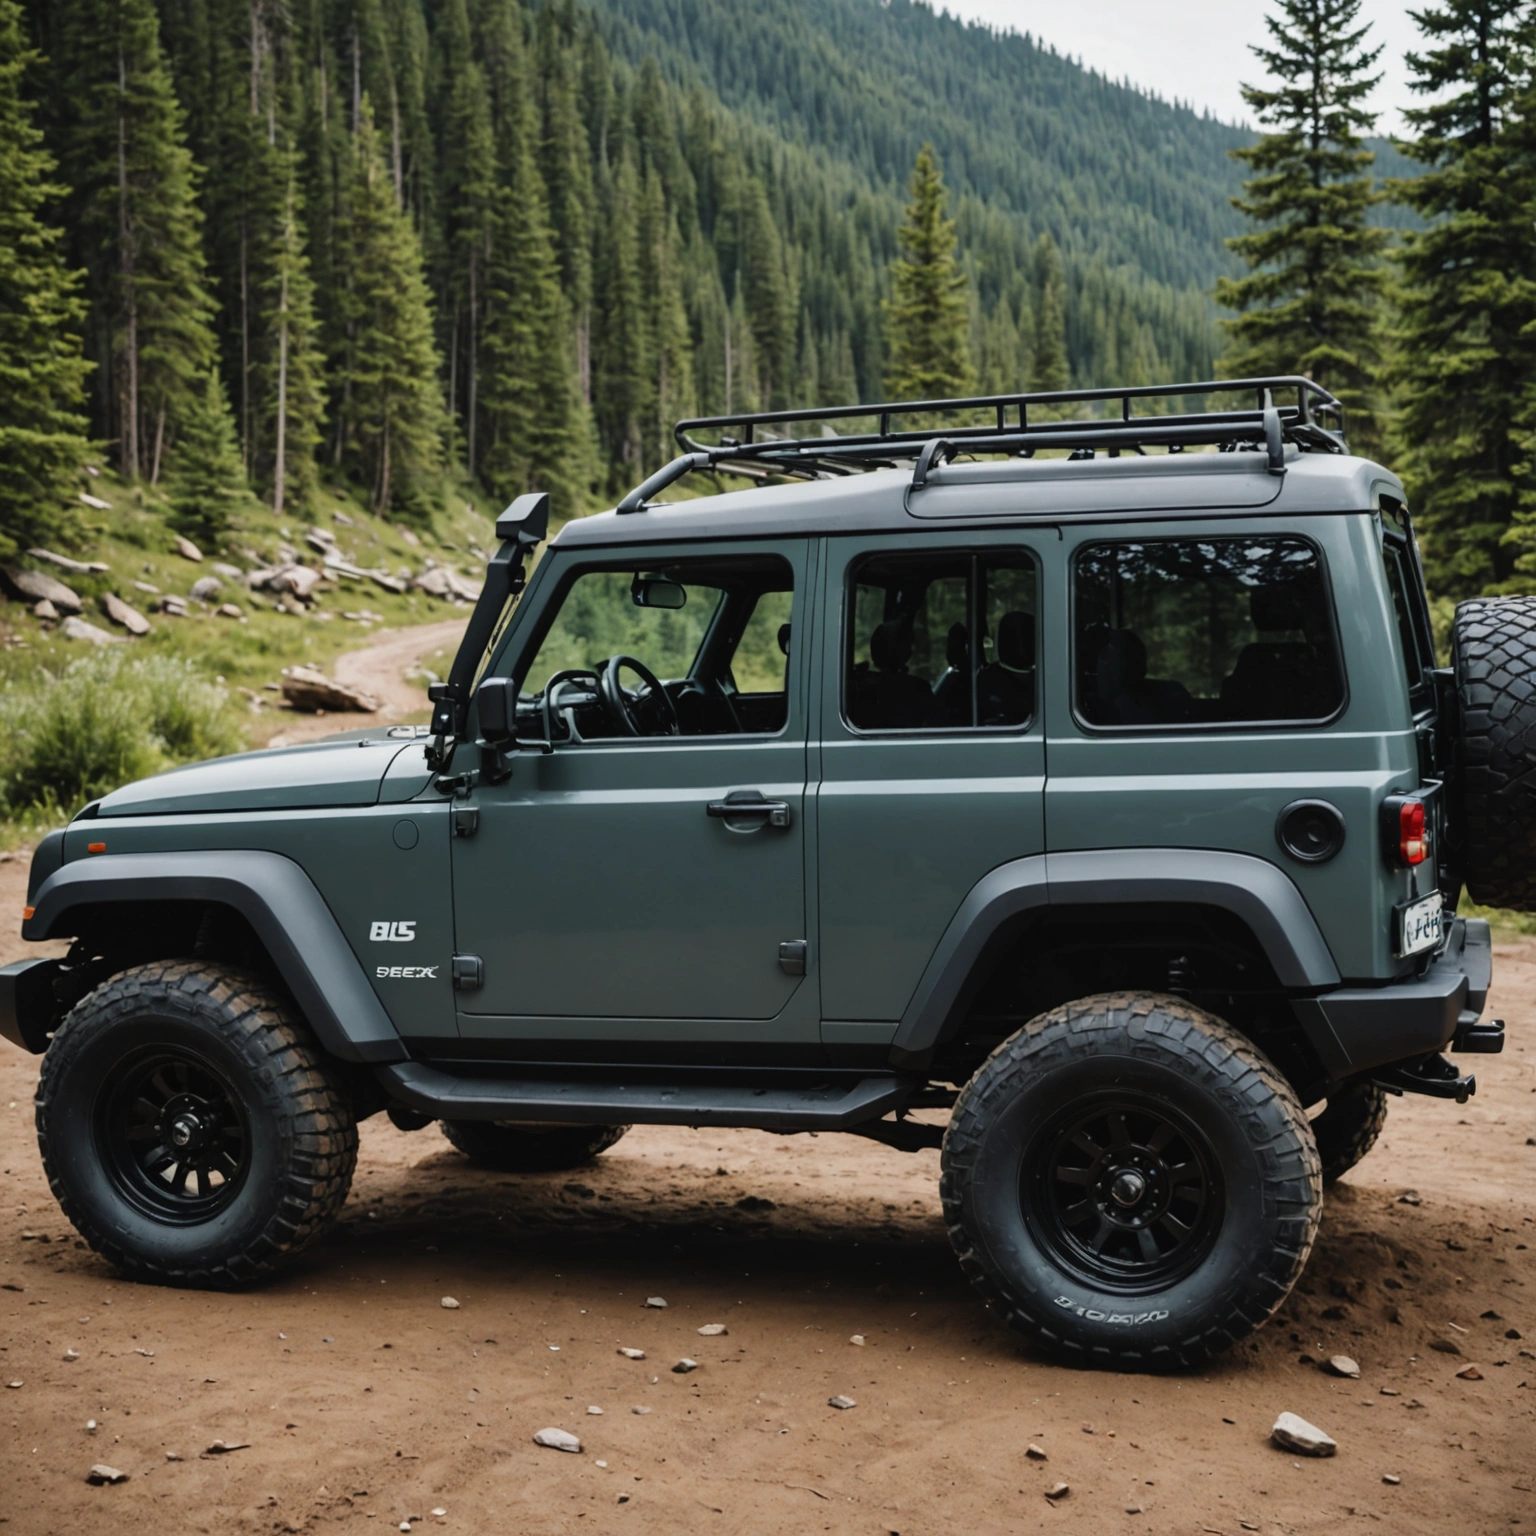
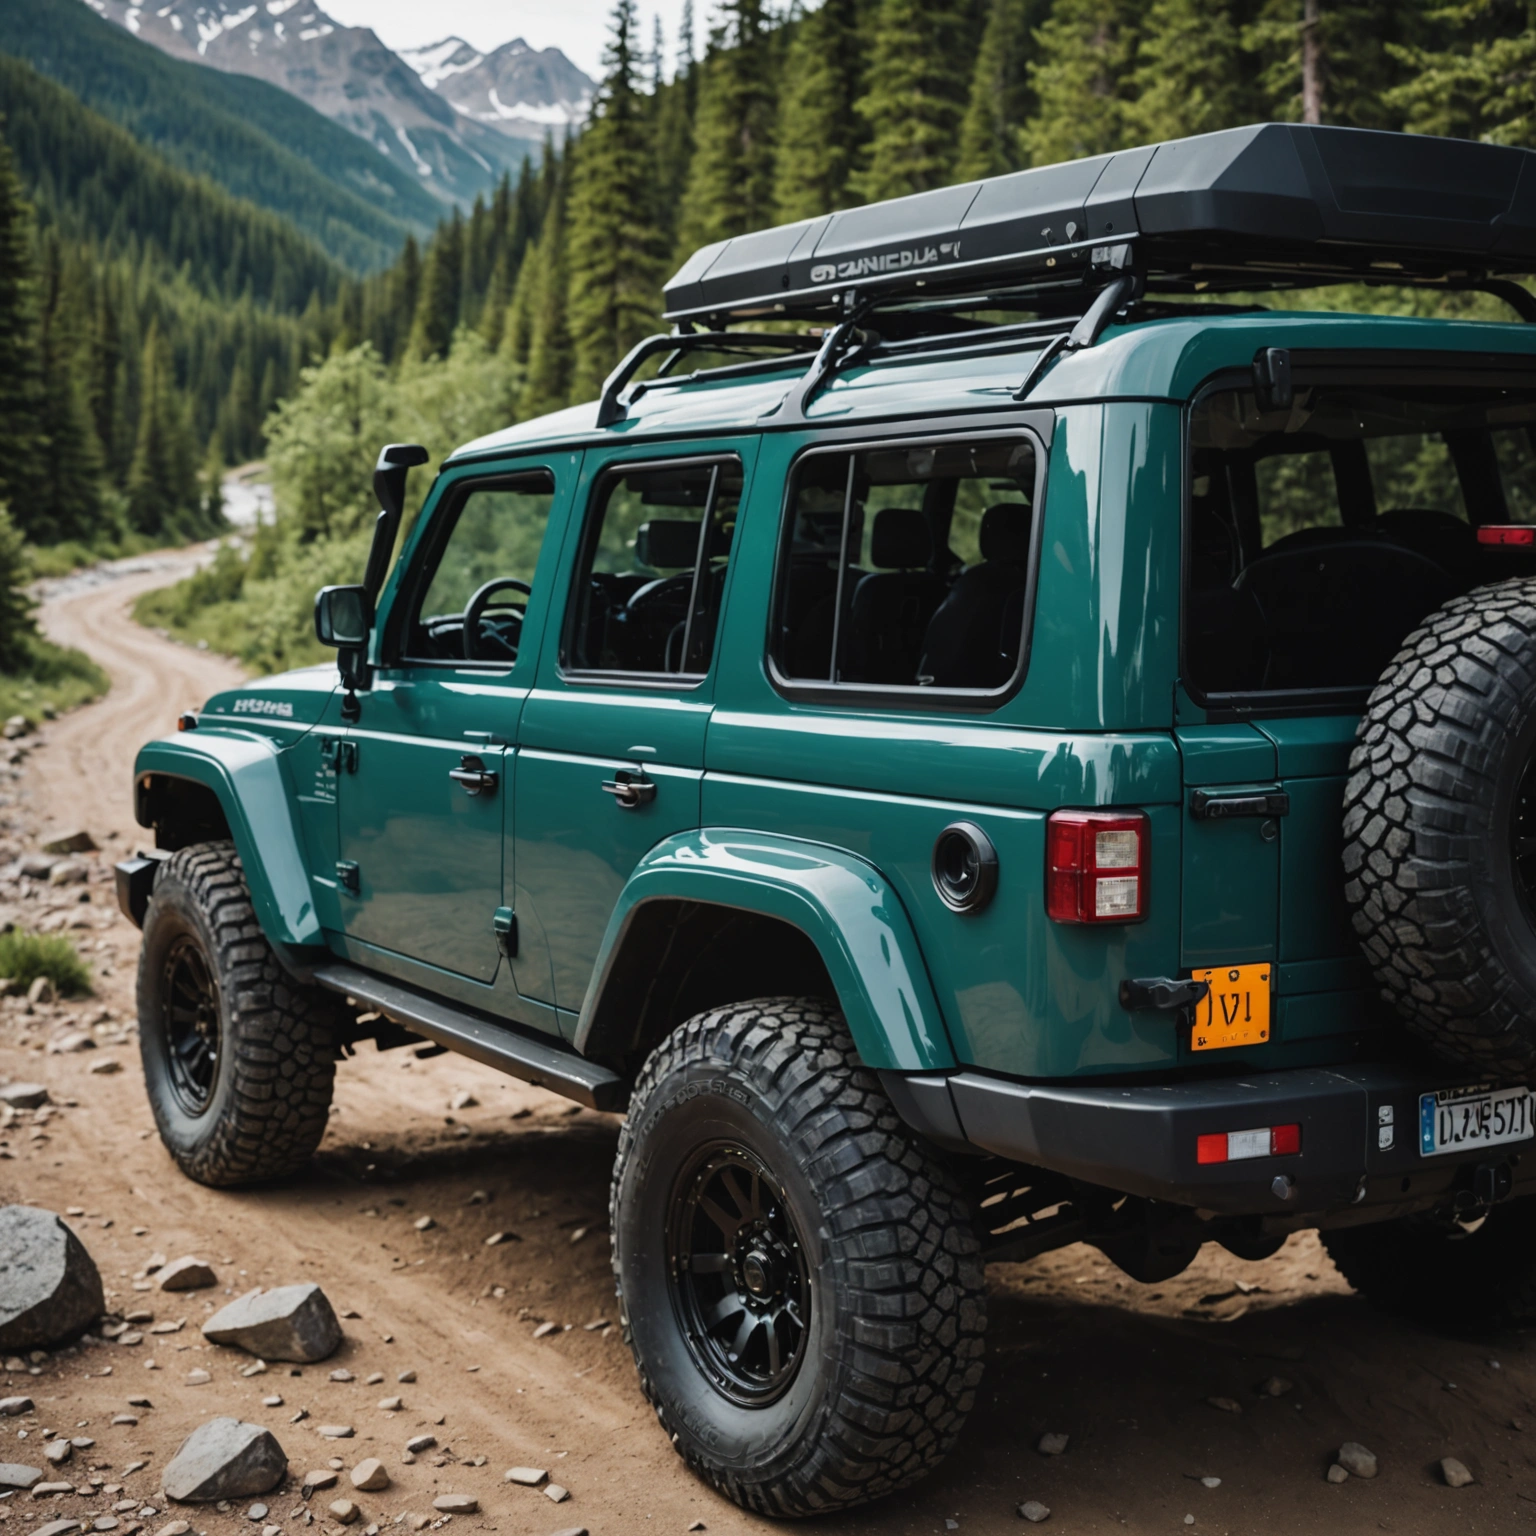
Selecting the right vinyl decals for your offroad vehicle ensures longevity, vibrant appearance, and easy maintenance. Focus on high-quality Oracal 651 vinyl, proper sizing, and safe installation/removal techniques to keep your decals looking great in rugged conditions.
## Understanding Vinyl Types and Compatibility
### Why Oracal 651?

– **Durability:** 651 is a 6-year outdoor rated vinyl, ideal for offroad environments.
– **Removability:** It’s removable without residue, making updates easy.
– **Color & Finish:** Available in various colors and finishes, including matte and gloss.
### Compatibility Checks
– **Windows:** Use perforated or opaque vinyl designed for glass; ensure no adhesive damage.
– **Painted Surfaces:** Confirm the paint is clean, dry, and free of wax or polish before application.
## Sizing and Design Tips
### Choosing the Right Size
– **Visibility:** Larger decals are more visible on bigger vehicles.
– **Proportion:** Match decal size to vehicle surface area for aesthetic balance.
– **Placement:** Avoid curved or textured surfaces that can distort the design.
### Design Considerations
– **Simple Graphics:** Bold, simple designs last longer and are easier to install.
– **Color Contrast:** High contrast improves visibility offroad.
## Installation Best Practices
### Preparation
– Clean the surface thoroughly with isopropyl alcohol.
– Dry the area completely to prevent bubbles.
### Application
– Use a squeegee or credit card to smooth out bubbles.
– Apply decals at room temperature for optimal adhesion.
### Pro Tips
– Use masking tape to position decals before peeling backing.
– For larger decals, enlist a helper to prevent wrinkles.
## Removal and Maintenance
### Safe Removal
– Warm the decal with a heat gun to soften adhesive.
– Peel slowly at a 45-degree angle to avoid paint damage.
– Use adhesive remover if residue remains.
### Maintenance
– Wash with mild soap and water.
– Avoid harsh chemicals that can degrade vinyl.
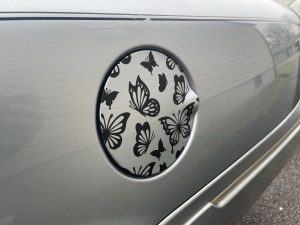
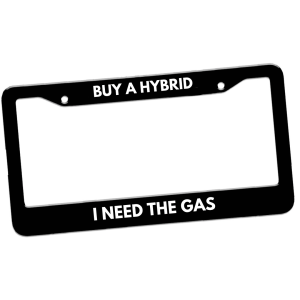
## Recommended Decals
– Bold offroad logos
– Custom vehicle names
– Rugged-themed graphics
## Conclusion
Choosing high-quality Oracal 651 vinyl decals and applying them correctly ensures your offroad vehicle stays eye-catching and durable. For best results, prioritize proper sizing, surface prep, and gentle removal techniques. Ready to customize your ride? **Shop our selection of premium vinyl decals today!**
Shop this look


FAQs
**Q1:** What type of vinyl is best for offroad vehicle decals?
**A1:** Oracal 651 is ideal due to its durability, weather resistance, and adhesive strength, making it suitable for rough offroad conditions on glass and painted surfaces.
**Q2:** Can I apply vinyl decals over tint or painted surfaces?
**A2:** Yes, but ensure surfaces are clean and dry. Use high-quality adhesive vinyl like Oracal 651, and avoid applying over damaged or peeling tint or paint for longevity.
**Q3:** How do I safely remove decals without damaging the surface?
**A3:** Warm the decal with a heat gun or hairdryer, peel slowly, and use adhesive remover if needed. This prevents paint or tint damage and preserves the surface for future decals.
{“@context”:”https://schema.org”,”@type”:”FAQPage”,”mainEntity”:[{“@type”:”Question”,”name”:”**Q1:** What type of vinyl is best for offroad vehicle decals?”,”acceptedAnswer”:{“@type”:”Answer”,”text”:”**A1:** Oracal 651 is ideal due to its durability, weather resistance, and adhesive strength, making it suitable for rough offroad conditions on glass and painted surfaces.”}},{“@type”:”Question”,”name”:”**Q2:** Can I apply vinyl decals over tint or painted surfaces?”,”acceptedAnswer”:{“@type”:”Answer”,”text”:”**A2:** Yes, but ensure surfaces are clean and dry. Use high-quality adhesive vinyl like Oracal 651, and avoid applying over damaged or peeling tint or paint for longevity.”}},{“@type”:”Question”,”name”:”**Q3:** How do I safely remove decals without damaging the surface?”,”acceptedAnswer”:{“@type”:”Answer”,”text”:”**A3:** Warm the decal with a heat gun or hairdryer, peel slowly, and use adhesive remover if needed. This prevents paint or tint damage and preserves the surface for future decals.”}}]}
