
Quick links: All Decals • Holographic • Funny
# How to Choose Durable Vinyl Decals for Car Windows
Selecting the right vinyl decals ensures vibrant, long-lasting designs on your car windows. Focus on Oracal 651 vinyl, proper sizing, compatibility with windows, and proper installation and removal techniques for the best results.
## Understanding Vinyl Types and Compatibility
### Why Oracal 651?
– **Durability:** Excellent outdoor lifespan (up to 6 years).
– **Adhesion:** Strong adhesive suitable for smooth surfaces like glass.

– **Color & Finish:** Wide range of colors and matte/gloss finishes.
### Compatibility Tips
– Use Oracal 651 exclusively for exterior window decals.
– Avoid applying on tinted windows unless tested, as some adhesives may affect tint or be difficult to remove.
## Choosing the Right Size and Design
### Sizing Tips
– Measure your window area before selecting decal dimensions.
– Keep decals smaller than the window for visibility and easy removal.
– For full coverage, consider multiple smaller decals rather than one large piece.
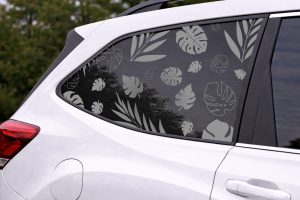
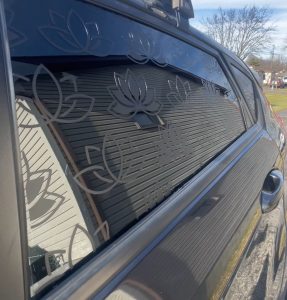
### Design Considerations
– Opt for simple, bold designs for better visibility.
– Avoid intricate details that may be hard to cut or apply.
## Installation Best Practices
### Surface Preparation
– Clean the window thoroughly with isopropyl alcohol.
– Ensure the surface is dry, smooth, and free of dust or grease.
### Application Steps
– Use a squeegee or credit card to smooth out air bubbles.
– Apply at moderate temperature (50–80°F) for optimal adhesion.
– Peel the transfer tape carefully at a 45° angle to avoid lifting the vinyl.
### Pro Tips
– Use masking tape to position decals before permanent application.
– Warm the decal slightly with a heat gun to improve adhesion and flexibility.
## Removal and Maintenance
### Removal Tips
– Gently peel from one corner at a 45° angle.
– Use a heat gun to soften adhesive if removal is difficult.
– Clean residual adhesive with rubbing alcohol or adhesive remover.
### Maintenance
– Wash with mild soap and water; avoid abrasive cleaners.
– Refrain from using high-pressure washes directly on decals.
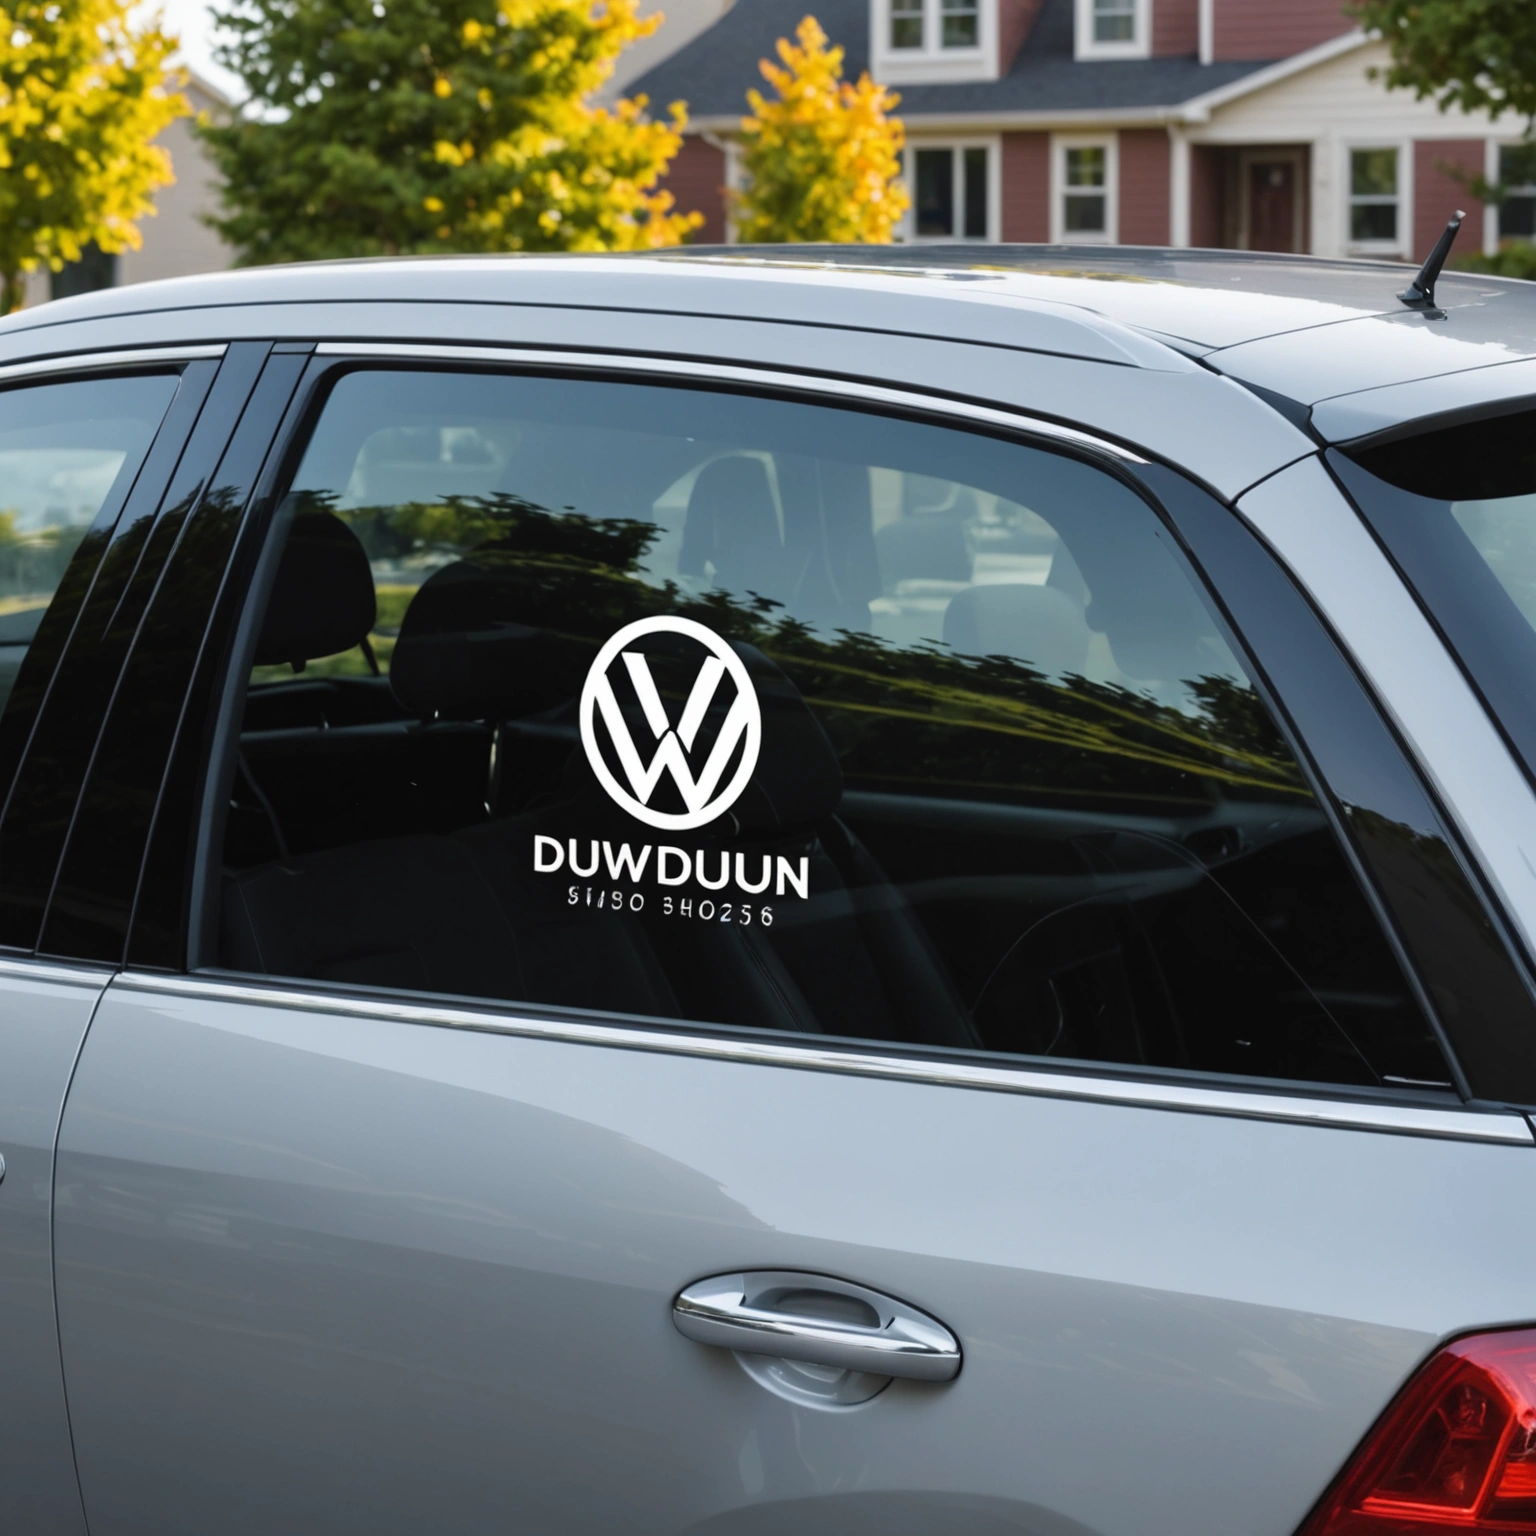
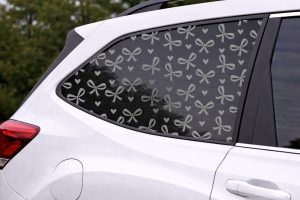
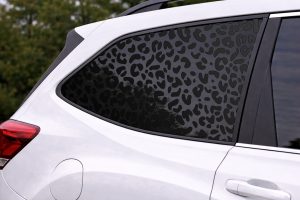
## Recommended Decals
– Custom monograms or logos in bold, simple designs.
– Brand or team logos with high contrast.
– Personal messages or decorative graphics that fit within window dimensions.
## Conclusion
Choosing the right vinyl decal involves selecting durable Oracal 651, ensuring compatibility with your windows, and applying with proper techniques. For a professional look that lasts, follow these tips and shop our selection of high-quality decals designed for car windows.
**Ready to personalize your ride? Shop our durable vinyl decals today!**
Shop this look
FAQs
1: What type of vinyl is best for durable car window decals?
1: Oracal 651 is ideal—it's a high-quality, permanent vinyl designed for outdoor use, providing excellent durability and weather resistance on glass surfaces.
2: Can I apply vinyl decals over window tint?
2: Yes, but ensure the tint is fully cured, and use a smooth, clean surface. Avoid applying over damaged or bubbling tint for best adhesion and removability.
3: How do I safely remove vinyl decals from car windows?
3: Use heat (like a heat gun or hairdryer) to soften the adhesive, then gently peel. For residue, apply a mild adhesive remover or rubbing alcohol, and clean with soap and water afterward.
{“@context”:”https://schema.org”,”@type”:”FAQPage”,”mainEntity”:[{“@type”:”Question”,”name”:”1: What type of vinyl is best for durable car window decals?”,”acceptedAnswer”:{“@type”:”Answer”,”text”:”1: Oracal 651 is idealu2014it’s a high-quality, permanent vinyl designed for outdoor use, providing excellent durability and weather resistance on glass surfaces.”}},{“@type”:”Question”,”name”:”2: Can I apply vinyl decals over window tint?”,”acceptedAnswer”:{“@type”:”Answer”,”text”:”2: Yes, but ensure the tint is fully cured, and use a smooth, clean surface. Avoid applying over damaged or bubbling tint for best adhesion and removability.”}},{“@type”:”Question”,”name”:”3: How do I safely remove vinyl decals from car windows?”,”acceptedAnswer”:{“@type”:”Answer”,”text”:”3: Use heat (like a heat gun or hairdryer) to soften the adhesive, then gently peel. For residue, apply a mild adhesive remover or rubbing alcohol, and clean with soap and water afterward.”}}]}
