
Quick links: All Decals • Holographic • Funny
# How to Choose Durable Vinyl Decals for Car Windows
Selecting the right vinyl decals for your car windows ensures longevity, vibrant appearance, and easy removal when needed. Focus on Oracal 651 vinyl, compatibility with your vehicle’s surfaces, proper sizing, and best installation/removal techniques.
## Understanding Vinyl Types and Compatibility
### Why Oracal 651?
– **Durability:** 651 is a permanent, outdoor-rated vinyl ideal for car windows.
– **Removability:** It can be removed cleanly with heat and patience, preventing damage.
### Surface Compatibility
– **Window surfaces:** Use on glass and tinted windows (check tint manufacturer guidelines).
– **Painted surfaces:** Not recommended for decals on painted areas unless specified.
– **Preparation:** Clean with isopropyl alcohol to remove dirt/oil before applying.
## Choosing the Right Size and Design
### Sizing Tips
– **Visibility:** Keep decals large enough to be seen clearly but not obstructive.
– **Proportions:** Match decal size to window dimensions; avoid overcrowding.
– **Legal considerations:** Ensure decals don’t violate local window tint or decal laws.
### Design Tips
– **Simple graphics or text:** Easier to install and remove.
– **High contrast colors:** For visibility and aesthetic appeal.
## Installation Best Practices
### Pre-Application
– **Clean surface thoroughly:** Use alcohol wipes.
– **Measure and position:** Use masking tape to test placement.
### Application Steps
– **Use a squeegee:** Apply firm, even pressure to eliminate air bubbles.
– **Work from the center outward:** Ensures smooth application.
– **Avoid dirt/dust:** Work in a dust-free environment.
### Pro Tip
– **Temperature matters:** Apply in 60-80°F (15-27°C) for best adhesion.
## Removal Tips
– **Heat first:** Use a heat gun or hairdryer to soften adhesive.
– **Peel gently:** Start at a corner and pull slowly.
– **Clean residue:** Use rubbing alcohol or decal remover if adhesive remains.
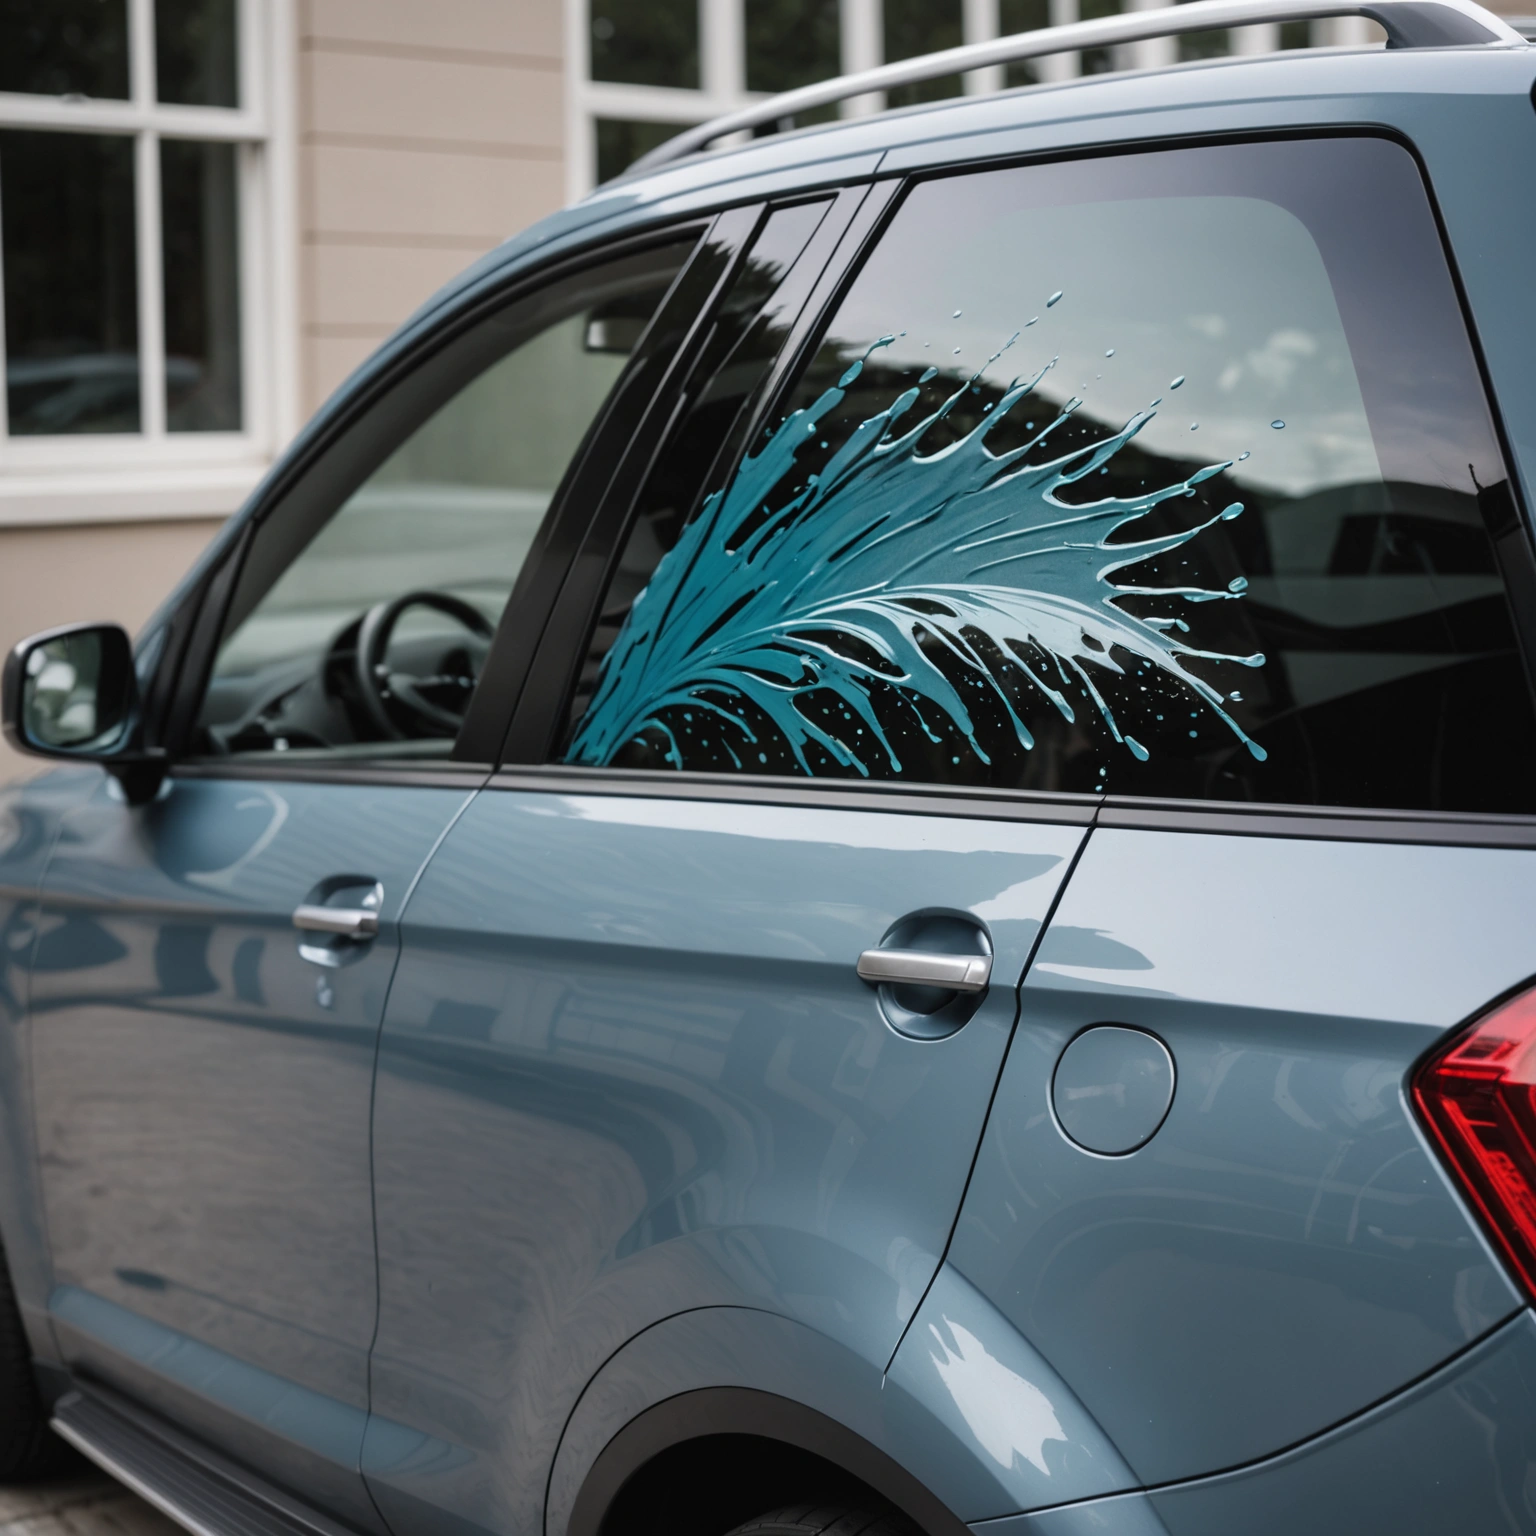
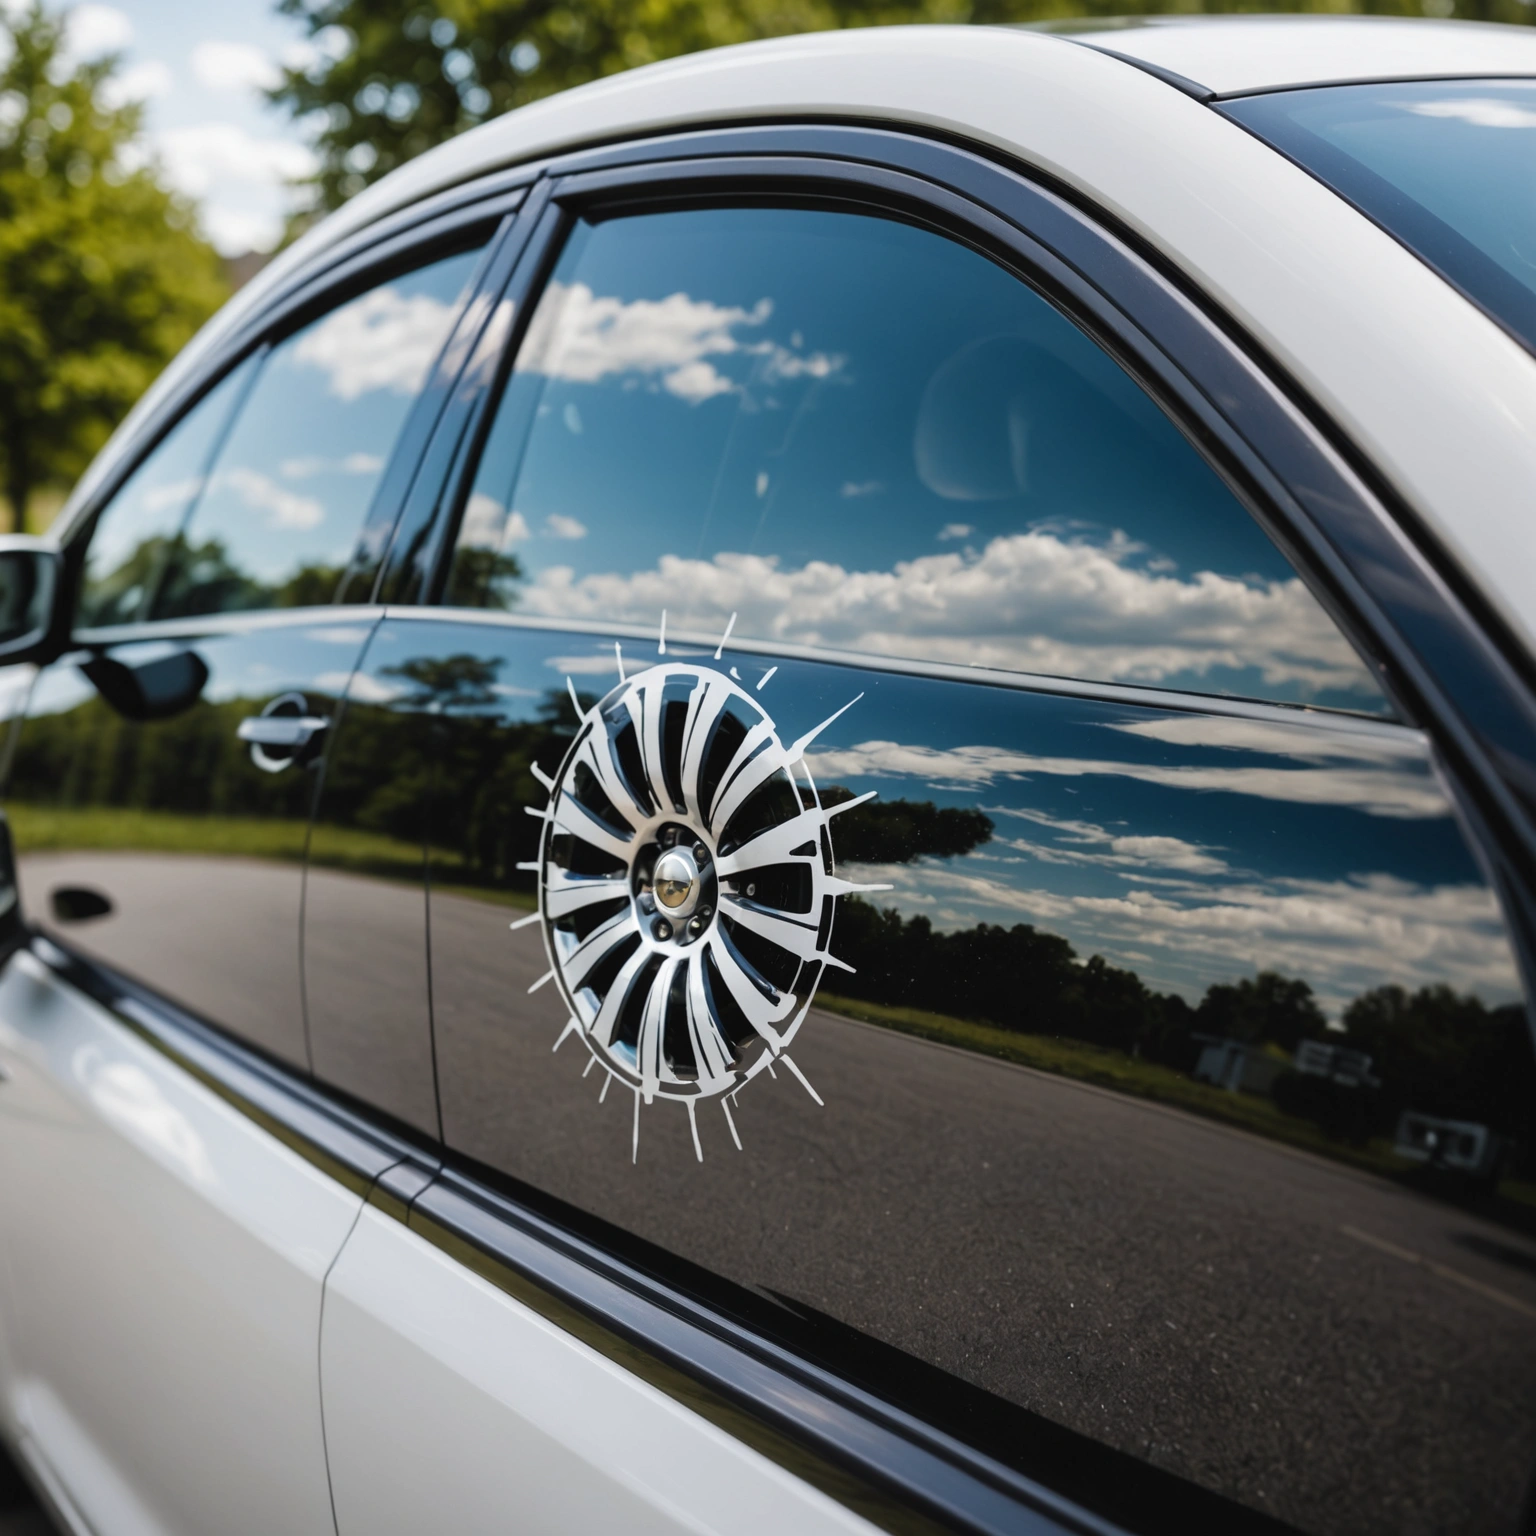
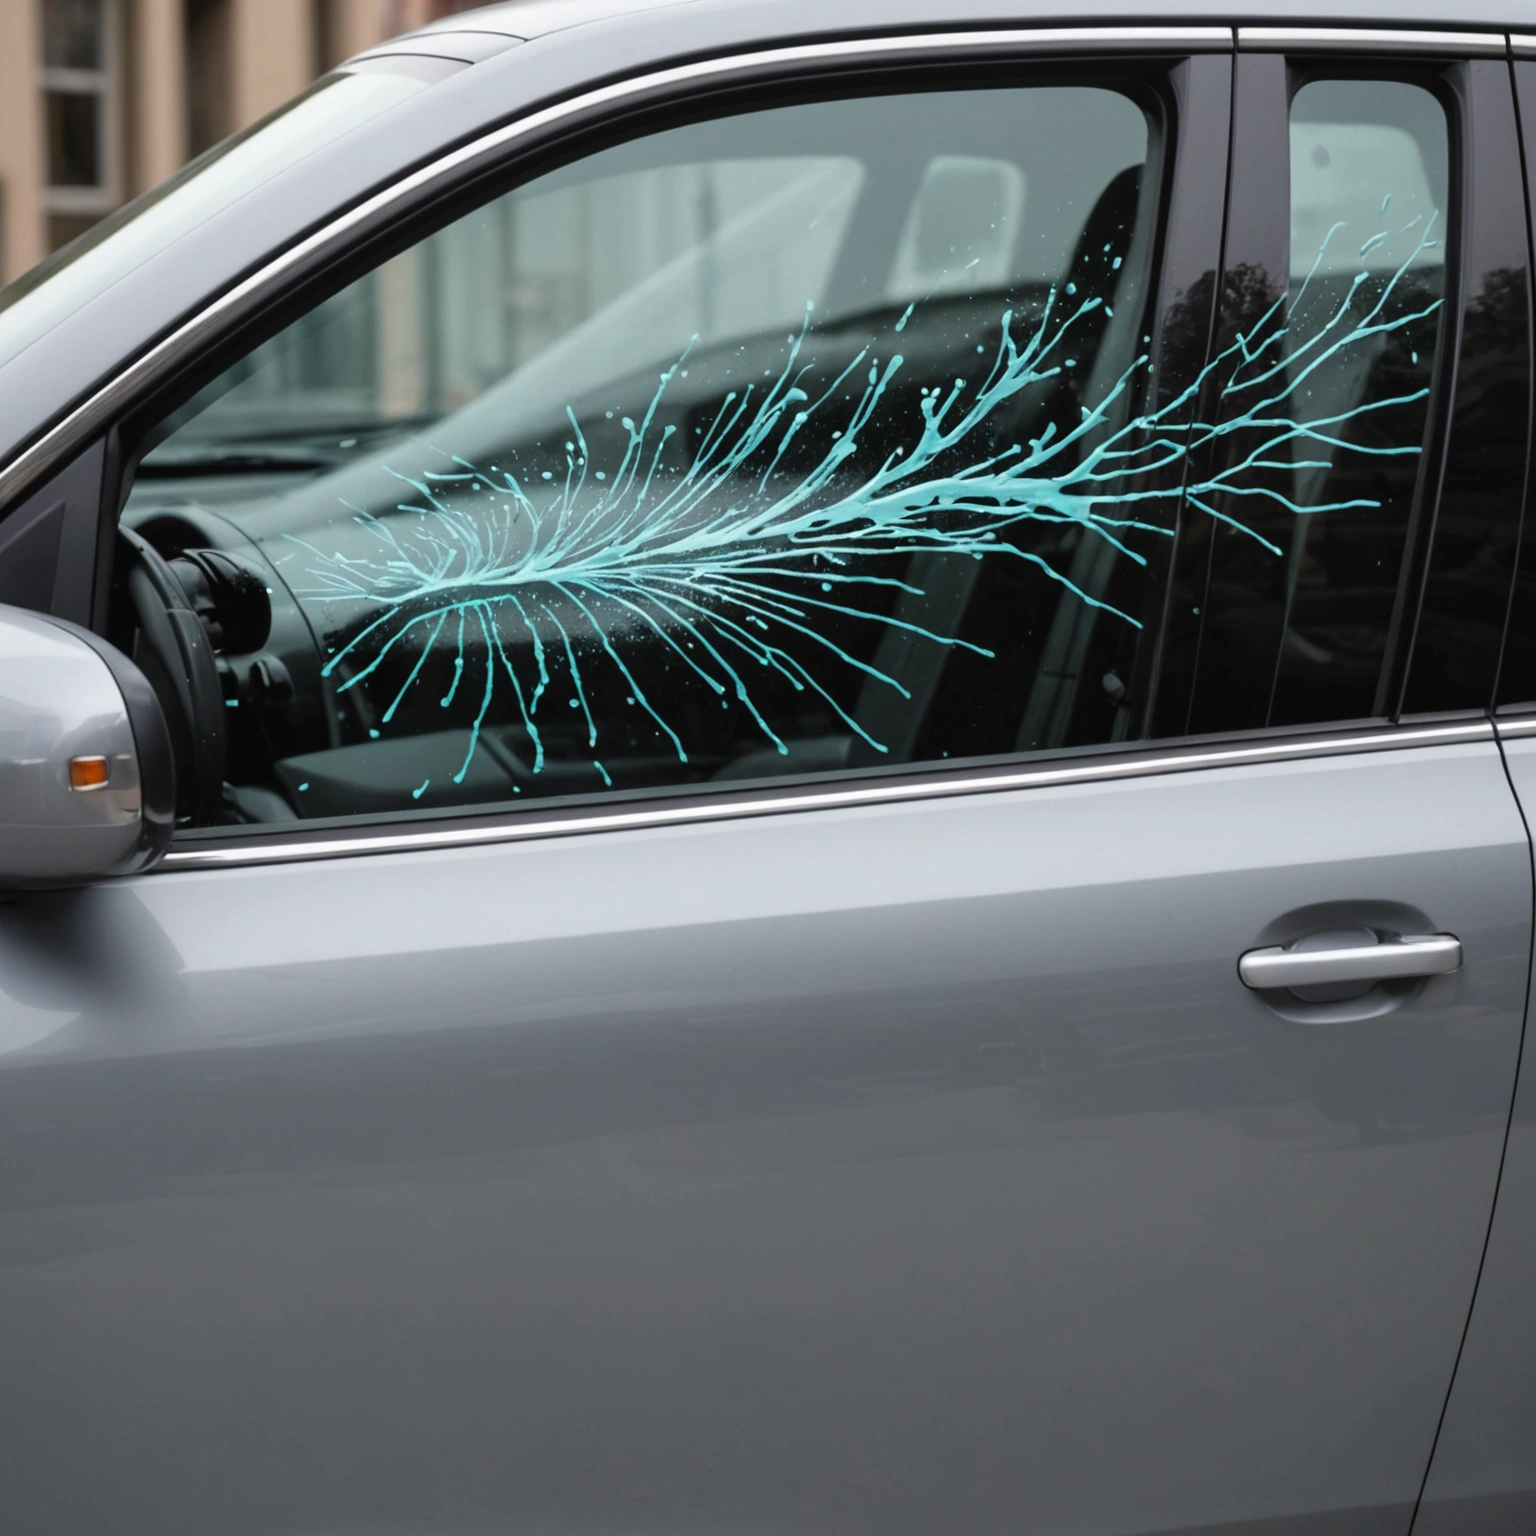
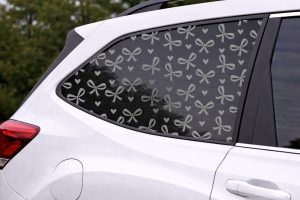
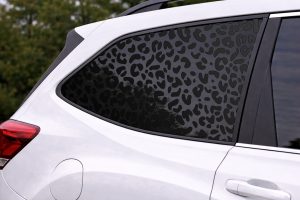
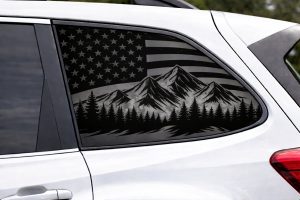
## Recommended Decals
– Bold lettering for safety or branding.
– Custom graphics for personalization.
– Transparent or window-perforated decals for visibility.
## Conclusion
Choosing the right vinyl decal involves selecting durable Oracal 651, ensuring compatibility with your windows, sizing appropriately, and following proper installation/removal techniques. For vibrant, long-lasting results, always prep your surface and work in suitable conditions.
**Ready to elevate your vehicle’s look? Shop our selection of premium car decals today!**
Shop this look
FAQs
1: What vinyl type is best for durable car window decals?
1: Oracal 651 is ideal—it's a high-performance, outdoor-rated vinyl that adheres well to glass and paint, offering durability and weather resistance for car windows.
2: Can I apply vinyl decals over window tint?
2: Yes, but ensure the tint is dry and clean. Use a high-quality, air-release vinyl like Oracal 651 to prevent peeling or damage, and avoid covering edges to maintain tint integrity.
3: How do I remove old vinyl decals without damaging the glass or paint?
3: Gently heat the decal with a heat gun or hairdryer, then peel slowly. Use adhesive remover if needed, and clean the surface thoroughly to prevent residue or damage.
{“@context”:”https://schema.org”,”@type”:”FAQPage”,”mainEntity”:[{“@type”:”Question”,”name”:”1: What vinyl type is best for durable car window decals?”,”acceptedAnswer”:{“@type”:”Answer”,”text”:”1: Oracal 651 is idealu2014it’s a high-performance, outdoor-rated vinyl that adheres well to glass and paint, offering durability and weather resistance for car windows.”}},{“@type”:”Question”,”name”:”2: Can I apply vinyl decals over window tint?”,”acceptedAnswer”:{“@type”:”Answer”,”text”:”2: Yes, but ensure the tint is dry and clean. Use a high-quality, air-release vinyl like Oracal 651 to prevent peeling or damage, and avoid covering edges to maintain tint integrity.”}},{“@type”:”Question”,”name”:”3: How do I remove old vinyl decals without damaging the glass or paint?”,”acceptedAnswer”:{“@type”:”Answer”,”text”:”3: Gently heat the decal with a heat gun or hairdryer, then peel slowly. Use adhesive remover if needed, and clean the surface thoroughly to prevent residue or damage.”}}]}
