Quick links: All Decals • Holographic • Funny
# How to Choose Durable Vinyl Decals for Car Windows
Selecting the right vinyl decals ensures vibrant, long-lasting designs on your vehicle. Focus on Oracal 651 vinyl, proper sizing, and careful installation/removal for the best results.
## Understanding Vinyl Types and Compatibility
### Why Oracal 651?
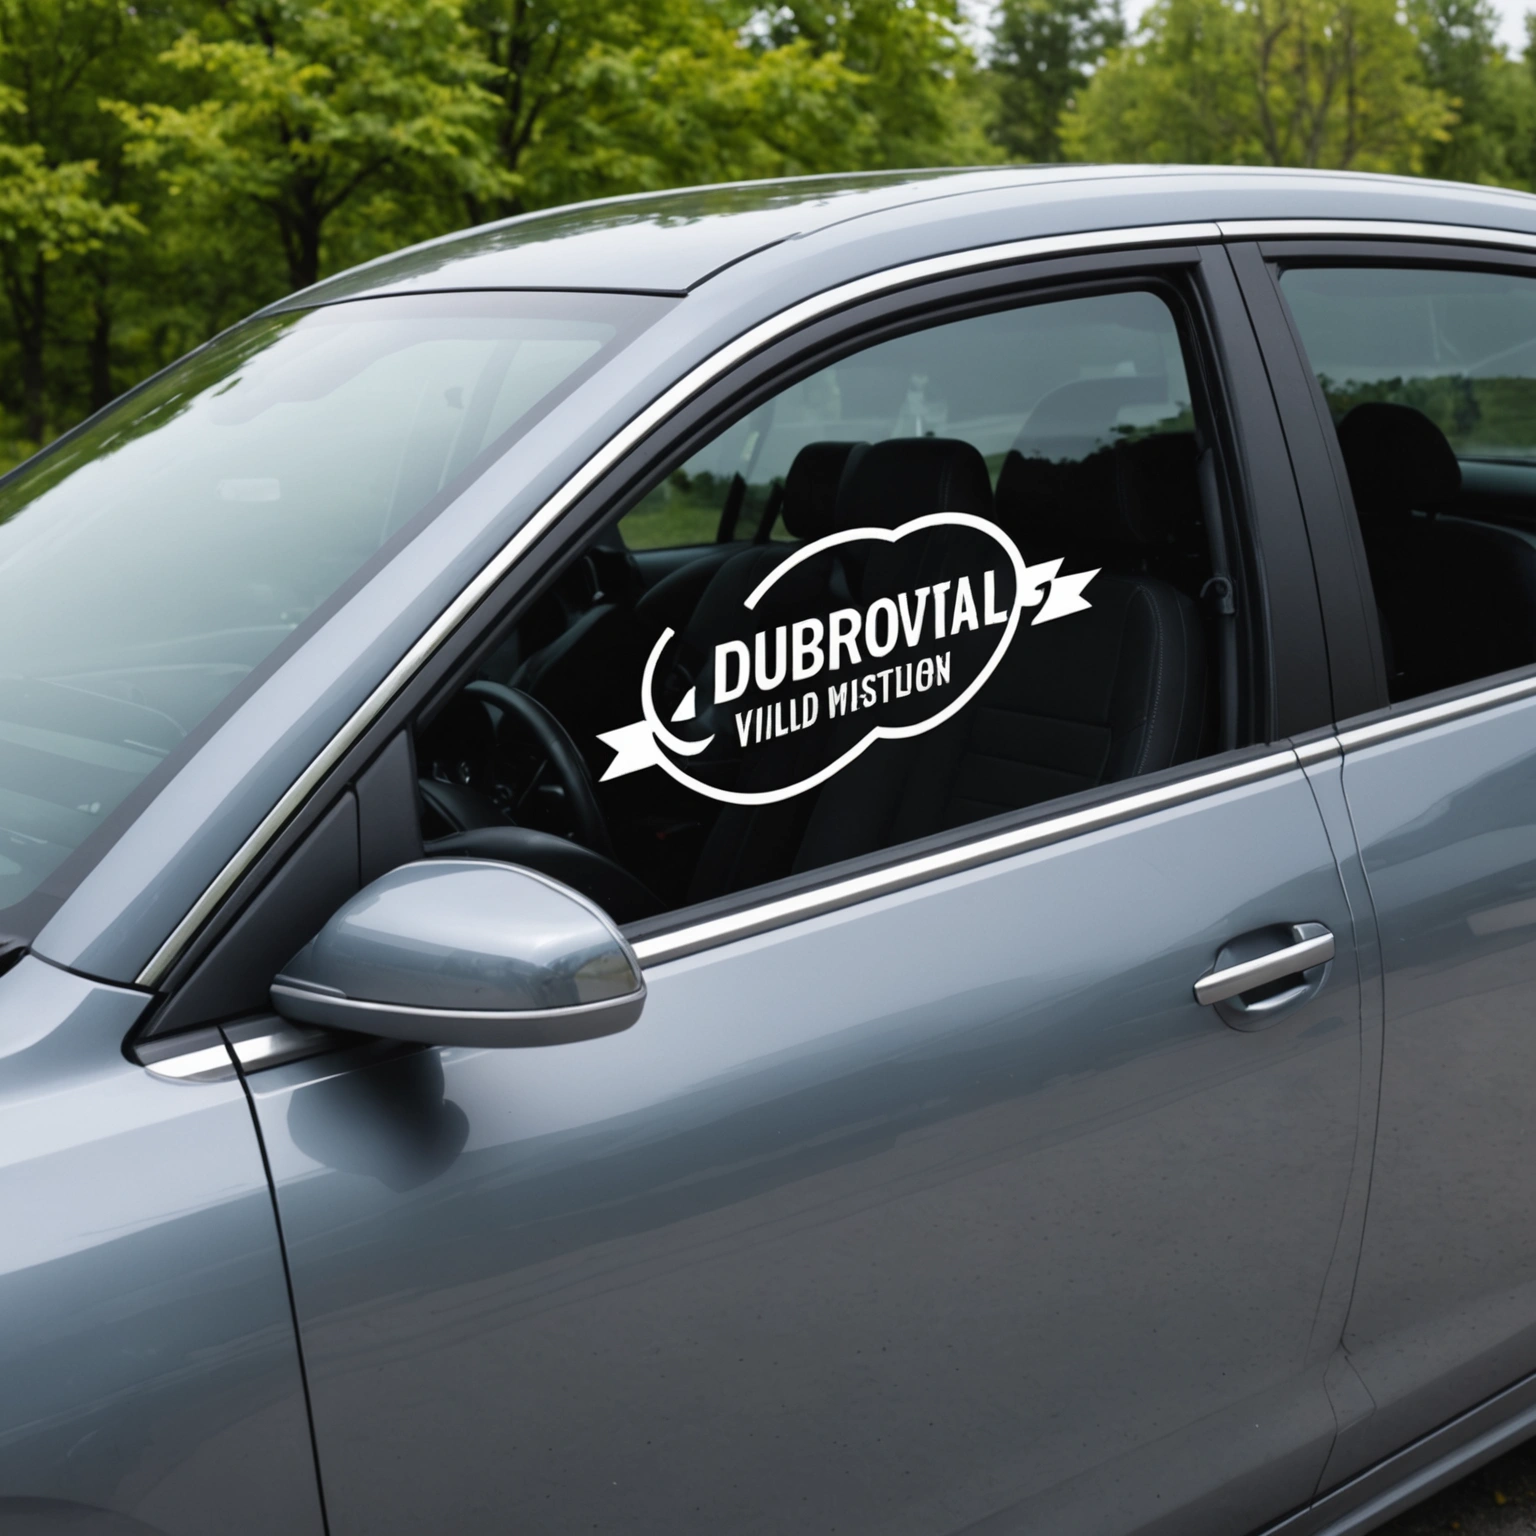
– **Durability:** 651 is a high-performance, outdoor-rated calendered vinyl.
– **Removability:** Easy to peel without residue for up to 3-5 years.
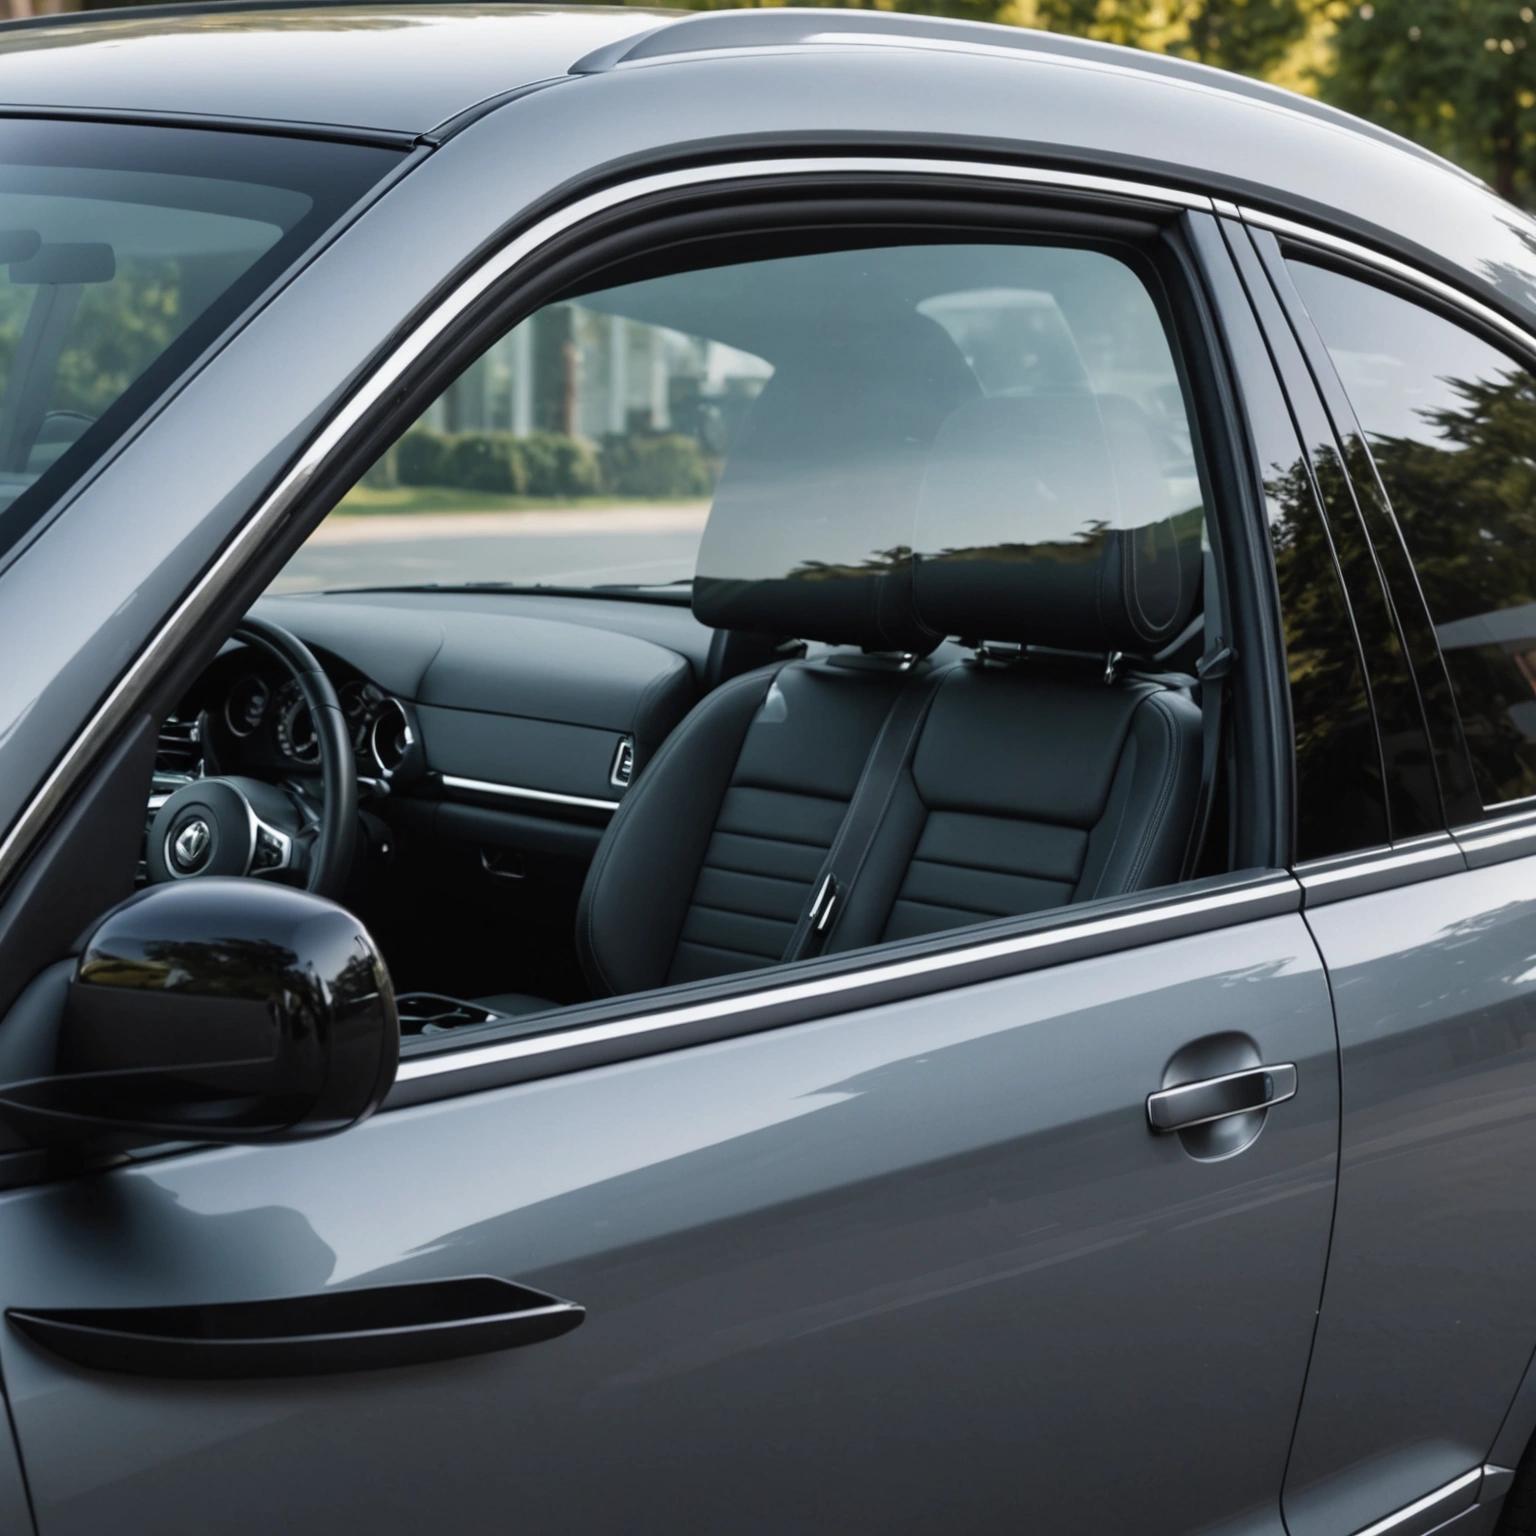
– **Application:** Suitable for windows, but ensure proper surface prep.
### Compatibility Tips
– Use Oracal 651 for exterior window decals.
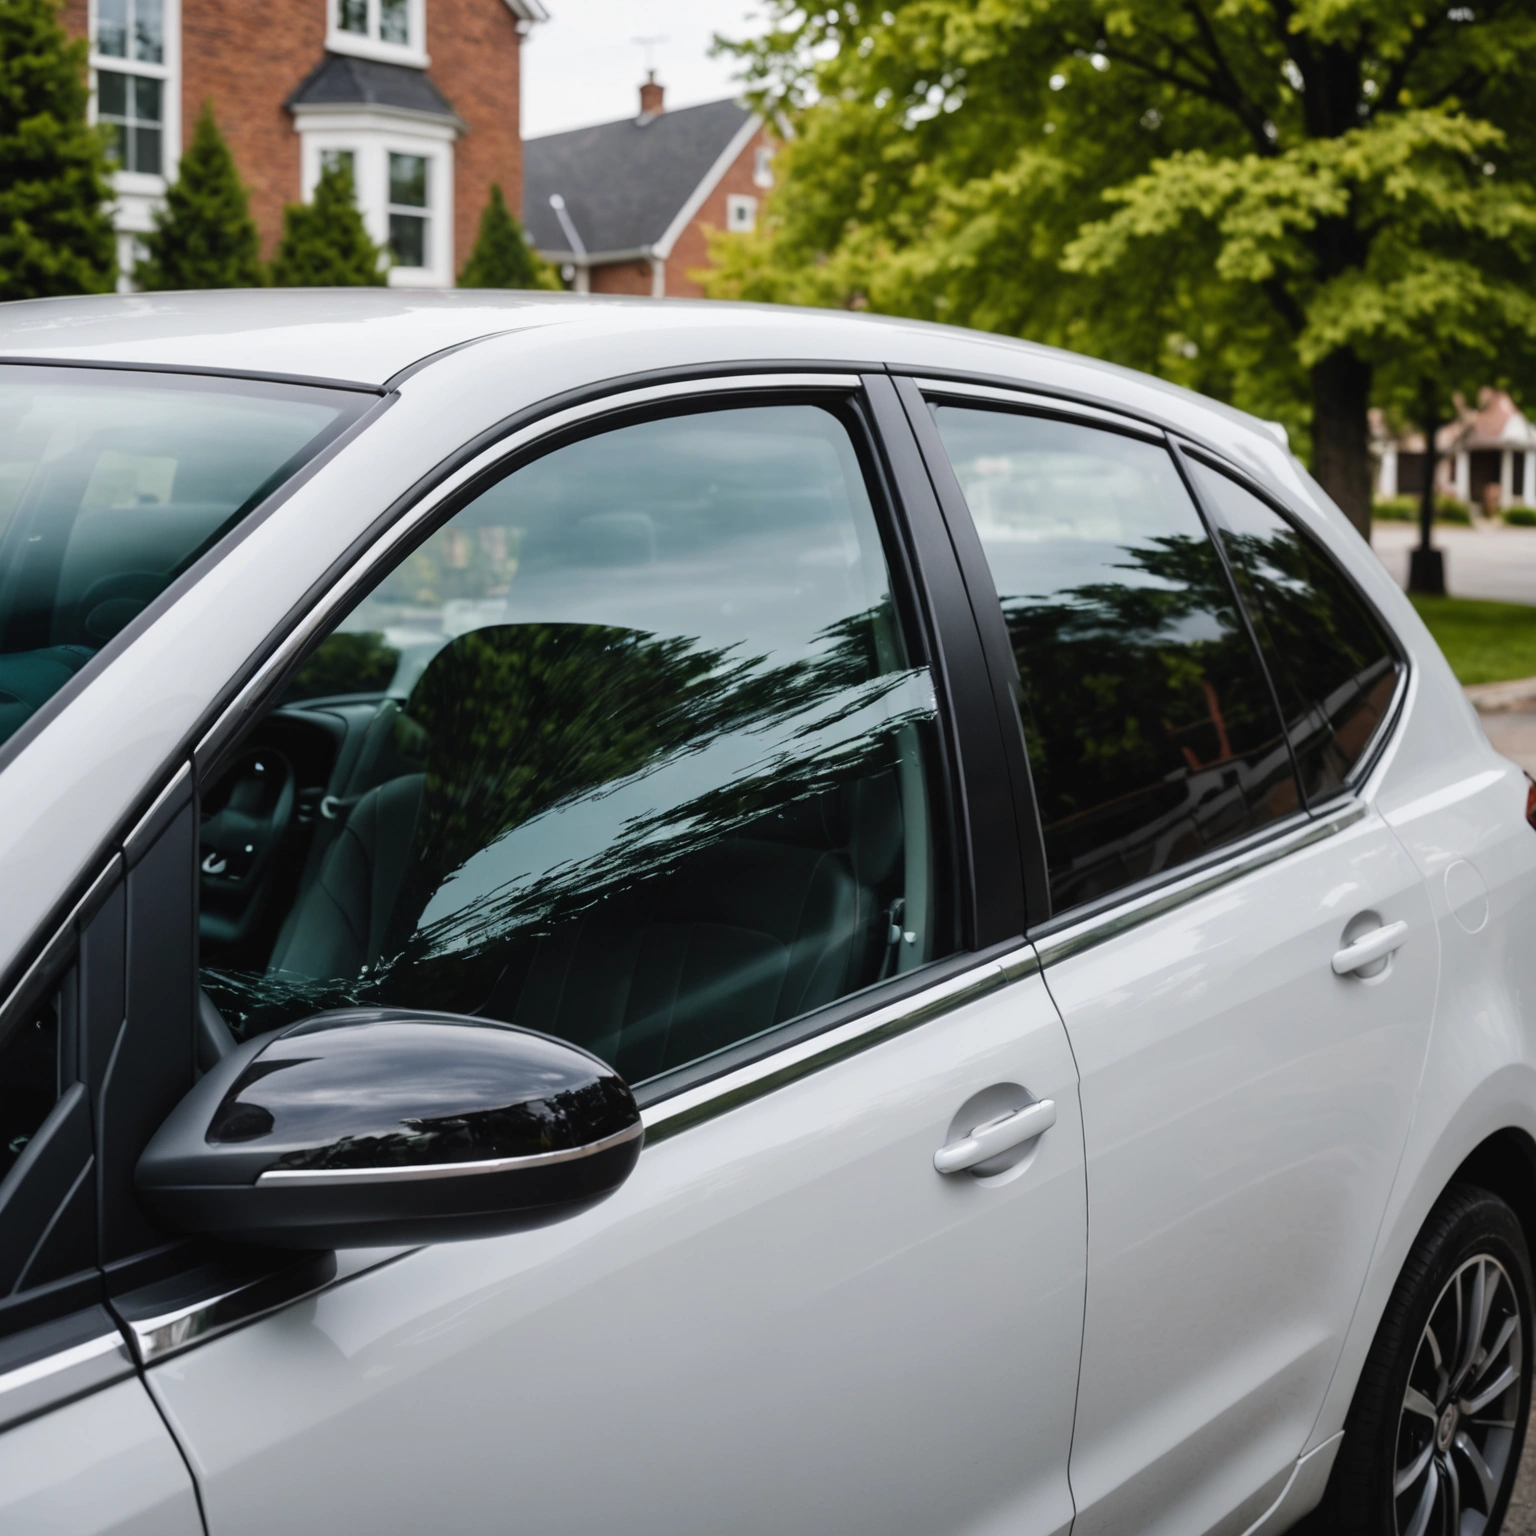
– Avoid applying on tinted windows unless confirmed compatibility.
– Always test a small area first.
## Choosing the Right Size and Design
### Sizing Tips
– Measure your window area precisely.
– Leave a margin (1-2 inches) around the decal for clean edges.
– For full window coverage, consider multiple smaller decals for easier installation.
### Design Considerations
– Opt for bold, simple designs for clarity.
– Avoid overly intricate details that may be hard to cut or apply.
– Use high-resolution files for crisp edges.
## Installation Best Practices
### Surface Preparation
– Clean the window thoroughly with alcohol or glass cleaner.
– Remove any dirt, grease, or residue.
### Application Steps
– Use a squeegee or credit card for smooth application.
– Apply at room temperature (ideally 60-80°F).
– Peel the backing slowly at a sharp angle, pressing the decal onto the glass as you go.
### Pro Tips
– Use masking tape to position decals before peeling.
– For larger decals, enlist a helper or use application tape.
## Removal and Longevity Tips
### How to Remove
– Peel slowly from a corner at a sharp angle.
– Use heat (a hairdryer) to soften adhesive if needed.
– Clean residual glue with glass cleaner or adhesive remover.
### Extending Decal Life
– Avoid prolonged exposure to harsh UV or salt.
– Regularly clean decals to prevent dirt buildup.
– Consider window tint to provide additional UV protection.
## Recommended Decals
– Bold lettering for business logos.
– Custom monograms for personal style.
– Themed graphics for holidays or events.
## Conclusion
Choosing the right vinyl decal involves selecting durable Oracal 651 vinyl, sizing appropriately, and following proper installation and removal techniques. For vibrant, lasting results, pay attention to surface prep and environmental conditions.
**Ready to personalize your vehicle? Shop our selection of high-quality decals today!**
Shop this look
FAQs
**Q1:** What type of vinyl is best for durable car window decals?
**A1:** Oracal 651 is a popular, durable, 2-3 year outdoor vinyl ideal for car windows, offering excellent adhesion and weather resistance without damaging glass or paint.
**Q2:** Can I apply vinyl decals over tinted windows?
**A2:** Yes, but ensure the tint is compatible and not laminated with a layer that prevents adhesion. Test a small area first; vinyl adheres best on smooth, clean surfaces.
**Q3:** How do I remove vinyl decals without damaging glass or paint?
**A3:** Use heat (e.g., a heat gun or hairdryer) to soften the adhesive, then peel slowly. Apply adhesive remover if needed, and clean the area with glass-safe cleaner to prevent residue.
{“@context”:”https://schema.org”,”@type”:”FAQPage”,”mainEntity”:[{“@type”:”Question”,”name”:”**Q1:** What type of vinyl is best for durable car window decals?”,”acceptedAnswer”:{“@type”:”Answer”,”text”:”**A1:** Oracal 651 is a popular, durable, 2-3 year outdoor vinyl ideal for car windows, offering excellent adhesion and weather resistance without damaging glass or paint.”}},{“@type”:”Question”,”name”:”**Q2:** Can I apply vinyl decals over tinted windows?”,”acceptedAnswer”:{“@type”:”Answer”,”text”:”**A2:** Yes, but ensure the tint is compatible and not laminated with a layer that prevents adhesion. Test a small area first; vinyl adheres best on smooth, clean surfaces.”}},{“@type”:”Question”,”name”:”**Q3:** How do I remove vinyl decals without damaging glass or paint?”,”acceptedAnswer”:{“@type”:”Answer”,”text”:”**A3:** Use heat (e.g., a heat gun or hairdryer) to soften the adhesive, then peel slowly. Apply adhesive remover if needed, and clean the area with glass-safe cleaner to prevent residue.”}}]}


