
Quick links: All Decals • Holographic • Funny
## How to Choose Durable Vinyl Decals for Car Bumpers
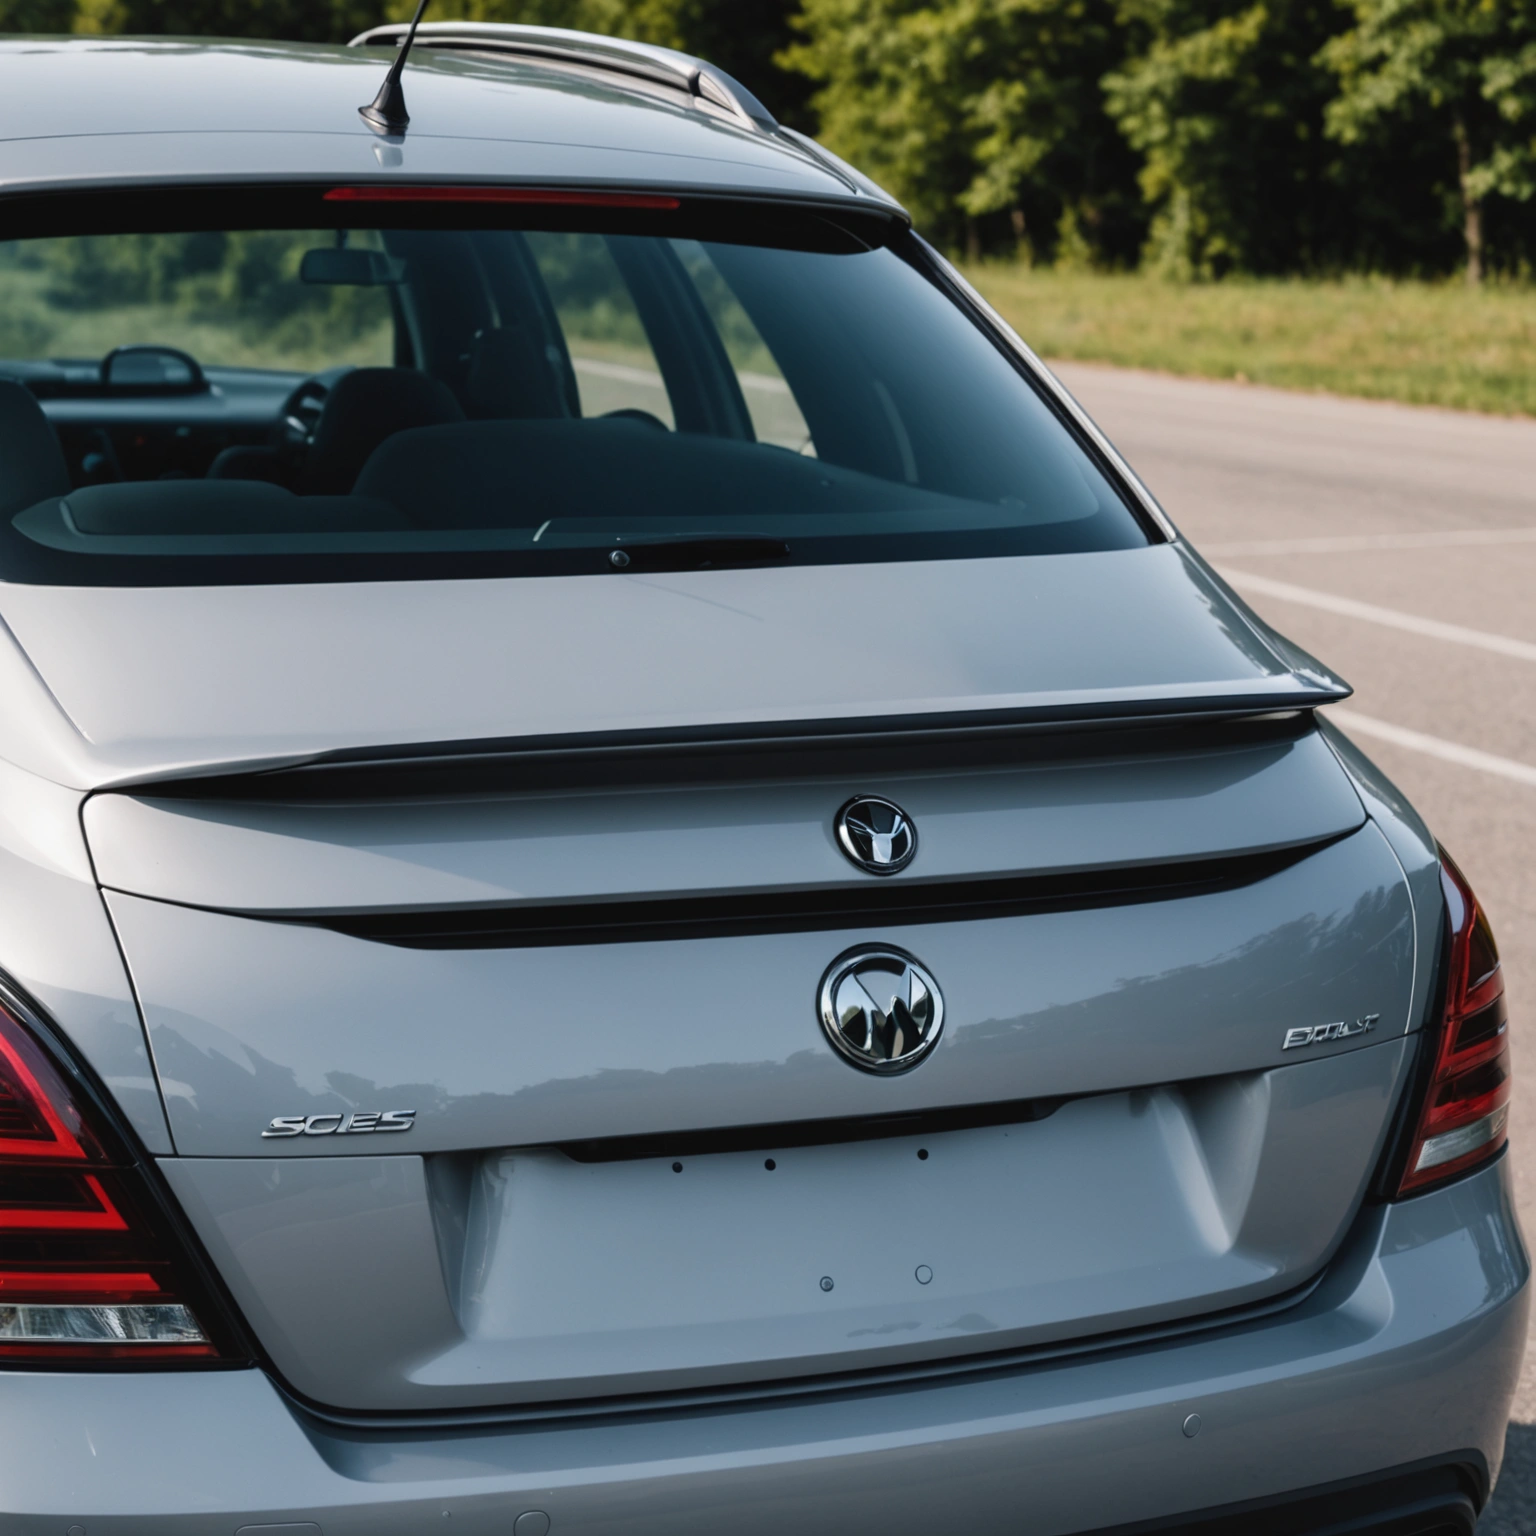
Selecting the right vinyl decals for your car bumper ensures long-lasting, vibrant results. Focus on Oracal 651 vinyl, proper sizing, and correct installation/removal techniques for the best durability.
### Understanding Vinyl Types and Compatibility
#### Why Oracal 651?

– **Durability:** Oracal 651 is a high-performance, 6-year exterior vinyl ideal for bumpers.
– **Adhesion:** Excellent adhesion to painted surfaces and smooth plastics.

– **Weather Resistance:** Resistant to UV, water, and car washes.
#### Compatibility Tips
– **Surface prep:** Clean bumper thoroughly with alcohol-based cleaner.
– **Avoid:** Rough or textured surfaces, which reduce adhesion.
– **Paint vs. Plastic:** Oracal 651 works best on smooth painted surfaces; test on plastic bumpers beforehand.
### Choosing the Right Size and Design
#### Size Guidelines
– **Fit & Visibility:** Ensure decals are proportionate to bumper size; typically 6-12 inches wide.
– **Legibility:** Keep text large enough to read from a distance.
– **Shape:** Opt for simple, bold shapes for durability and easier installation.
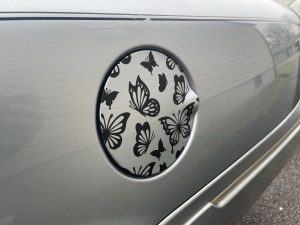
#### Design Tips
– Use high-contrast colors for visibility.
– Avoid intricate details that may peel or lift over time.
– Keep designs minimal for longevity.
### Installation Best Practices
#### Preparation
– Wash bumper thoroughly; dry completely.
– Use a surface cleaner to remove any wax, grease, or dirt.
#### Application
– Use a squeegee or credit card to smooth out air bubbles.
– Apply decal at room temperature (ideally 70-80°F).
– Peel backing slowly, ensuring decal adheres smoothly.
#### Pro Tips
– Use application tape for complex designs.
– For curved bumpers, apply gradually from center outward.
– Avoid installing in direct sunlight or extreme heat.
### Removal and Maintenance
– Remove decals carefully at a 180° angle to prevent paint damage.
– Use heat (heat gun or hairdryer) to soften adhesive if needed.
– Clean bumper with mild soap and water after removal.
## Recommended Decals
– Bold text decals for personalized messages.
– Custom logo stickers for branding.
– Simple graphic designs with high contrast.
## Conclusion
Choosing the right vinyl decal involves selecting durable Oracal 651 vinyl, ensuring proper sizing, and following best installation practices. Proper care and removal techniques will keep your bumper looking sharp for years.
**Ready to upgrade your ride? Shop our selection of high-quality car decals today!**
Shop this look


FAQs
1: What type of vinyl is best for bumper decals?
1: Oracal 651 is ideal due to its durability, weather resistance, and adhesive strength, making it suitable for outdoor bumper decals.
2: Can I apply vinyl decals over window tint or painted surfaces?
2: Yes, but ensure the surface is clean and dry. Avoid applying over existing tint or damaged paint to prevent adhesion issues or damage during removal.
3: How do I remove bumper decals without damaging the surface?
3: Use heat (like a heat gun) to soften the adhesive, then peel slowly. Apply adhesive remover if needed, and clean with isopropyl alcohol to avoid residue or damage.
{“@context”:”https://schema.org”,”@type”:”FAQPage”,”mainEntity”:[{“@type”:”Question”,”name”:”1: What type of vinyl is best for bumper decals?”,”acceptedAnswer”:{“@type”:”Answer”,”text”:”1: Oracal 651 is ideal due to its durability, weather resistance, and adhesive strength, making it suitable for outdoor bumper decals.”}},{“@type”:”Question”,”name”:”2: Can I apply vinyl decals over window tint or painted surfaces?”,”acceptedAnswer”:{“@type”:”Answer”,”text”:”2: Yes, but ensure the surface is clean and dry. Avoid applying over existing tint or damaged paint to prevent adhesion issues or damage during removal.”}},{“@type”:”Question”,”name”:”3: How do I remove bumper decals without damaging the surface?”,”acceptedAnswer”:{“@type”:”Answer”,”text”:”3: Use heat (like a heat gun) to soften the adhesive, then peel slowly. Apply adhesive remover if needed, and clean with isopropyl alcohol to avoid residue or damage.”}}]}
