
Quick links: All Decals • Holographic • Funny
## How to Choose and Apply Large Window Decals for Your Car
Selecting the right vinyl decal and applying it correctly ensures a professional look and easy removal later. Focus on vinyl type, window compatibility, sizing, and proper installation techniques for the best results.
## Choosing the Right Vinyl Decal
### Vinyl Type
– **Oracal 651:** Ideal for outdoor use, durable, and easy to remove.
– **Avoid cheap vinyl:** It may peel or damage your windows over time.

### Compatibility
– **Window surfaces:** Use on glass for long-lasting adhesion.
– **Painted surfaces:** Not recommended unless specified; vinyl may damage paint during removal.
### Sizing
– Measure your window accurately.
– Leave a slight margin (1-2 inches) around the decal for clean edges.
– Consider visibility and proportion—avoid overwhelming the window.
## Preparing for Application
### Surface Prep
– Clean with isopropyl alcohol and a lint-free cloth.
– Ensure the window is dry and free of dirt, wax, or grease.
### Design Layout
– Use masking tape to position the decal.
– Check visibility and alignment before peeling.
## Applying the Decal
### Step-by-Step
1. **Cut and weed** the decal to remove excess vinyl.
2. **Apply transfer tape** over the decal.
3. **Position** the decal on the window using the transfer tape.
4. **Smooth** out air bubbles with a squeegee or credit card.
5. **Peel** the transfer tape carefully, starting from one corner.
### Pro Tips
– Work in a dust-free, shaded area.
– Use a heat gun or hairdryer on low if decal is difficult to apply smoothly.
## Removing Large Window Decals
### Best Practices
– Heat the decal gently with a heat gun to soften adhesive.
– Peel slowly from one corner, using a plastic scraper if needed.
– Clean residual adhesive with an alcohol-based cleaner.
## Compatibility & Maintenance
– Oracal 651 is compatible with most window tints.
– Avoid abrasive cleaners; use mild soap and water for maintenance.
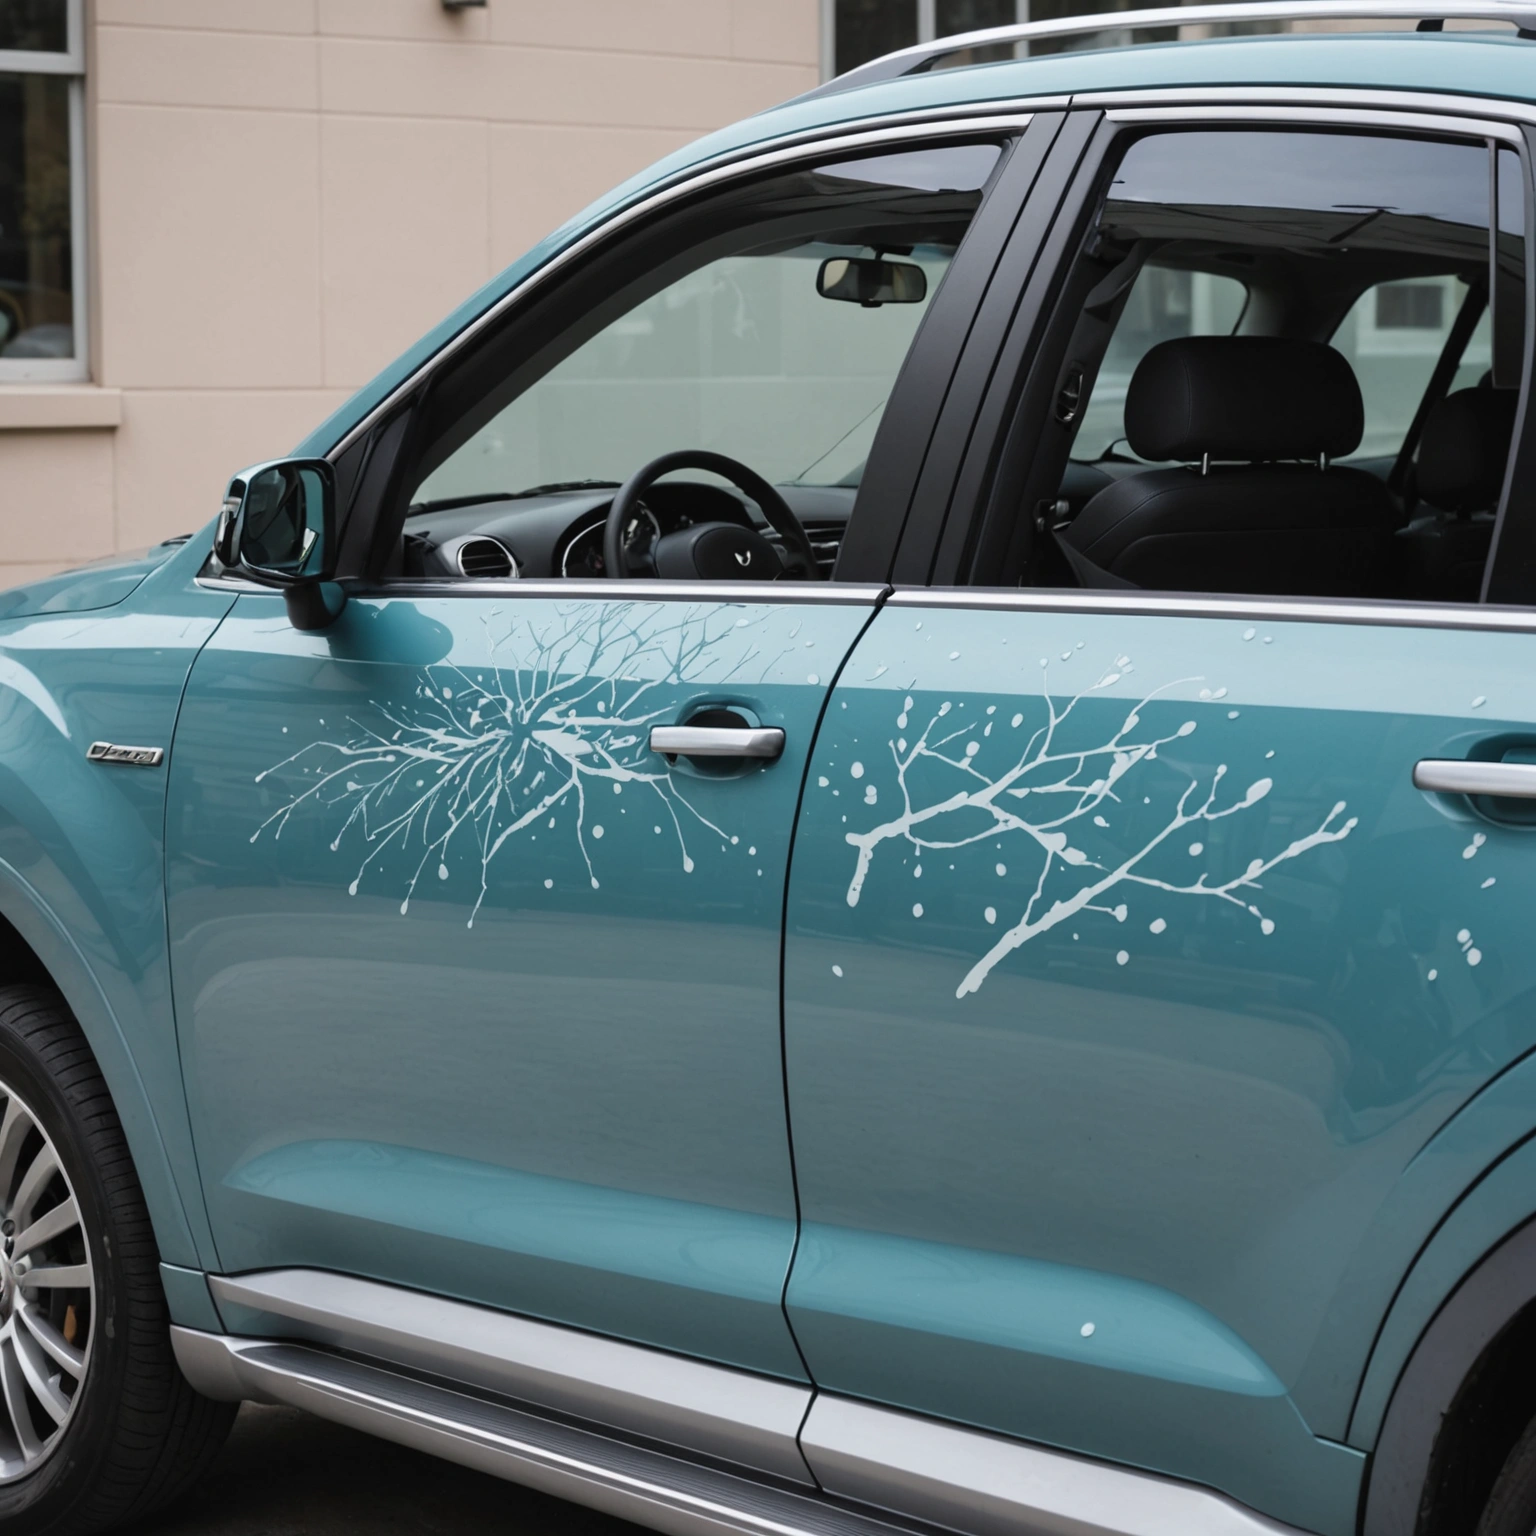
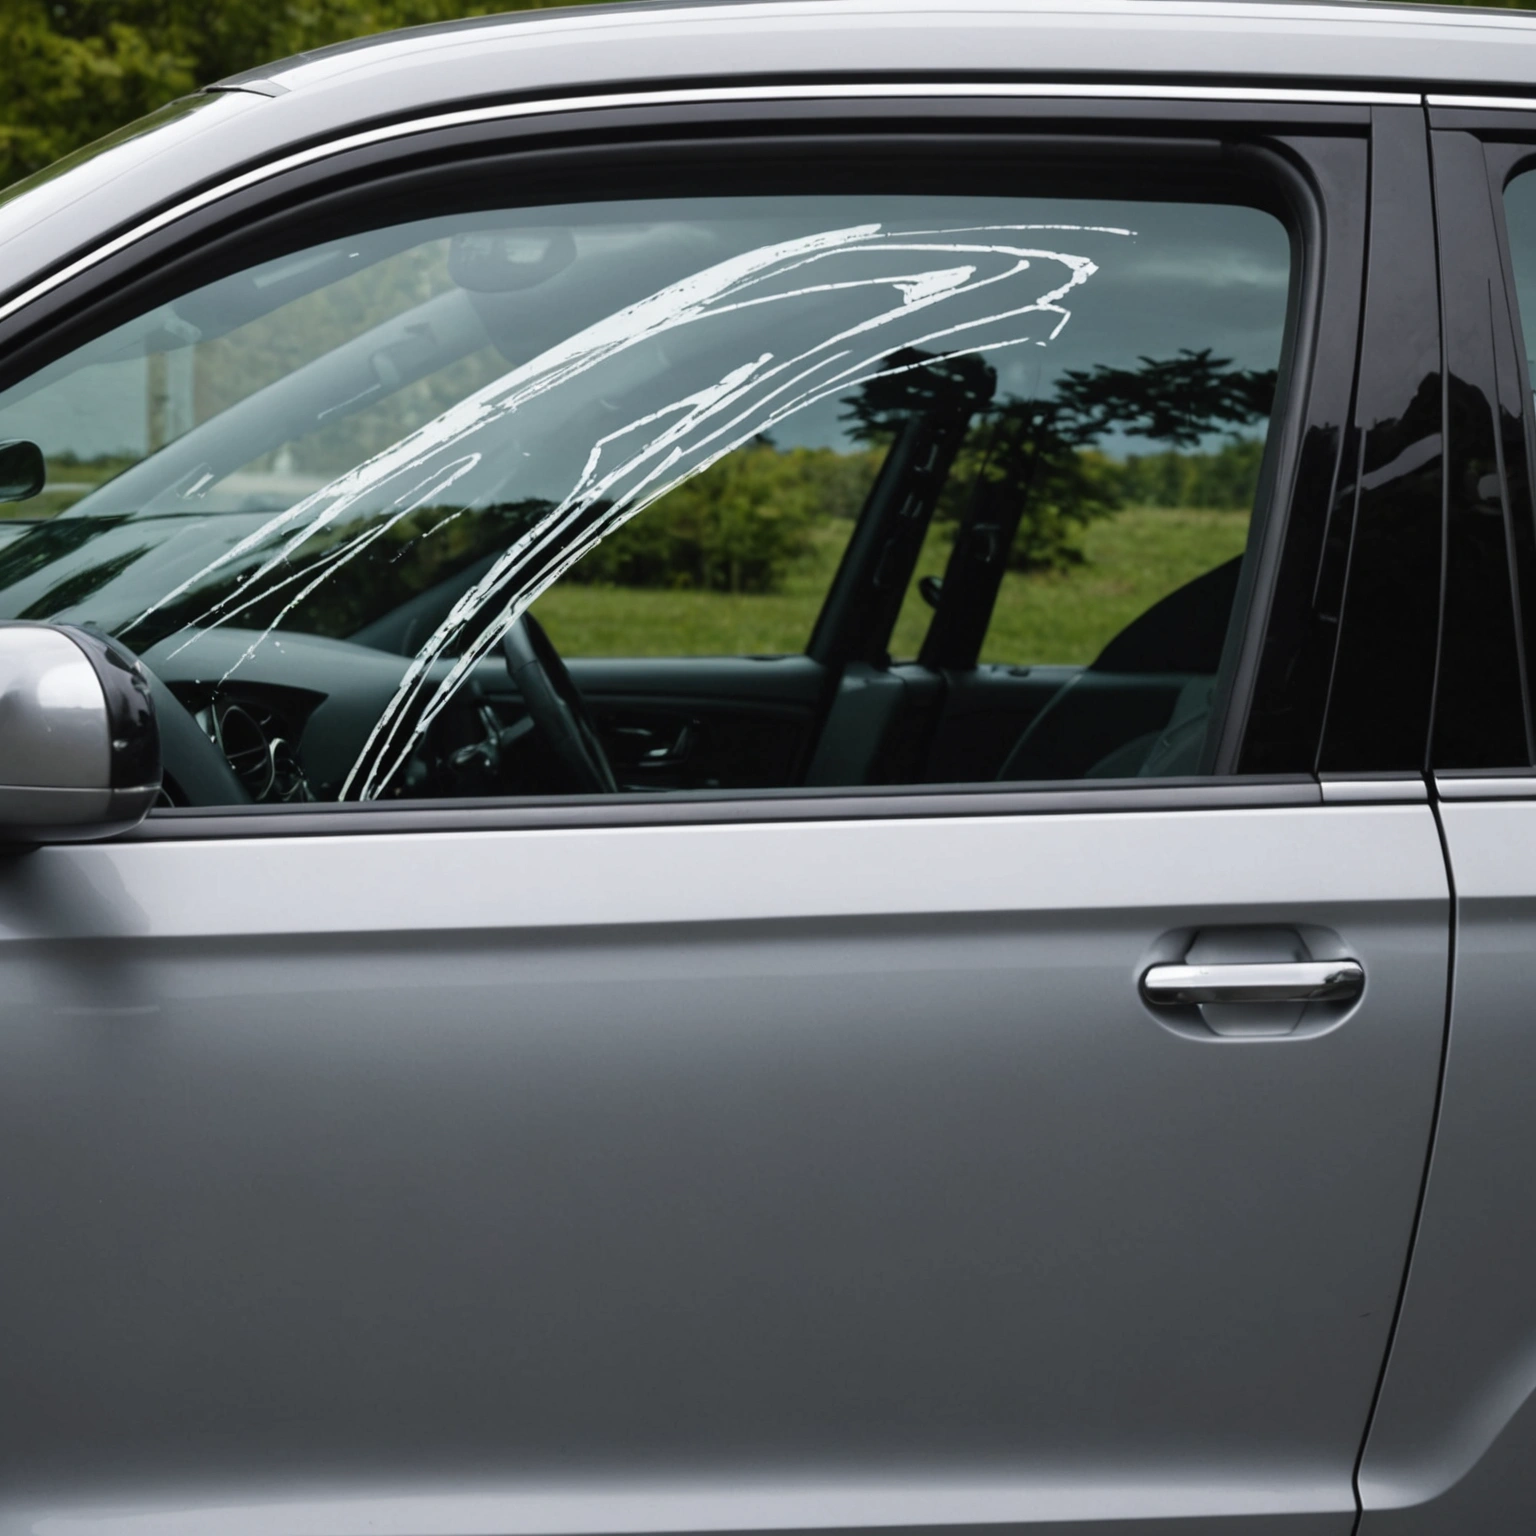
## Recommended Decals
– Custom logo decals
– Vinyl lettering for business branding
– Decorative window graphics
## Conclusion
Choosing the right vinyl decal and applying it properly guarantees a sleek, professional look that’s easy to remove or replace later. Measure carefully, prep thoroughly, and follow best application techniques for optimal results.
**Ready to transform your vehicle? Shop our selection of high-quality decals today!**
Shop this look


FAQs
**Q1: How do I choose the right decal material for my car windows?**
Use high-quality vinyl like Oracal 651 for durability and easy removal. Ensure the decal is compatible with glass surfaces and won’t damage paint or tint. Consider the decal size and design to suit your vehicle’s aesthetic and visibility needs.
**Q2: What’s the best way to apply large window decals?**
Clean the glass thoroughly with isopropyl alcohol. Use a squeegee to smooth out bubbles and ensure adhesion. Start from the top and work downward, applying even pressure. For large decals, consider using application tape for easier handling.
**Q3: How do I remove and replace window decals without damage?**
Gently heat the decal with a heat gun or hairdryer to soften adhesive. Peel slowly from one corner, using a plastic scraper if needed. Clean residual adhesive with rubbing alcohol. Avoid scraping paint or tint to prevent damage.
{“@context”:”https://schema.org”,”@type”:”FAQPage”,”mainEntity”:[{“@type”:”Question”,”name”:”**Q1: How do I choose the right decal material for my car windows?**”,”acceptedAnswer”:{“@type”:”Answer”,”text”:”Use high-quality vinyl like Oracal 651 for durability and easy removal. Ensure the decal is compatible with glass surfaces and wonu2019t damage paint or tint. Consider the decal size and design to suit your vehicleu2019s aesthetic and visibility needs.”}},{“@type”:”Question”,”name”:”**Q2: Whatu2019s the best way to apply large window decals?**”,”acceptedAnswer”:{“@type”:”Answer”,”text”:”Clean the glass thoroughly with isopropyl alcohol. Use a squeegee to smooth out bubbles and ensure adhesion. Start from the top and work downward, applying even pressure. For large decals, consider using application tape for easier handling.”}},{“@type”:”Question”,”name”:”**Q3: How do I remove and replace window decals without damage?**”,”acceptedAnswer”:{“@type”:”Answer”,”text”:”Gently heat the decal with a heat gun or hairdryer to soften adhesive. Peel slowly from one corner, using a plastic scraper if needed. Clean residual adhesive with rubbing alcohol. Avoid scraping paint or tint to prevent damage.”}}]}
