
Quick links: All Decals • Holographic • Funny
# How to Choose and Apply Large Vinyl Car Decals Safely
Selecting the right vinyl decal and applying it properly ensures a professional look and easy removal later. Focus on compatibility, sizing, and installation techniques to achieve the best results.
## Choosing the Right Vinyl Decal
### Material Compatibility

– **Use Oracal 651**: A durable, outdoor-rated vinyl perfect for car windows and painted surfaces.
– **Check Surface Compatibility**: Oracal 651 works well on glass and painted metal, but avoid textured or rough surfaces.
### Size and Design
– **Measure Surface Area**: Ensure the decal fits comfortably without covering vents or sensors.
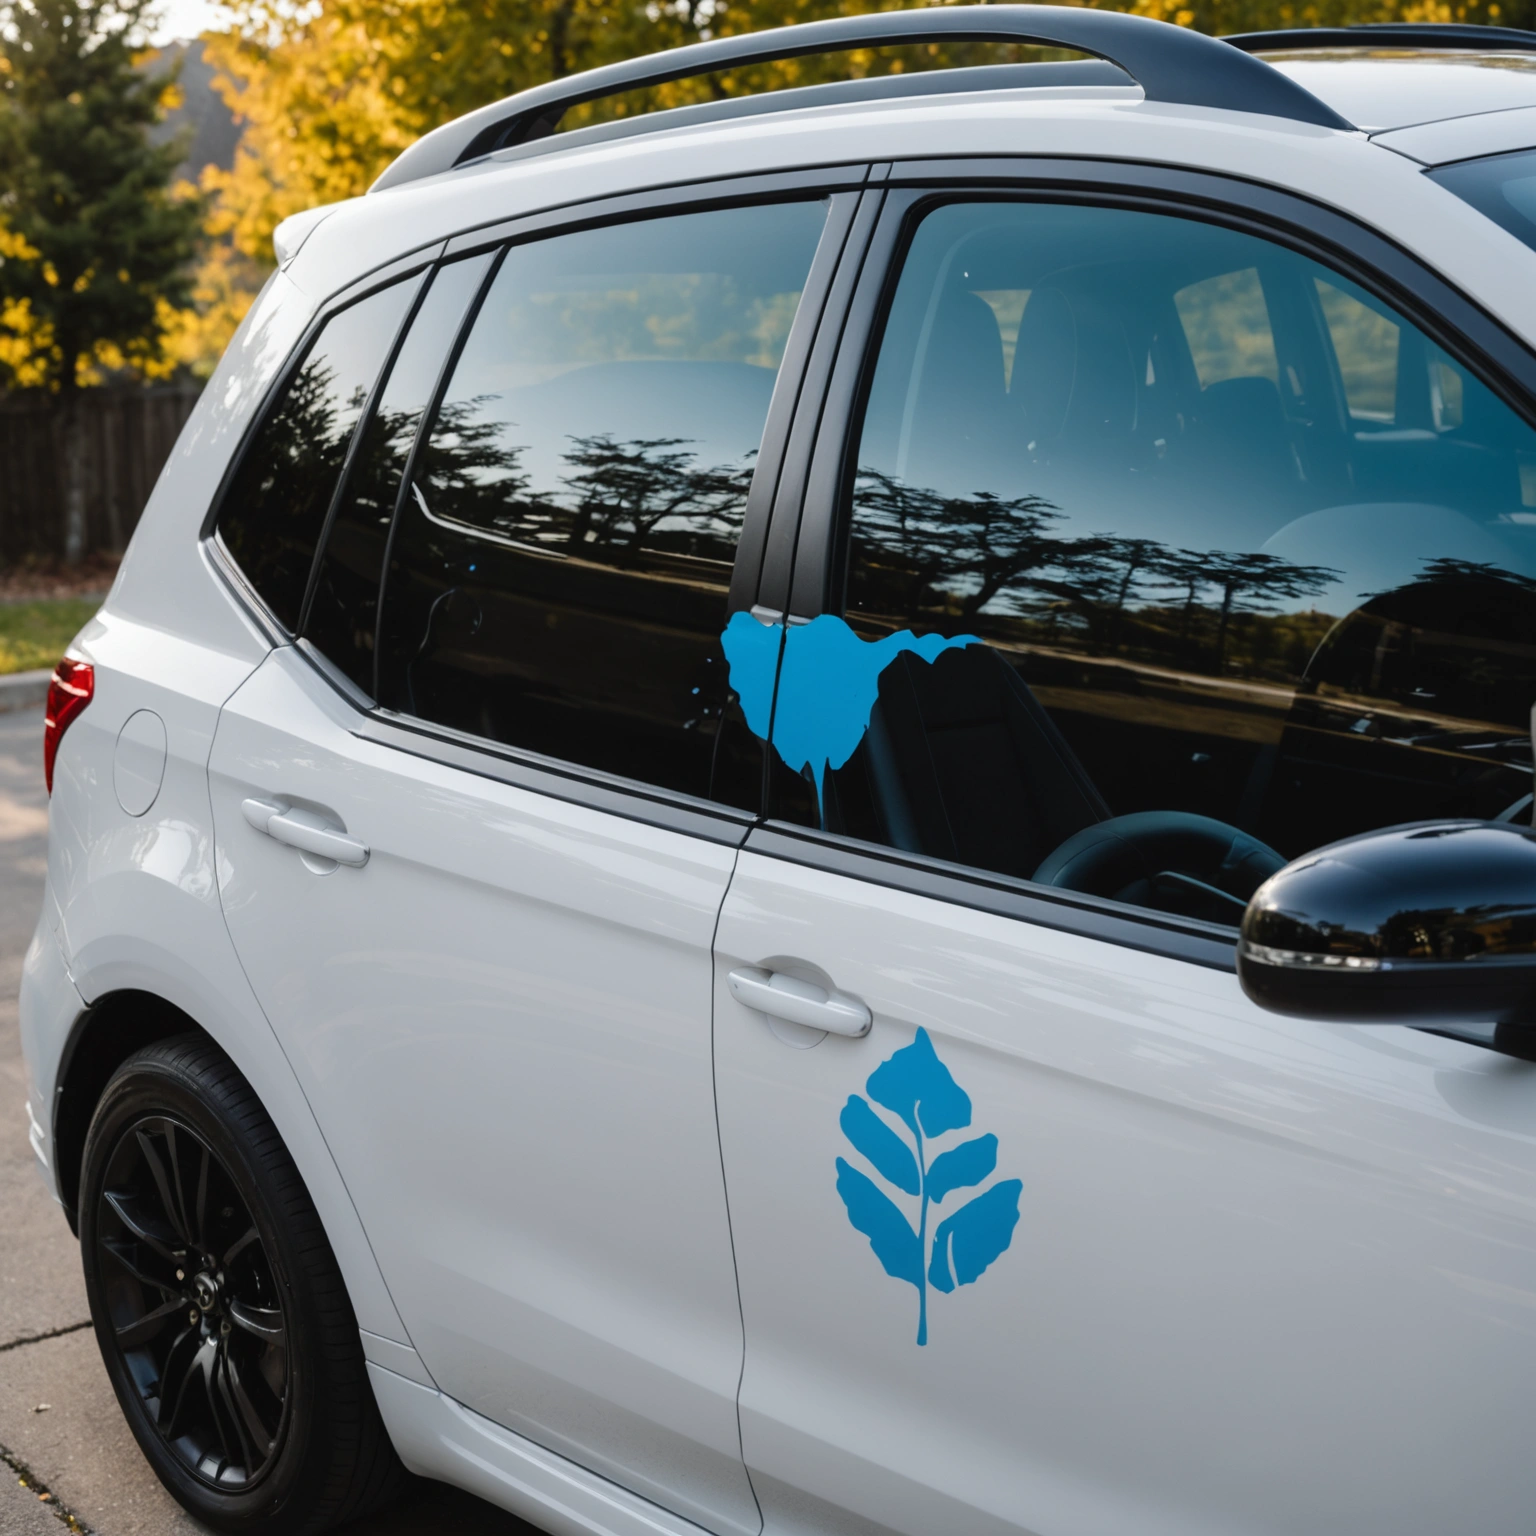
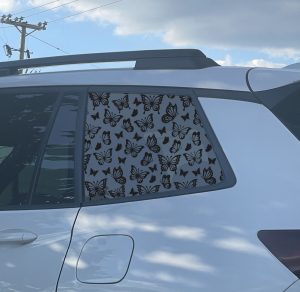
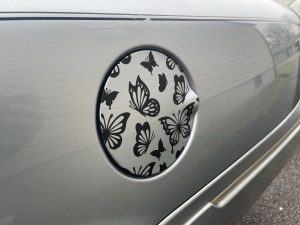
– **Design Clarity**: Opt for bold, simple designs for better visibility and easier installation.
### Color and Finish
– **Color Selection**: Choose colors that contrast with your vehicle’s paint or window tint.
– **Finish Options**: Glossy or matte finishes depend on aesthetic preference; both are suitable for cars.
## Preparing for Application
### Surface Preparation
– **Clean Thoroughly**: Use isopropyl alcohol to remove dirt, wax, and grease.
– **Dry Completely**: Avoid applying decals on wet or damp surfaces.
### Sizing and Positioning
– **Use Masking Tape**: Mark the decal placement before peeling to visualize final positioning.
– **Level and Center**: Use a measuring tape or leveling tool for accuracy.
## Applying the Vinyl Decal
### Tools Needed
– Squeegee or credit card
– Fine-tipped knife (for trimming)
– Spray bottle with soapy water (optional for wet application)
### Application Steps
1. **Peel the Backing**: Carefully peel the decal from the backing paper.
2. **Position the Decal**: Use masking tape to hold it in place.
3. **Apply with Squeegee**: Starting from the center outward, press firmly to eliminate air bubbles.
4. **Remove Transfer Tape**: Slowly peel away the transfer tape at a sharp angle.
5. **Final Touches**: Use the squeegee to smooth any remaining bubbles or wrinkles.
### Pro Tip
– For large decals, consider a wet application with soapy water to reposition easily and reduce air bubbles.
## Removing Large Vinyl Decals
– **Heat the Edges**: Use a heat gun or hairdryer to soften adhesive.
– **Peel Gently**: Slowly lift the decal from one corner.
– **Clean Residue**: Use isopropyl alcohol to remove any adhesive leftovers.
## Compatibility Tips
– Avoid applying vinyl on frosted, textured, or heavily tinted windows unless specified.
– Test a small area first if unsure about surface compatibility.
## Recommended Decals
– Bold logo designs for personal branding
– Custom text or slogans
– Themed graphics for events or promotions
## Conclusion
Choosing the right vinyl decal and applying it with care ensures a professional look and safe removal later. Follow these steps for a flawless finish and enjoy your custom vehicle enhancement.
**Ready to personalize your ride? Shop our premium Oracal 651 decals today!**
Shop this look


FAQs
**Q1: How do I choose the right vinyl for my large car decal?**
Use Oracal 651 for durability and outdoor use. Ensure the vinyl is compatible with your surface (glass or painted). For large decals, opt for high-quality, weather-resistant vinyl to prevent peeling or fading over time.
**Q2: What’s the best way to apply large vinyl decals without bubbles or wrinkles?**
Clean the surface thoroughly. Use a squeegee and apply from the center outward with firm, even pressure. For large decals, consider heat to soften the vinyl and improve adhesion, especially on curved surfaces.
**Q3: How can I safely remove large vinyl decals and tint from my car?**
Gently heat the decal with a heat gun or hairdryer to loosen adhesive. Peel slowly, using a plastic scraper if needed. For tint, professional removal is recommended to avoid damage; if DIY, use a tint removal solution and patience.
{“@context”:”https://schema.org”,”@type”:”FAQPage”,”mainEntity”:[{“@type”:”Question”,”name”:”**Q1: How do I choose the right vinyl for my large car decal?**”,”acceptedAnswer”:{“@type”:”Answer”,”text”:”Use Oracal 651 for durability and outdoor use. Ensure the vinyl is compatible with your surface (glass or painted). For large decals, opt for high-quality, weather-resistant vinyl to prevent peeling or fading over time.”}},{“@type”:”Question”,”name”:”**Q2: Whatu2019s the best way to apply large vinyl decals without bubbles or wrinkles?**”,”acceptedAnswer”:{“@type”:”Answer”,”text”:”Clean the surface thoroughly. Use a squeegee and apply from the center outward with firm, even pressure. For large decals, consider heat to soften the vinyl and improve adhesion, especially on curved surfaces.”}},{“@type”:”Question”,”name”:”**Q3: How can I safely remove large vinyl decals and tint from my car?**”,”acceptedAnswer”:{“@type”:”Answer”,”text”:”Gently heat the decal with a heat gun or hairdryer to loosen adhesive. Peel slowly, using a plastic scraper if needed. For tint, professional removal is recommended to avoid damage; if DIY, use a tint removal solution and patience.”}}]}
