Quick links: All Decals • Holographic • Funny
## How to Choose and Apply Funny Car Vinyl Decals
Selecting the right vinyl decal and applying it correctly ensures a humorous, eye-catching addition to your vehicle that lasts. Follow these steps to choose, prepare, and install your decal with confidence.
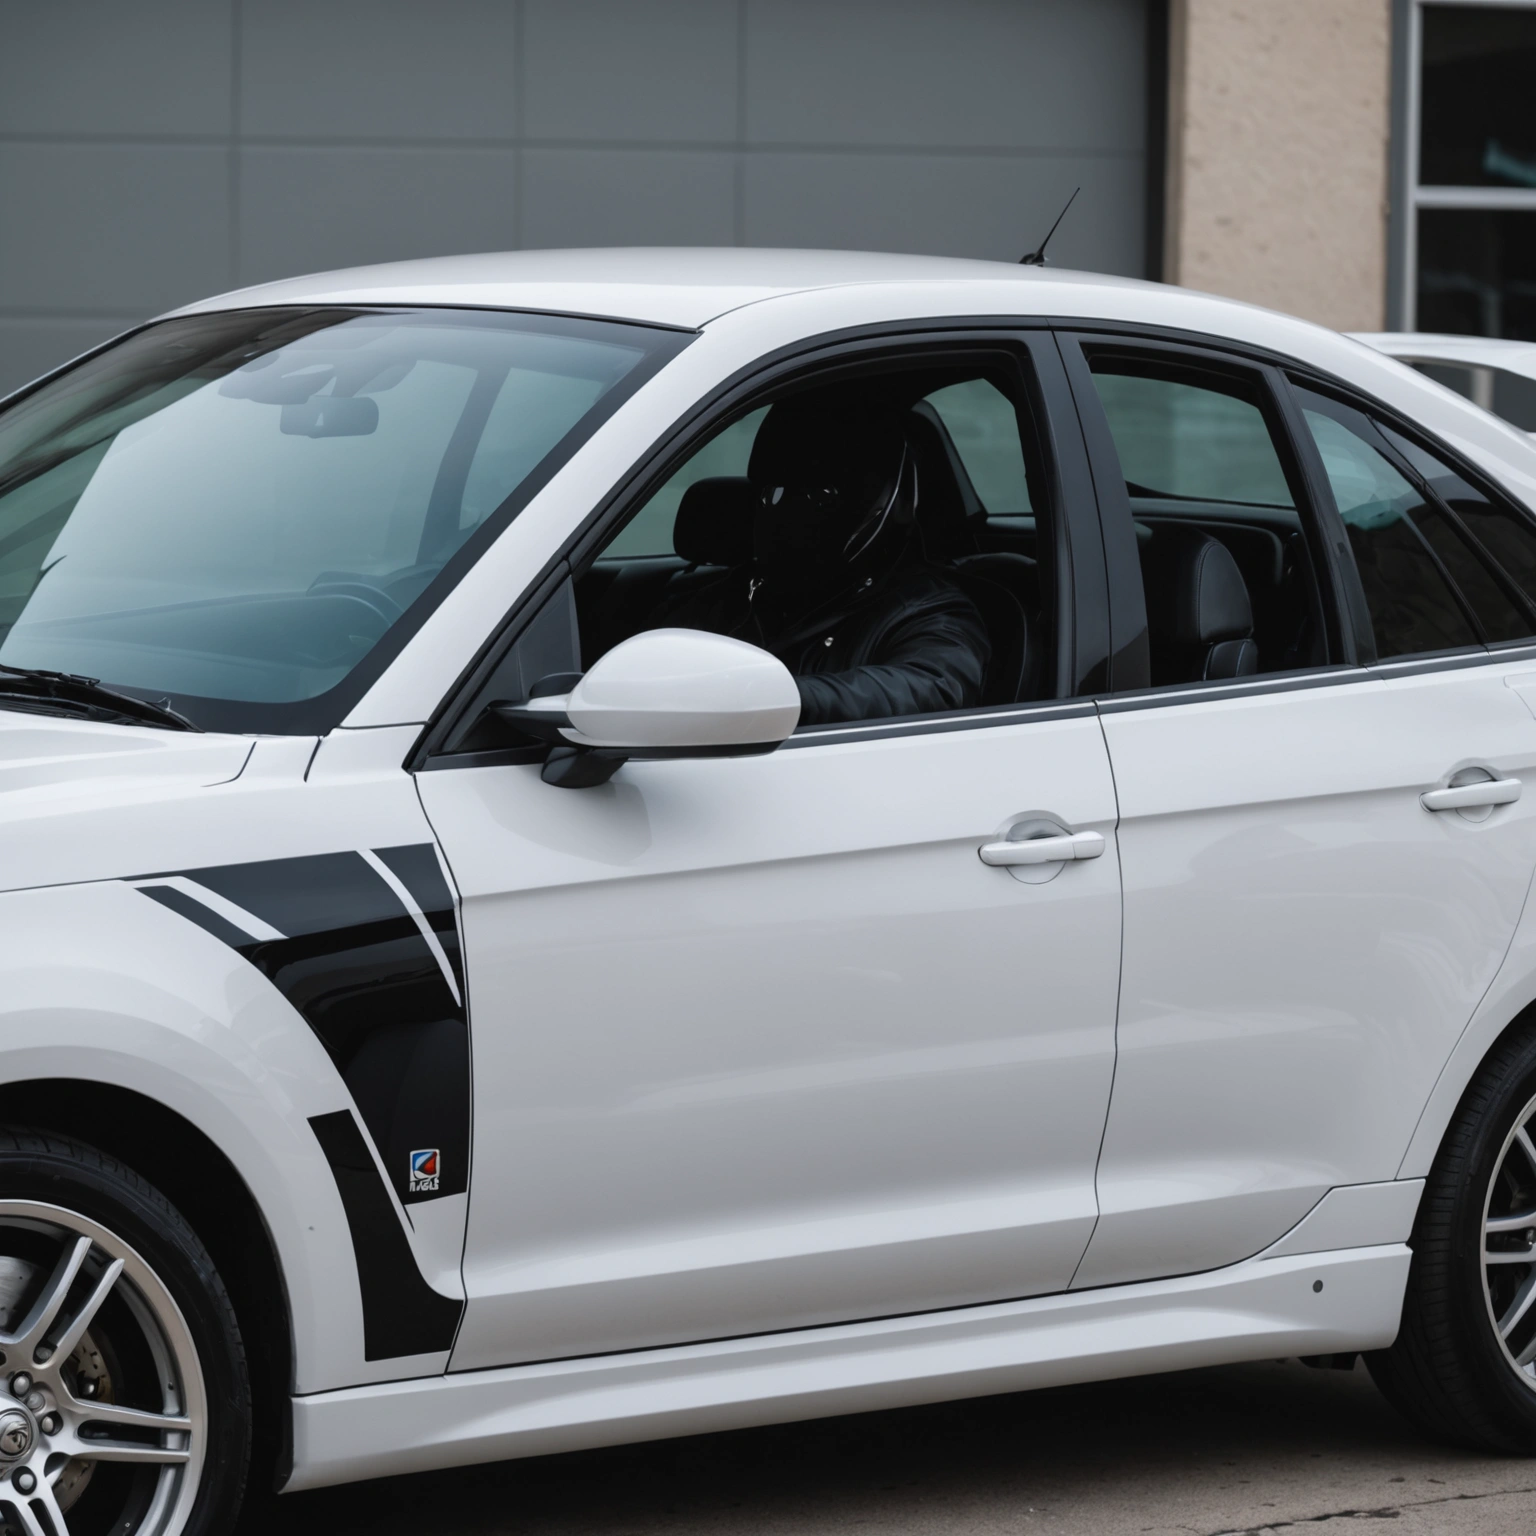
## Choosing the Right Vinyl Decal
### Consider Compatibility

– **Vinyl Type:** Use Oracal 651 for durability and outdoor resilience.
– **Surface Compatibility:** Suitable for painted surfaces and vehicle windows; avoid textured or matte finishes.
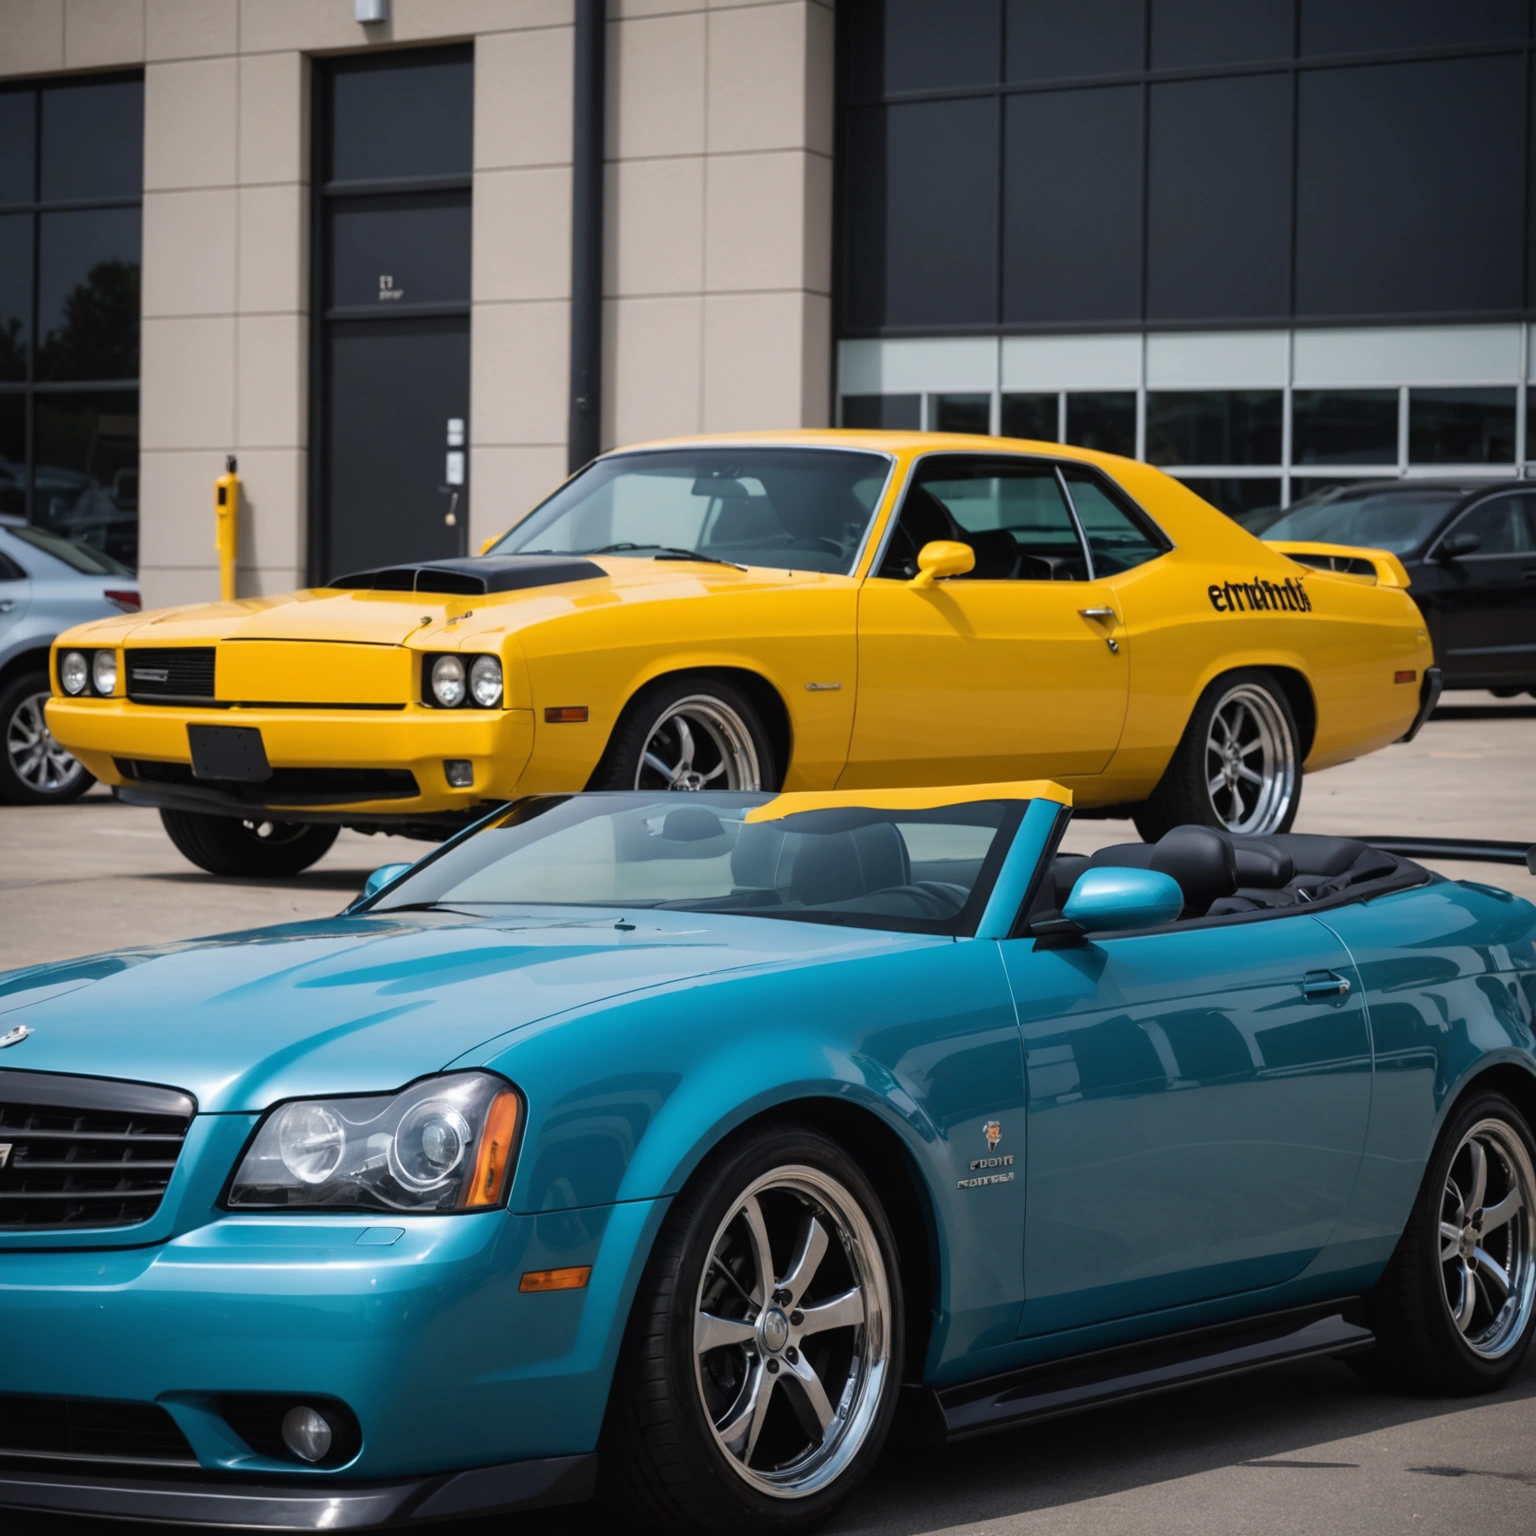
– **Window Tint:** Decals adhere well on tinted windows, but ensure the tint is compatible with vinyl application.
### Size & Design
– **Size:** Measure your space; larger decals are more visible, but avoid covering essential features.
– **Design:** Opt for humor that complements your vehicle’s style; keep it simple for readability.
### Pro Tip:
Test a small decal first to check adhesion and appearance before committing to larger designs.
## Preparing Your Vehicle
### Surface Preparation
– Clean thoroughly with isopropyl alcohol to remove dirt, wax, and grease.
– Dry completely to prevent bubbles during application.
### Tools Needed
– Squeegee or credit card
– Masking tape
– Utility knife (for trimming)
## Applying the Vinyl Decal
### Step-by-Step
1. **Position the decal:** Use masking tape to mark placement.
2. **Peel backing:** Carefully peel the transfer tape from the decal.
3. **Apply to surface:** Use a squeegee to smooth out bubbles, working from the center outward.
4. **Remove transfer tape:** Slowly peel at a 45-degree angle, ensuring the decal stays in place.
### Pro Tips:
– Work in a dust-free environment.
– Use a heat gun or hairdryer to soften the vinyl if needed for curved surfaces.
## Removal & Maintenance
– To remove, gently peel from one corner, applying heat if necessary to loosen adhesive.
– Clean the area afterward with alcohol to remove residue.
– Regularly wash with mild soap and water; avoid abrasive scrubbing.
## Recommended Decals
– Humorous quotes like “I Brake for Snacks”
– Funny caricatures or puns
– Quirky slogans matching your personality
## Conclusion
Choosing the right funny vinyl decal and applying it properly transforms your vehicle into a rolling joke. For high-quality decals and expert advice, shop our selection today!
Shop this look
FAQs
1: How do I choose the right funny car vinyl decal?
1: Select a durable vinyl like Oracal 651 for longevity, ensure the design fits your vehicle’s surface, and consider visibility and humor. Avoid complex or very small details for easier application and removal.
2: How should I apply vinyl decals on my car?
2: Clean the surface thoroughly with alcohol, position the decal using transfer tape, and use a squeegee to remove air bubbles. Apply at room temperature for best adhesion, especially on glass or painted areas.
3: Can I remove or change decals without damaging my car’s paint or tint?
3: Yes, gently peel from a corner. For stubborn adhesive, use heat from a hairdryer and adhesive remover. Always test on a small area first to avoid damage to paint or tint.
{“@context”:”https://schema.org”,”@type”:”FAQPage”,”mainEntity”:[{“@type”:”Question”,”name”:”1: How do I choose the right funny car vinyl decal?”,”acceptedAnswer”:{“@type”:”Answer”,”text”:”1: Select a durable vinyl like Oracal 651 for longevity, ensure the design fits your vehicleu2019s surface, and consider visibility and humor. Avoid complex or very small details for easier application and removal.”}},{“@type”:”Question”,”name”:”2: How should I apply vinyl decals on my car?”,”acceptedAnswer”:{“@type”:”Answer”,”text”:”2: Clean the surface thoroughly with alcohol, position the decal using transfer tape, and use a squeegee to remove air bubbles. Apply at room temperature for best adhesion, especially on glass or painted areas.”}},{“@type”:”Question”,”name”:”3: Can I remove or change decals without damaging my caru2019s paint or tint?”,”acceptedAnswer”:{“@type”:”Answer”,”text”:”3: Yes, gently peel from a corner. For stubborn adhesive, use heat from a hairdryer and adhesive remover. Always test on a small area first to avoid damage to paint or tint.”}}]}

