
Quick links: All Decals • Holographic • Funny
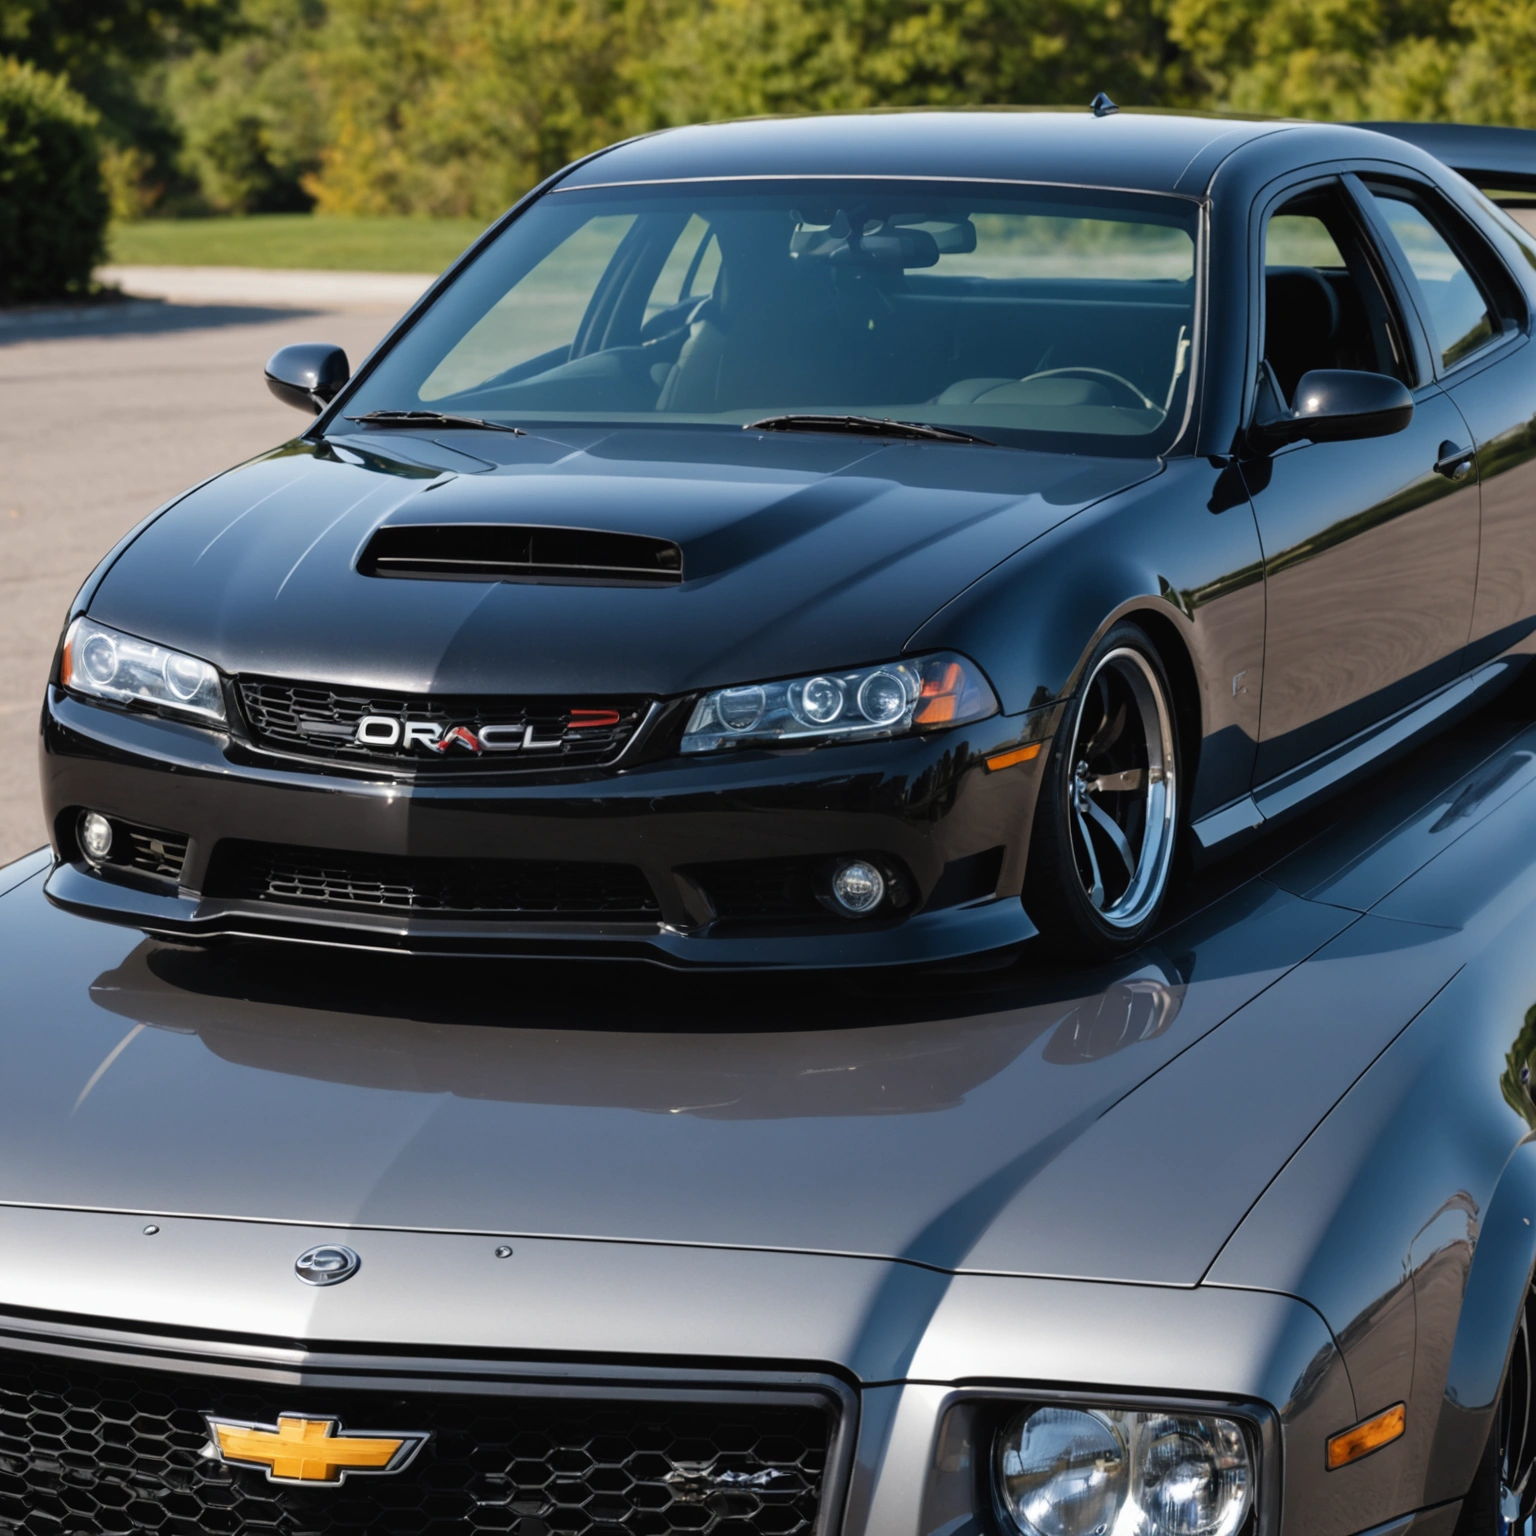
# How to Choose and Apply Funny Car Decals with Oracal 651
Selecting the right funny car decal and applying it properly ensures a vibrant, long-lasting display. Focus on vinyl compatibility, appropriate sizing, and best installation/removal practices for a hassle-free experience.
## Choosing the Perfect Decal
### Compatibility & Surface

– Use Oracal 651 vinyl for smooth, flat surfaces like windows and painted areas.
– Avoid textured or heavily curved surfaces for best adhesion and visibility.
– Ensure the decal is rated for outdoor use to withstand weather conditions.
### Sizing & Design
– Measure your vehicle area to select a decal size that fits without overpowering or being too small.
– Opt for humorous designs that match your personality but remain legible from a distance.
– Keep the design simple for quick readability and impact.
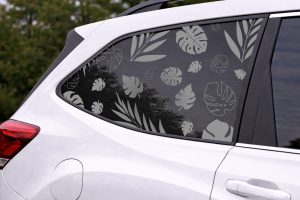
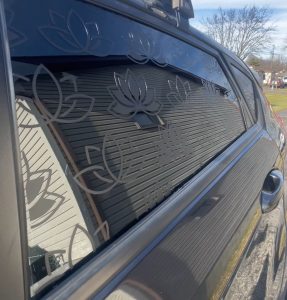
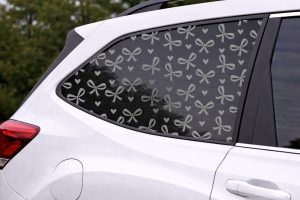
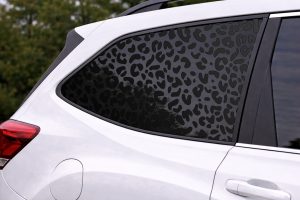
### Recommended Decals
– Witty slogans (e.g., “I Brake for Snacks”)
– Funny caricatures or puns
– Custom text with humorous fonts
## Preparing for Application
### Surface Prep
– Clean the area thoroughly with isopropyl alcohol.
– Dry completely to remove dirt, grease, or wax.
### Tools Needed
– Squeegee or credit card
– Masking tape
– Transfer tape (if not pre-cut)
– Razor blade (for trimming)
## Application Process
### Step-by-Step
1. **Position the Decal**: Use masking tape to hold the decal in place and verify placement.
2. **Apply Transfer Tape**: If your decal isn’t pre-cut, apply transfer tape over the decal, pressing firmly.
3. **Remove Backing**: Carefully peel away the backing paper, leaving the decal on the transfer tape.
4. **Position on Vehicle**: Place the decal on the desired area, using masking tape to adjust.
5. **Smooth Out**: Use a squeegee to press out air bubbles, starting from the center outward.
6. **Peel Transfer Tape**: Slowly peel away the transfer tape at a sharp angle, ensuring the decal adheres properly.
### Pro Tips
– Work in a dust-free environment.
– Use a heat gun or hairdryer to soften vinyl for curves (if necessary).
– Take your time during peeling to prevent tearing.
## Removal & Maintenance
### Removal Tips
– Warm the decal with a heat gun for easier peeling.
– Peel slowly to avoid damage to paint or glass.
– Use adhesive remover for any residue.
### Maintenance
– Wash the decal gently with mild soap.
– Avoid abrasive scrubbing to preserve the print.
## Conclusion
Choosing the right funny decal and applying it with proper technique guarantees a humorous, eye-catching addition to your vehicle. Ready to express your personality? Shop our selection of high-quality Oracal 651 decals today!
Shop this look
FAQs
**Q1: Can I apply Oracal 651 decals on tinted windows?**
A1: Yes, Oracal 651 vinyl can be applied on tinted windows. Ensure the tint is fully cured, and the surface is clean and dry. Avoid applying on freshly tinted glass to prevent damage or adhesion issues.
**Q2: How do I remove funny decals without damaging paint or tint?**
A2: Gently heat the decal with a heat gun or hairdryer, then peel slowly at a 45° angle. Use a vinyl removal solution if needed, and clean the area with isopropyl alcohol to remove adhesive residue.
**Q3: How should I prepare the surface before applying vinyl decals?**
A3: Clean the surface thoroughly with soap and water, then wipe with isopropyl alcohol to remove oils and dirt. Ensure the surface is dry and free of any wax or wax residues for optimal adhesion.
{“@context”:”https://schema.org”,”@type”:”FAQPage”,”mainEntity”:[{“@type”:”Question”,”name”:”**Q1: Can I apply Oracal 651 decals on tinted windows?**”,”acceptedAnswer”:{“@type”:”Answer”,”text”:”A1: Yes, Oracal 651 vinyl can be applied on tinted windows. Ensure the tint is fully cured, and the surface is clean and dry. Avoid applying on freshly tinted glass to prevent damage or adhesion issues.”}},{“@type”:”Question”,”name”:”**Q2: How do I remove funny decals without damaging paint or tint?**”,”acceptedAnswer”:{“@type”:”Answer”,”text”:”A2: Gently heat the decal with a heat gun or hairdryer, then peel slowly at a 45u00b0 angle. Use a vinyl removal solution if needed, and clean the area with isopropyl alcohol to remove adhesive residue.”}},{“@type”:”Question”,”name”:”**Q3: How should I prepare the surface before applying vinyl decals?**”,”acceptedAnswer”:{“@type”:”Answer”,”text”:”A3: Clean the surface thoroughly with soap and water, then wipe with isopropyl alcohol to remove oils and dirt. Ensure the surface is dry and free of any wax or wax residues for optimal adhesion.”}}]}
