Quick links: All Decals • Holographic • Funny
# How to Choose and Apply Durable Vinyl Car Decals Like JDM Designs
Selecting the right vinyl decals and applying them properly ensures a long-lasting, professional look on your vehicle. Focus on Oracal 651 vinyl, window compatibility, correct sizing, and proper installation/removal techniques for best results.

## Choosing the Right Vinyl Decal
### Material Considerations

– **Oracal 651**: A popular, durable 2-3 year indoor/outdoor vinyl ideal for car decals.
– **Weather Resistance**: Ensure the vinyl is rated for outdoor use to withstand UV rays, rain, and car washes.

### Window vs. Painted Surface
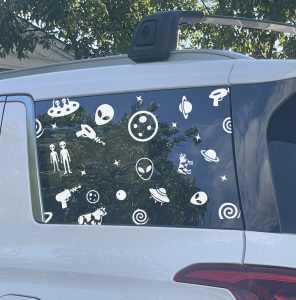
– **Windows**: Use perforated or transparent vinyl for visibility; Oracal 651 sticks well but may need a different adhesive for optimal adhesion.
– **Painted Surfaces**: Oracal 651 adheres strongly; test a small area first to confirm compatibility.
### Sizing Tips
– Measure your vehicle area accurately.
– Keep decals proportionate to the space for aesthetic balance.
– Consider visibility and readability at a glance.
## Preparing for Application
### Surface Preparation
– Clean the surface thoroughly with isopropyl alcohol.
– Avoid waxes or oils that hinder adhesion.
– Dry completely before applying.
### Tools Needed
– Squeegee or application tool
– Masking tape
– Utility knife for trimming
## Applying the Vinyl Decal
### Step-by-Step
1. **Position the decal**: Use masking tape to hold it in place and check alignment.
2. **Peel backing paper**: Carefully lift the decal from the backing.
3. **Apply the decal**: Use a squeegee to press from the center outward, removing air bubbles.
4. **Remove transfer tape**: Slowly peel back at a sharp angle, ensuring the decal stays attached.
### Pro Tips
– Work in a dust-free, shaded area.
– Use a heat gun or hairdryer to soften the vinyl for curved surfaces.
– For large decals, apply in sections.
## Removal & Longevity
### Removal Best Practices
– Heat the decal with a heat gun for easier removal.
– Use a plastic scraper to lift edges without scratching.
– Clean residual adhesive with isopropyl alcohol.
### Tips for Longevity
– Avoid car washes for 24 hours post-application.
– Regularly clean with mild soap and water.
– Reapply or replace decals after 2-3 years for optimal appearance.
## Recommended Decals
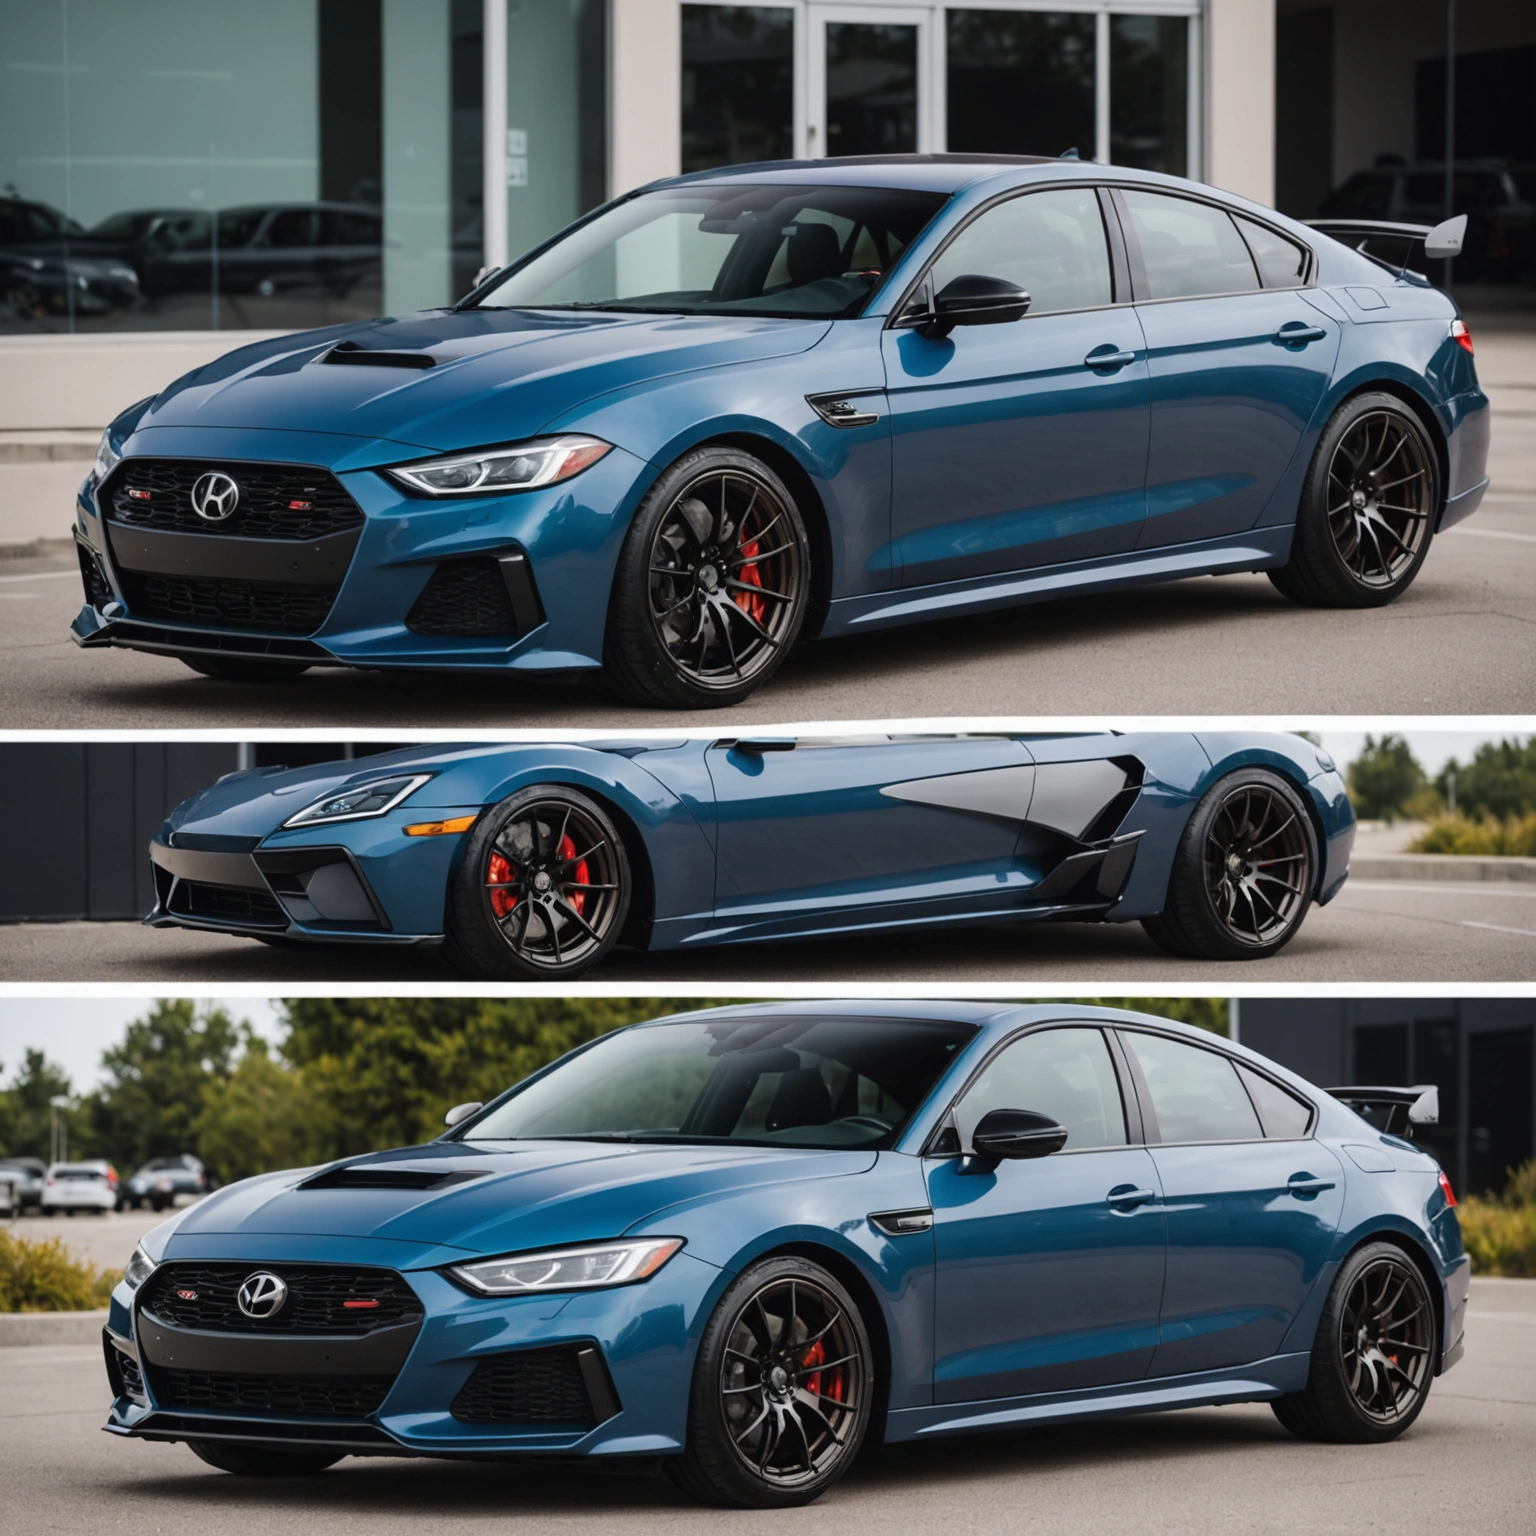
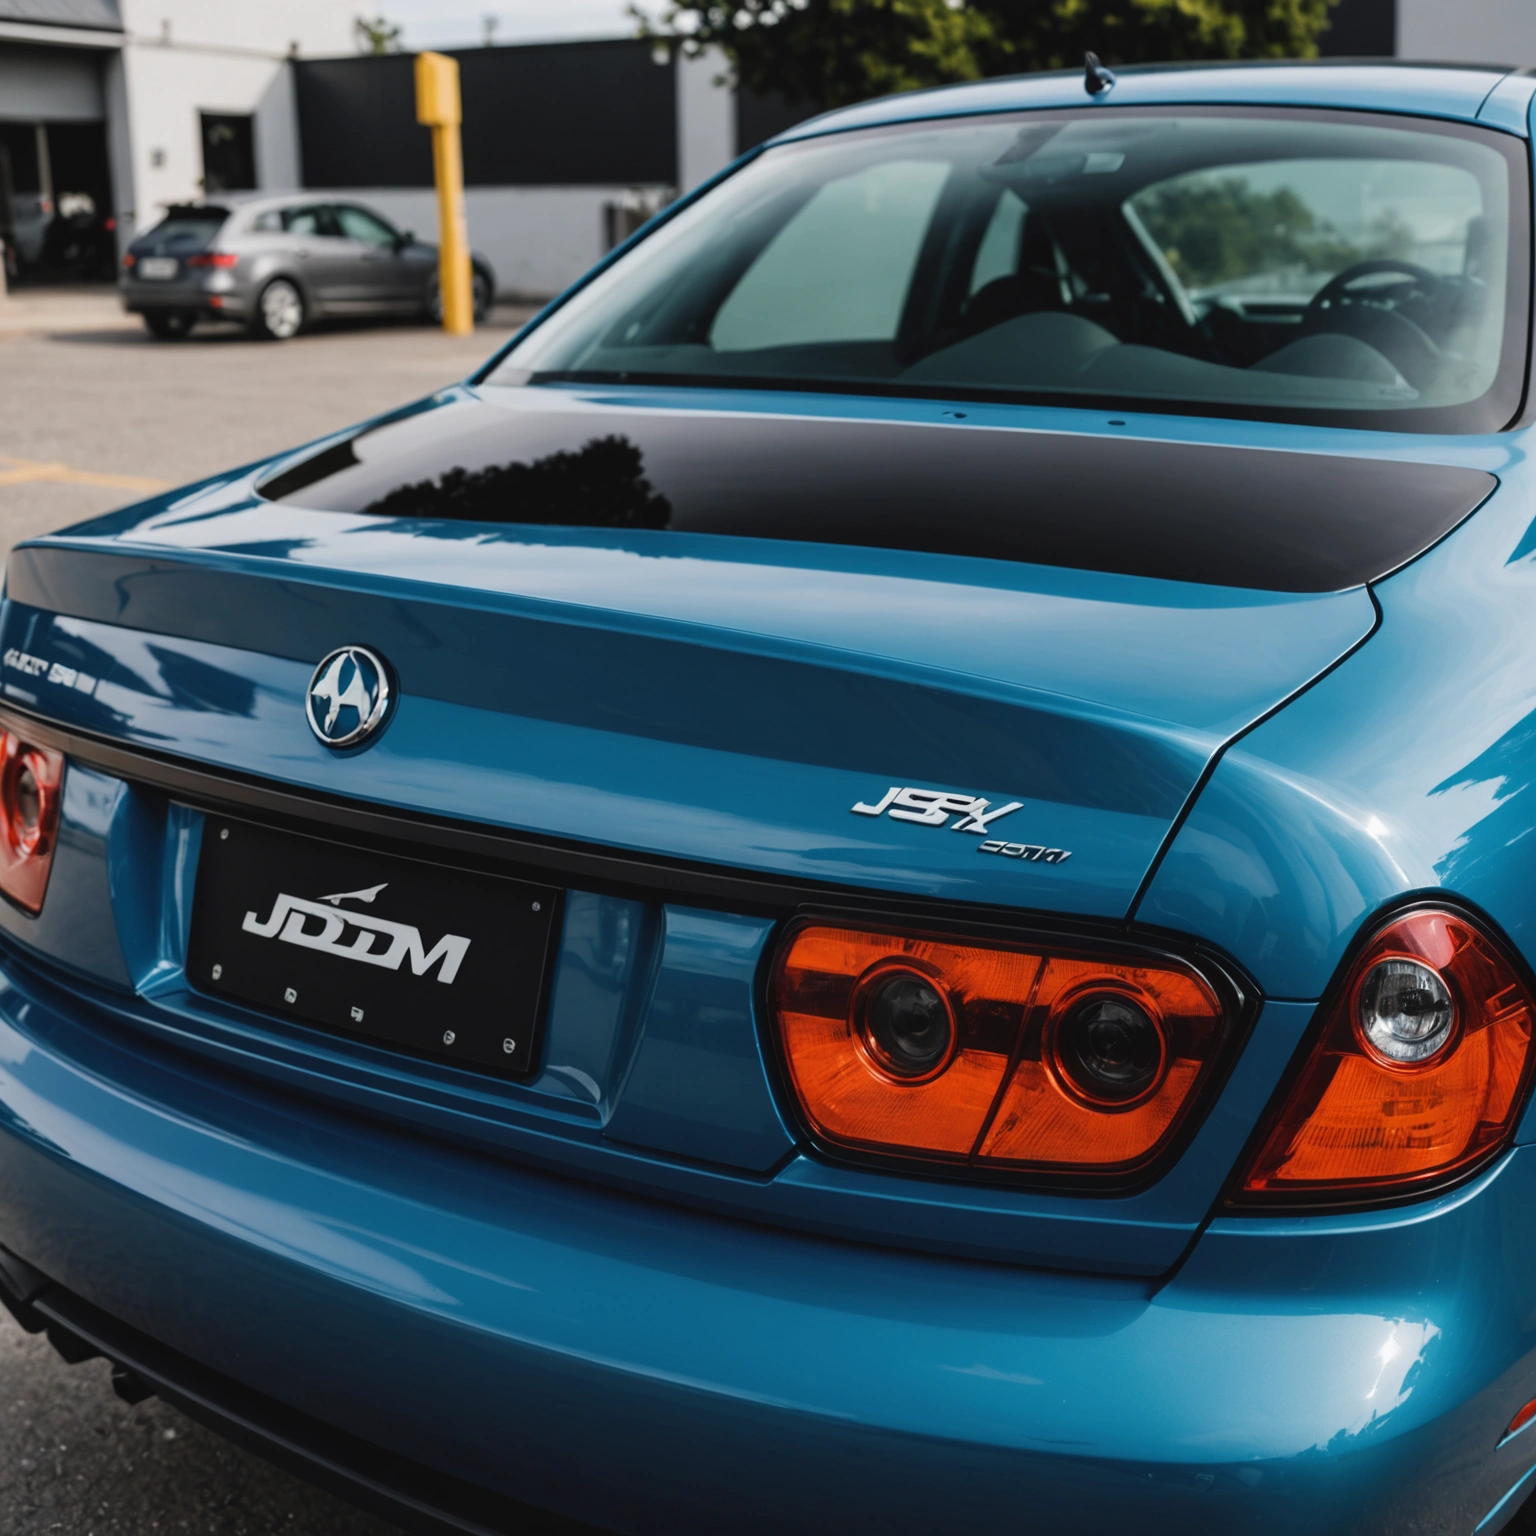
– JDM-inspired graphics
– Custom text or logos
– Tribal or flame designs
– Sports team decals
## Conclusion
Choosing the right vinyl and applying it correctly enhances your vehicle’s style while ensuring durability. Follow these steps for a professional look that lasts. Ready to personalize your ride? Shop our selection of premium vinyl decals today!
Shop this look
FAQs
**Q1:** How do I choose the right vinyl for car decals?
**A:** Use high-quality, outdoor-rated vinyl like Oracal 651 for durability and color longevity. Ensure the vinyl is compatible with your surface—paint or glass—and suitable for detailed designs like JDM styles.
**Q2:** What’s the best way to apply decals on my car?
**A:** Clean the surface thoroughly with isopropyl alcohol, peel the backing, and use a squeegee to smooth out air bubbles. Follow the decal’s instructions for temperature and pressure for a lasting bond.
**Q3:** How do I remove decals without damaging paint or tint?
**A:** Heat the decal with a heat gun or hairdryer to soften adhesive, then peel gently. Use adhesive remover if needed, and clean the area with isopropyl alcohol. Avoid scraping to prevent damage.
{“@context”:”https://schema.org”,”@type”:”FAQPage”,”mainEntity”:[{“@type”:”Question”,”name”:”**Q1:** How do I choose the right vinyl for car decals?”,”acceptedAnswer”:{“@type”:”Answer”,”text”:”**A:** Use high-quality, outdoor-rated vinyl like Oracal 651 for durability and color longevity. Ensure the vinyl is compatible with your surfaceu2014paint or glassu2014and suitable for detailed designs like JDM styles.”}},{“@type”:”Question”,”name”:”**Q2:** Whatu2019s the best way to apply decals on my car?”,”acceptedAnswer”:{“@type”:”Answer”,”text”:”**A:** Clean the surface thoroughly with isopropyl alcohol, peel the backing, and use a squeegee to smooth out air bubbles. Follow the decalu2019s instructions for temperature and pressure for a lasting bond.”}},{“@type”:”Question”,”name”:”**Q3:** How do I remove decals without damaging paint or tint?”,”acceptedAnswer”:{“@type”:”Answer”,”text”:”**A:** Heat the decal with a heat gun or hairdryer to soften adhesive, then peel gently. Use adhesive remover if needed, and clean the area with isopropyl alcohol. Avoid scraping to prevent damage.”}}]}


