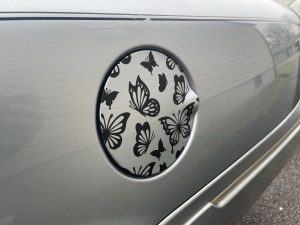
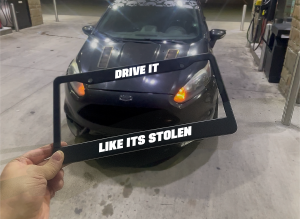
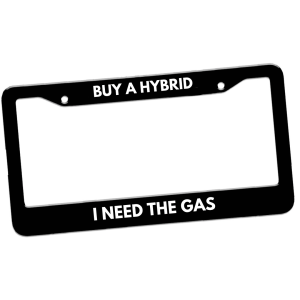
Quick links: All Decals • Holographic • Funny
**How to Choose and Apply Durable Vinyl Car Decals**
Selecting the right vinyl decal and applying it properly ensures a long-lasting, professional look on your vehicle. Focus on Oracal 651 vinyl, compatibility with your car’s surfaces, correct sizing, and proper installation/removal techniques.
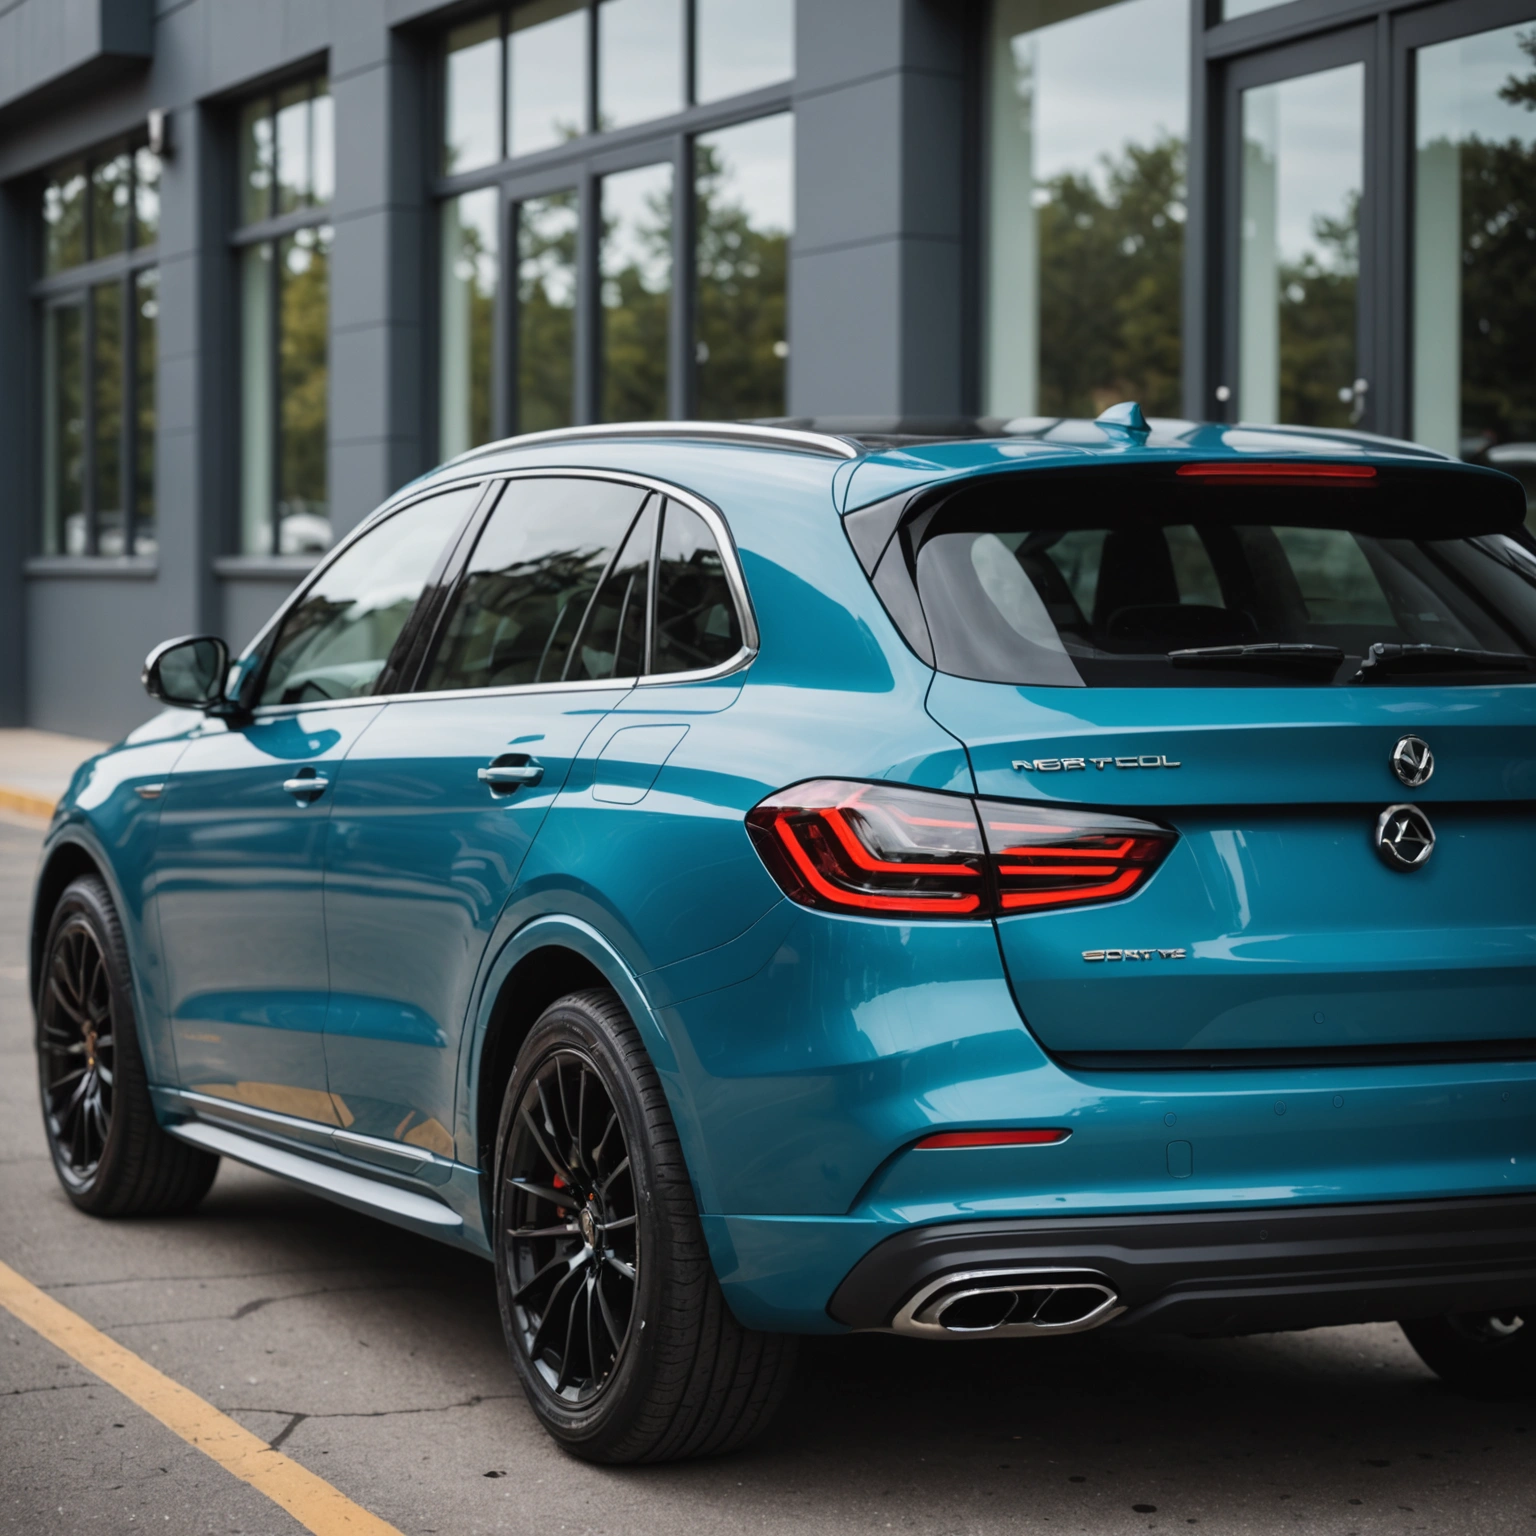
## Choosing the Right Vinyl Decal
### Focus on Oracal 651 Vinyl
– **Durability:** Designed for outdoor use, resistant to UV, water, and road grime.
– **Adhesion:** Strong adhesive ideal for vehicle surfaces.
– **Color & Finish:** Available in gloss, matte, and transparent backgrounds.
### Compatibility Considerations
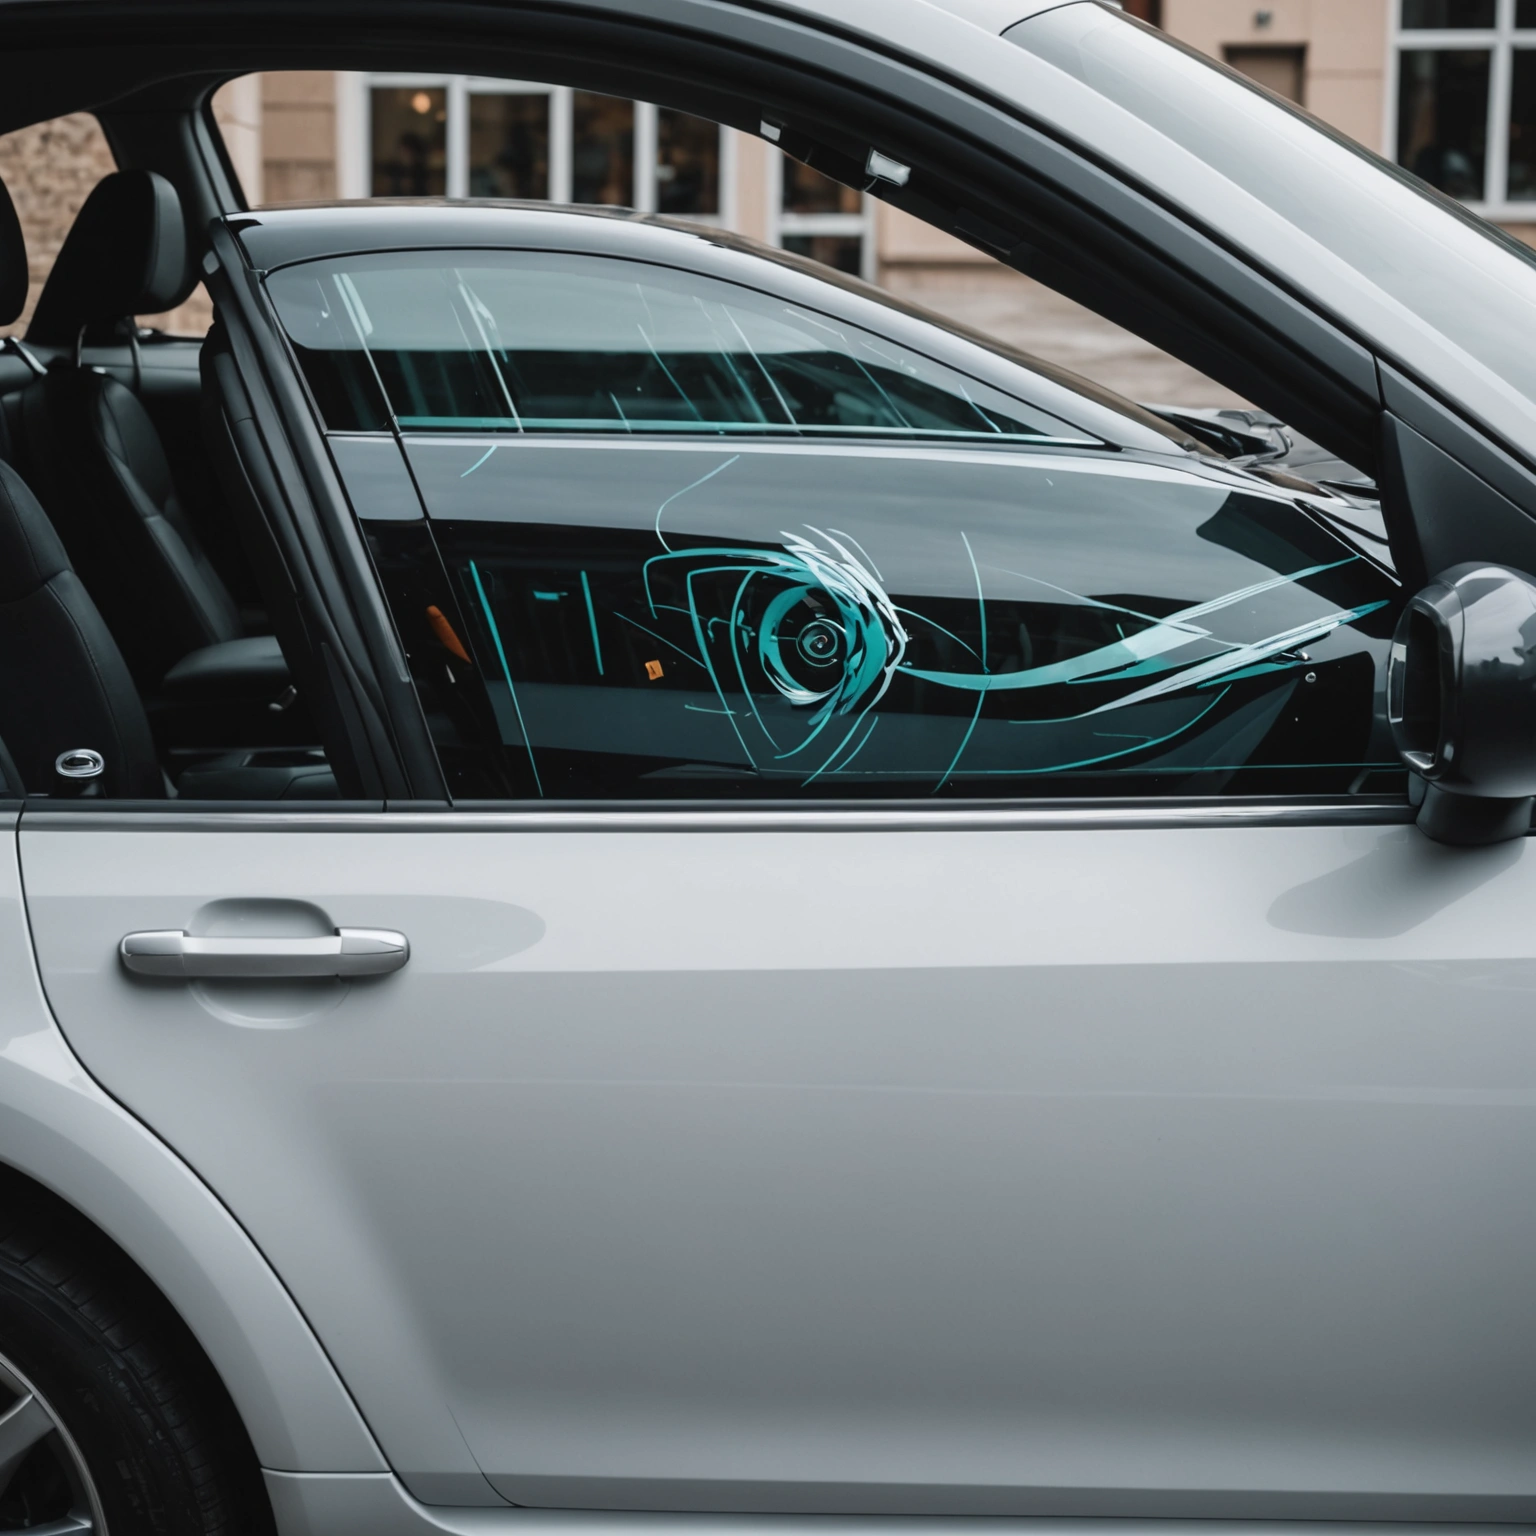
– **Windows:** Use perforated or transparent decals; avoid full-color opaque decals on tinted windows.
– **Painted Surfaces:** Ensure the surface is clean, smooth, and free of wax or oils.
### Sizing Tips
– Measure your vehicle area accurately.
– Keep decals proportionate; too large may peel or bubble, too small may be less visible.
– Consider visibility distance and placement (e.g., hood, doors, rear window).
## Preparing for Application
### Surface Preparation
– Wash with soap and water, then wipe with isopropyl alcohol.
– Dry thoroughly; avoid applying on dirty or greasy surfaces.
### Tools Needed
– Squeegee or application tool
– Masking tape
– Utility knife or weeding tools
– Spray bottle with water and a few drops of dish soap (for wet application)
## Applying the Vinyl Decal
### Step-by-Step
1. **Position the decal** on the surface using masking tape to hold it in place.
2. **Align carefully** before removing the backing paper.
3. **Use a squeegee** to press down from the center outward, removing air bubbles.
4. **For difficult edges or curves,** work slowly, applying gentle pressure.
5. **Remove the transfer tape** carefully at a sharp angle, ensuring the decal adheres properly.
### Pro Tips
– For complex or large decals, consider a wet application method to reposition easily.
– Work in a dust-free environment to prevent debris from sticking.
## Removal & Maintenance
### Easy Removal
– Gently peel at a 45-degree angle.
– Use heat (a heat gun or hairdryer) to soften adhesive for stubborn decals.
### Preservation Tips
– Avoid high-pressure washing directly on edges.
– Clean with mild soap; avoid harsh chemicals that can degrade vinyl.
## Recommended Decals
– Custom text or logos
– Vehicle branding or personal art
– Decorative patterns and graphics
## Conclusion
Choosing high-quality Oracal 651 vinyl decals and applying them correctly will give your vehicle a sleek, professional look that lasts. Proper surface prep and careful installation are key—when ready, shop our wide selection of durable decals to personalize your ride today!
Shop this look
FAQs
**Q1: How do I choose durable vinyl decals for my car?**
Select high-quality vinyl like Oracal 651 for durability, weather resistance, and vibrant color retention. Ensure the decal is designed for outdoor use and compatible with automotive surfaces like glass or painted areas.
**Q2: What’s the best way to apply vinyl decals on cars?**
Clean the surface thoroughly with alcohol, dry completely, then carefully position the decal. Use a squeegee to remove air bubbles, ensuring full adhesion. For curved surfaces, use heat to improve flexibility.
**Q3: How do I safely remove vinyl decals without damaging paint or tint?**
Warm the decal with a heat gun or hairdryer to soften adhesive. Gently peel from edges, using a plastic scraper if needed. Clean residual adhesive with isopropyl alcohol, avoiding harsh chemicals that could damage tint or paint.
{“@context”:”https://schema.org”,”@type”:”FAQPage”,”mainEntity”:[{“@type”:”Question”,”name”:”**Q1: How do I choose durable vinyl decals for my car?**”,”acceptedAnswer”:{“@type”:”Answer”,”text”:”Select high-quality vinyl like Oracal 651 for durability, weather resistance, and vibrant color retention. Ensure the decal is designed for outdoor use and compatible with automotive surfaces like glass or painted areas.”}},{“@type”:”Question”,”name”:”**Q2: Whatu2019s the best way to apply vinyl decals on cars?**”,”acceptedAnswer”:{“@type”:”Answer”,”text”:”Clean the surface thoroughly with alcohol, dry completely, then carefully position the decal. Use a squeegee to remove air bubbles, ensuring full adhesion. For curved surfaces, use heat to improve flexibility.”}},{“@type”:”Question”,”name”:”**Q3: How do I safely remove vinyl decals without damaging paint or tint?**”,”acceptedAnswer”:{“@type”:”Answer”,”text”:”Warm the decal with a heat gun or hairdryer to soften adhesive. Gently peel from edges, using a plastic scraper if needed. Clean residual adhesive with isopropyl alcohol, avoiding harsh chemicals that could damage tint or paint.”}}]}

