
Quick links: All Decals • Holographic • Funny
# How to Apply Vinyl Bats Decals for Vehicle Customization
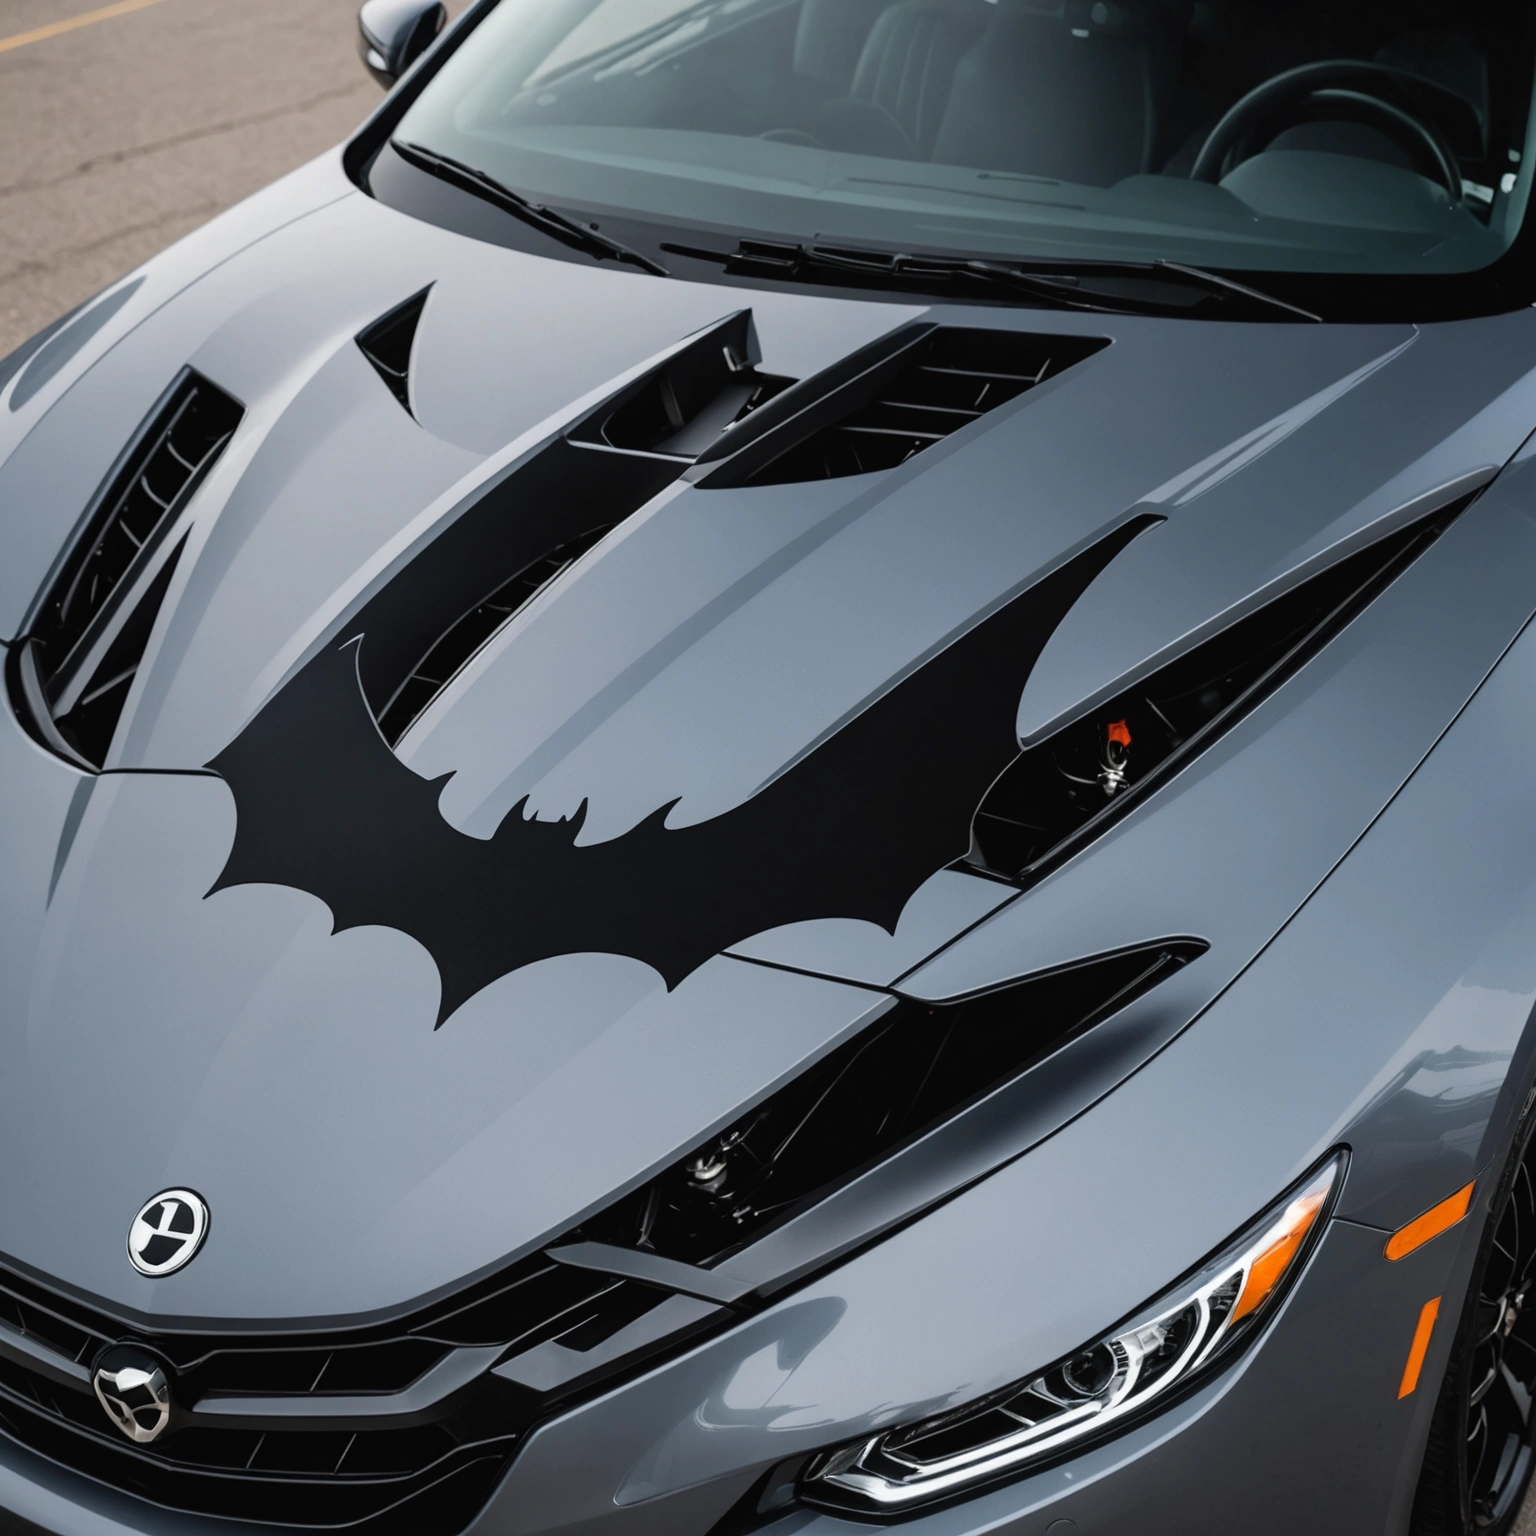
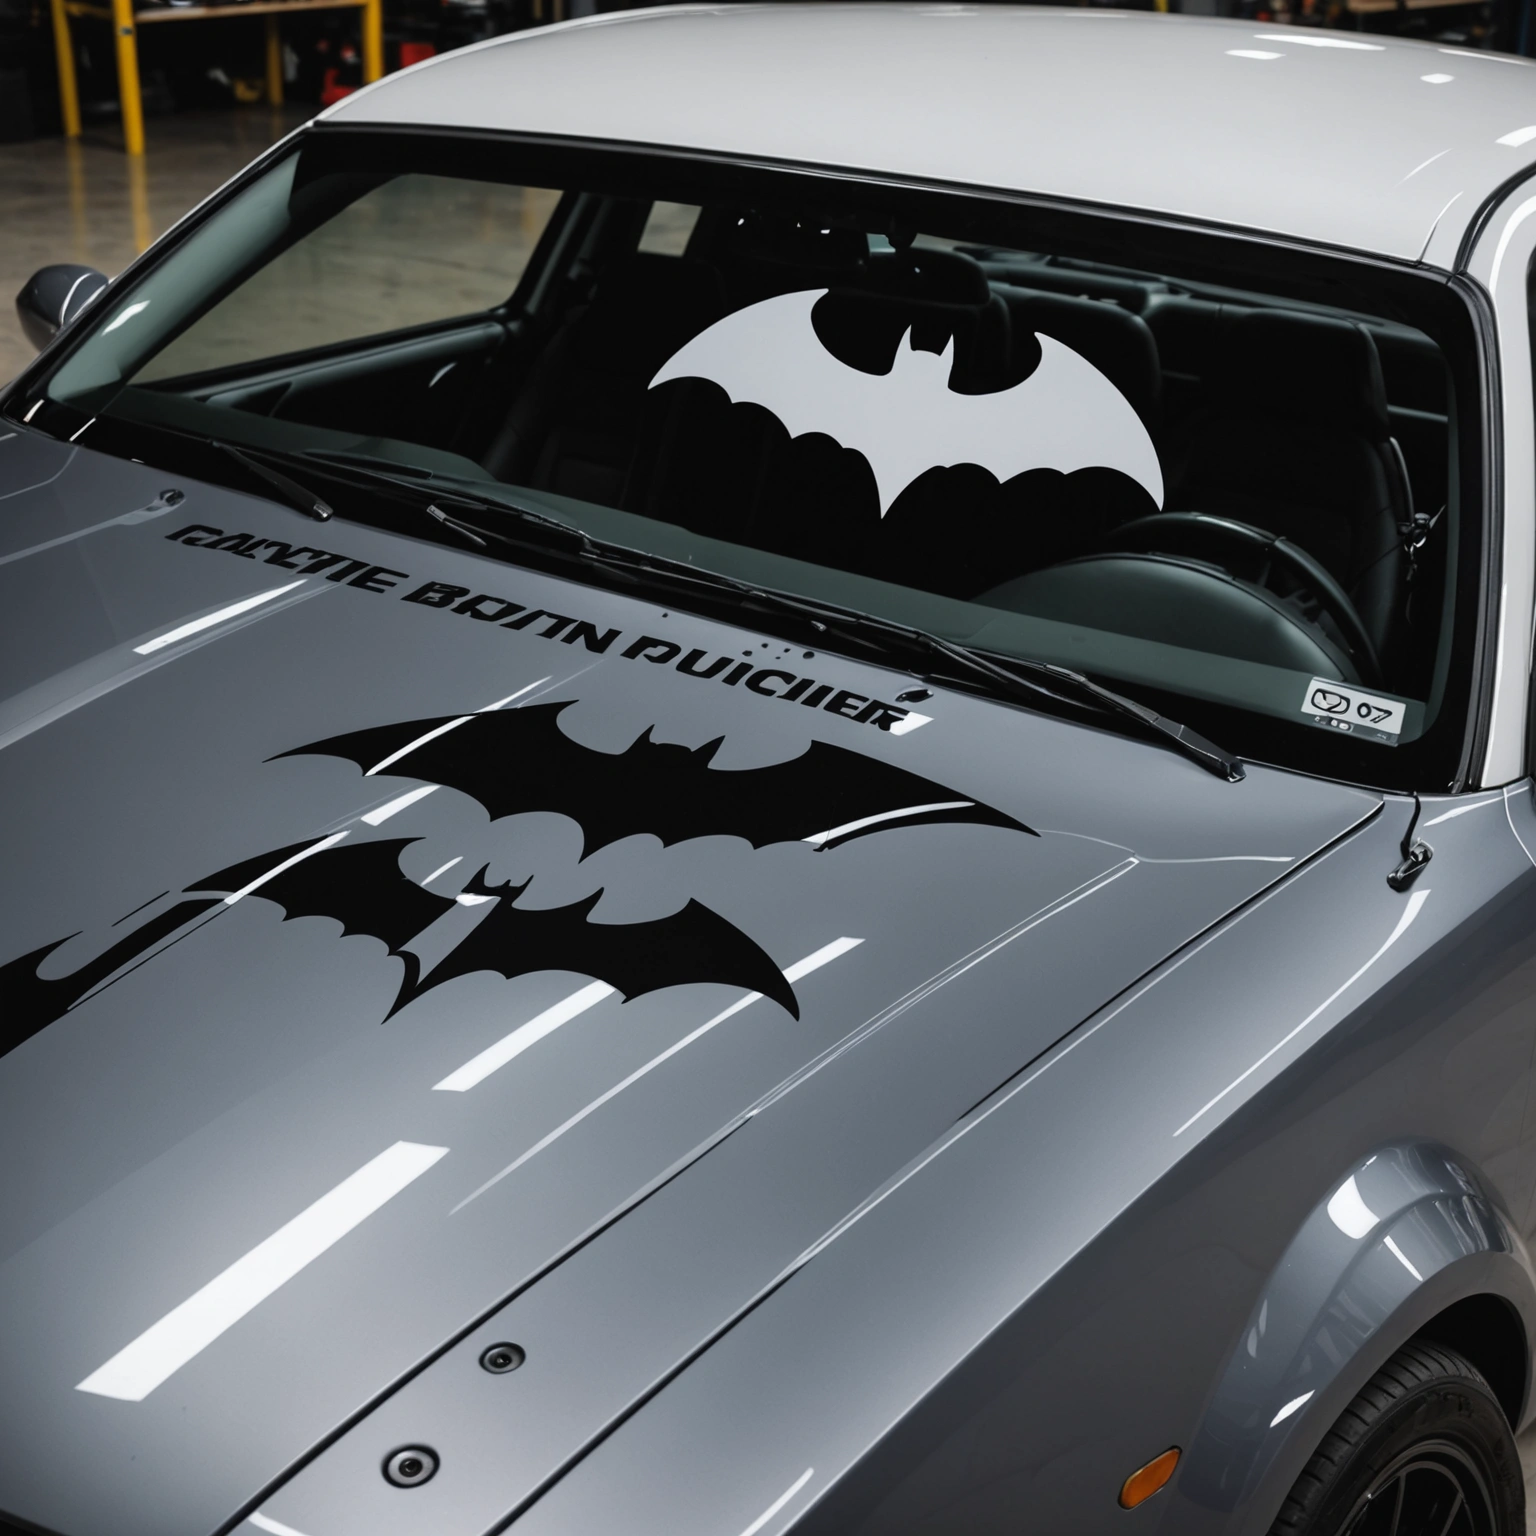
Applying vinyl bats decals (Oracal 651) enhances your vehicle’s look with a bold, custom touch. Follow these steps for a smooth, professional finish on your windows or painted surfaces.
## Preparing Your Surface
### Compatibility & Surface Prep
– **Check Surface**: Vinyl decals work best on smooth, clean, non-porous surfaces like glass or painted metal.
– **Clean Thoroughly**: Use isopropyl alcohol or a mild soap solution to remove dirt, grease, and wax.

– **Dry Completely**: Ensure no residue or moisture remains before application.
### Surface Tips
– Avoid applying decals on textured or damaged paint.
– For windows, ensure they are cool to touch and free of condensation.
## Sizing & Design Placement
### Choosing the Right Size
– Measure your area to avoid oversized or undersized decals.
– Consider visibility and aesthetic balance on windows or panels.
### Placement Tips
– Use masking tape to mark placement before peeling the backing.
– Keep decals away from edges to prevent peeling or lifting.
## Applying the Vinyl Decal
### Tools Needed
– Squeegee or credit card
– Transfer tape (if not pre-cut)
– Utility knife (for trimming excess)
– Spray bottle with water and a few drops of dish soap (optional)
### Application Steps
1. **Cut and Position**: Place the decal on the surface using masking tape to hold it.
2. **Apply Transfer Tape**: If not pre-cut, apply transfer tape over the decal for easy handling.
3. **Position & Smooth**: Peel the backing paper, then carefully position the decal. Use a squeegee to press out air bubbles from the center outward.
4. **Remove Transfer Tape**: Gently peel away the transfer tape, ensuring the decal stays adhered.
5. **Final Touches**: Use a utility knife to trim any excess vinyl, if needed.
### Pro Tips
– Work in a dust-free environment.
– Use a spray of water with a few drops of dish soap to help reposition decals during installation.
## Removal & Maintenance
### Removing Vinyl Decals
– Gently heat the decal with a heat gun or hairdryer to soften adhesive.
– Peel slowly from one corner, applying heat as needed.
– Clean residual adhesive with isopropyl alcohol.
### Maintenance Tips
– Wash decals with mild soap; avoid abrasive brushes.
– Do not use harsh chemicals or solvents on vinyl.
## Recommended Decals
– Classic Bat Silhouettes
– Gothic Bat Wing Designs
– Custom Bat Monograms
– Spooky Night Bat Scenes
## Conclusion
Applying vinyl bats decals is a straightforward way to customize your vehicle with a striking look. Proper surface prep, precise sizing, and careful installation ensure a professional finish. Ready to elevate your ride? Shop our selection of high-quality vinyl decals today!
Shop this look


FAQs
1: How do I prepare my vehicle before applying vinyl decals?
1: Clean the surface thoroughly with isopropyl alcohol to remove dirt, grease, and wax. Ensure the area is dry and free of dust. For best results, apply decals on smooth, flat glass or painted surfaces, avoiding textured or dirty areas.
2: What is the best method to apply vinyl decals like Oracal 651 on my vehicle?
2: Use a squeegee or credit card to smooth out the decal from the center outward, removing air bubbles. For curved surfaces, gently stretch the decal and work slowly. Ensure the decal is properly aligned before pressing down firmly.
3: How can I safely remove vinyl decals or tint from my vehicle?
3: Use heat (a hairdryer or heat gun) to soften adhesive, then peel slowly from one corner. For stubborn residue, apply isopropyl alcohol or a commercial adhesive remover. Avoid scratching paint or glass during removal.
{“@context”:”https://schema.org”,”@type”:”FAQPage”,”mainEntity”:[{“@type”:”Question”,”name”:”1: How do I prepare my vehicle before applying vinyl decals?”,”acceptedAnswer”:{“@type”:”Answer”,”text”:”1: Clean the surface thoroughly with isopropyl alcohol to remove dirt, grease, and wax. Ensure the area is dry and free of dust. For best results, apply decals on smooth, flat glass or painted surfaces, avoiding textured or dirty areas.”}},{“@type”:”Question”,”name”:”2: What is the best method to apply vinyl decals like Oracal 651 on my vehicle?”,”acceptedAnswer”:{“@type”:”Answer”,”text”:”2: Use a squeegee or credit card to smooth out the decal from the center outward, removing air bubbles. For curved surfaces, gently stretch the decal and work slowly. Ensure the decal is properly aligned before pressing down firmly.”}},{“@type”:”Question”,”name”:”3: How can I safely remove vinyl decals or tint from my vehicle?”,”acceptedAnswer”:{“@type”:”Answer”,”text”:”3: Use heat (a hairdryer or heat gun) to soften adhesive, then peel slowly from one corner. For stubborn residue, apply isopropyl alcohol or a commercial adhesive remover. Avoid scratching paint or glass during removal.”}}]}